Dungeon Generation: Difference between revisions
From Forsaken Planet
Dungeons Of Eternity > The Outpost > Mission Map Table > Dungeon Generation
Dungeons Of Eternity > The Outpost > Mission Map Table > Dungeon Generation
Protagosus (talk | contribs) No edit summary |
Protagosus (talk | contribs) |
||
| (42 intermediate revisions by the same user not shown) | |||
| Line 1: | Line 1: | ||
{{StaleBreadCrumbs|Crumbs=[[The Outpost]] > [[Mission Map Table]]}} | {{StaleBreadCrumbs|Crumbs=[[The Outpost]] > [[Mission Map Table]]}} | ||
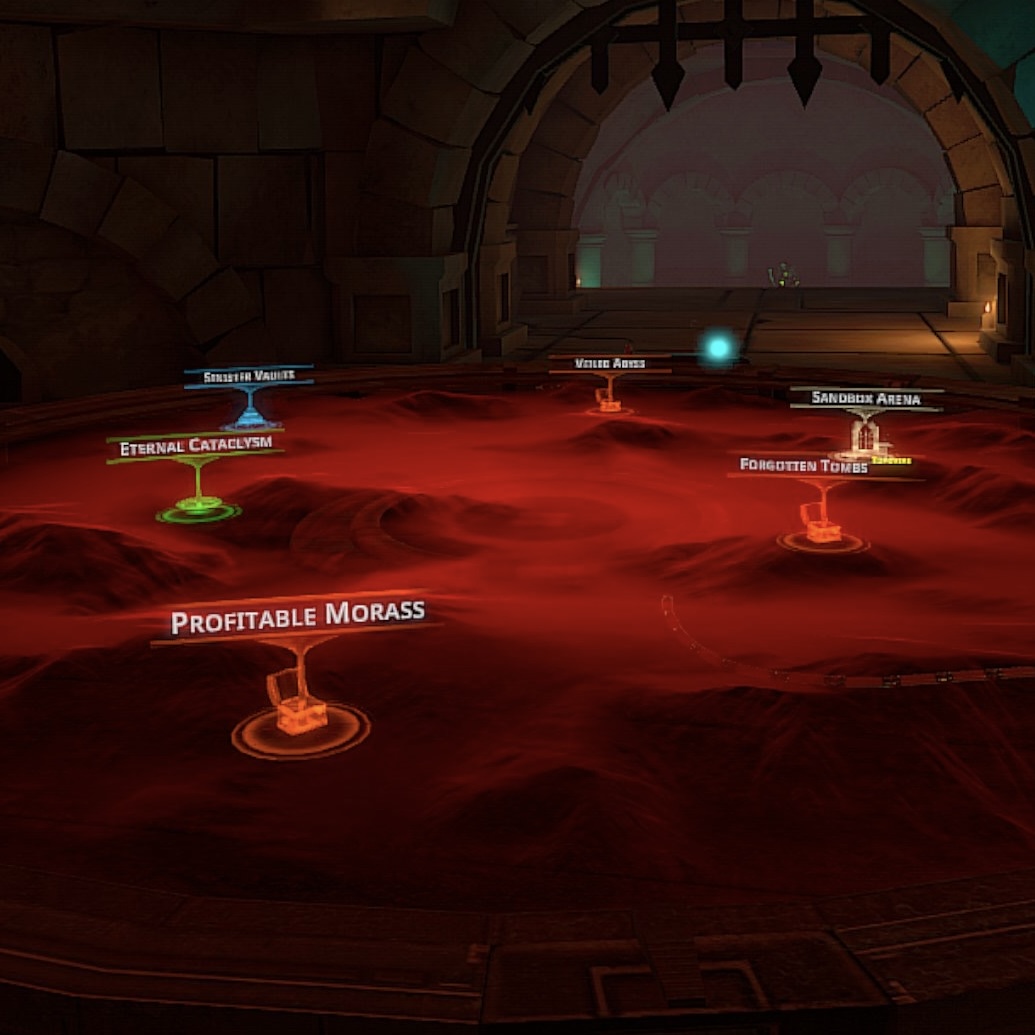
Every 20 minutes the [[Mission Map Table | Every 20 minutes [[Missions]] on the [[Mission Map Table]] are regenerated and each location is given a name consisting of two words, typically an adjective followed by a noun, sometimes linked with an article or preposition like "Darkened Calamity", "Profitable Halls", "Lair of Death" and "The Stygian Maze". | ||
Generated mission names are | Generated mission names are unique in any given generation, players may see two missions with the same name across generations. Identical names will not have the same dungeon layout as duplicate dungeons are essentially impossible. | ||
<div class="card-deck center-card-wide"> | <div class="card-deck center-card-wide"> | ||
| Line 9: | Line 9: | ||
[[File:map table underworld.jpg]] | [[File:map table underworld.jpg]] | ||
</bootstrap_card> | </bootstrap_card> | ||
<bootstrap_card header="Selection Panel"> | <bootstrap_card header="Realm Selection Panel"> | ||
[[File:Outpost Realm Selection Panel.png]] | [[File:Outpost Realm Selection Panel.png]] | ||
</bootstrap_card> | </bootstrap_card> | ||
| Line 17: | Line 17: | ||
== Realms == | == Realms == | ||
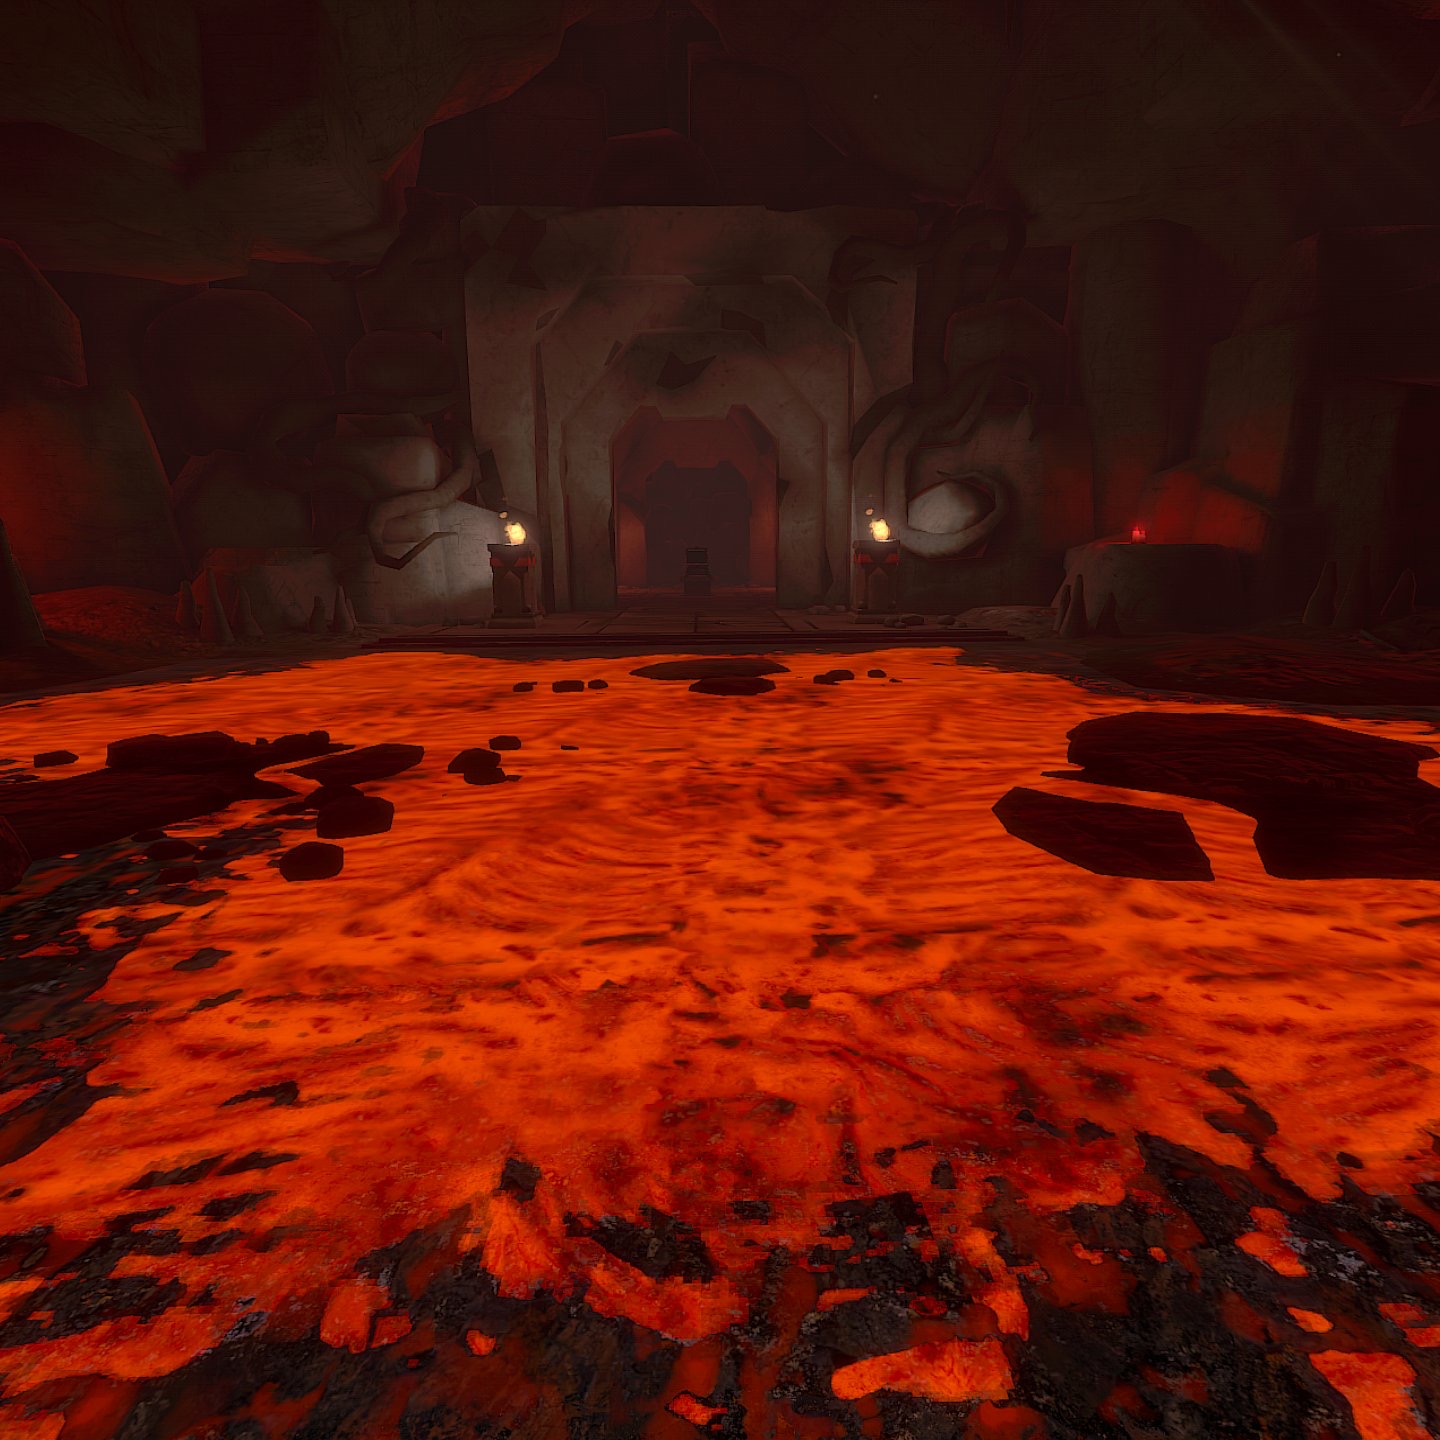
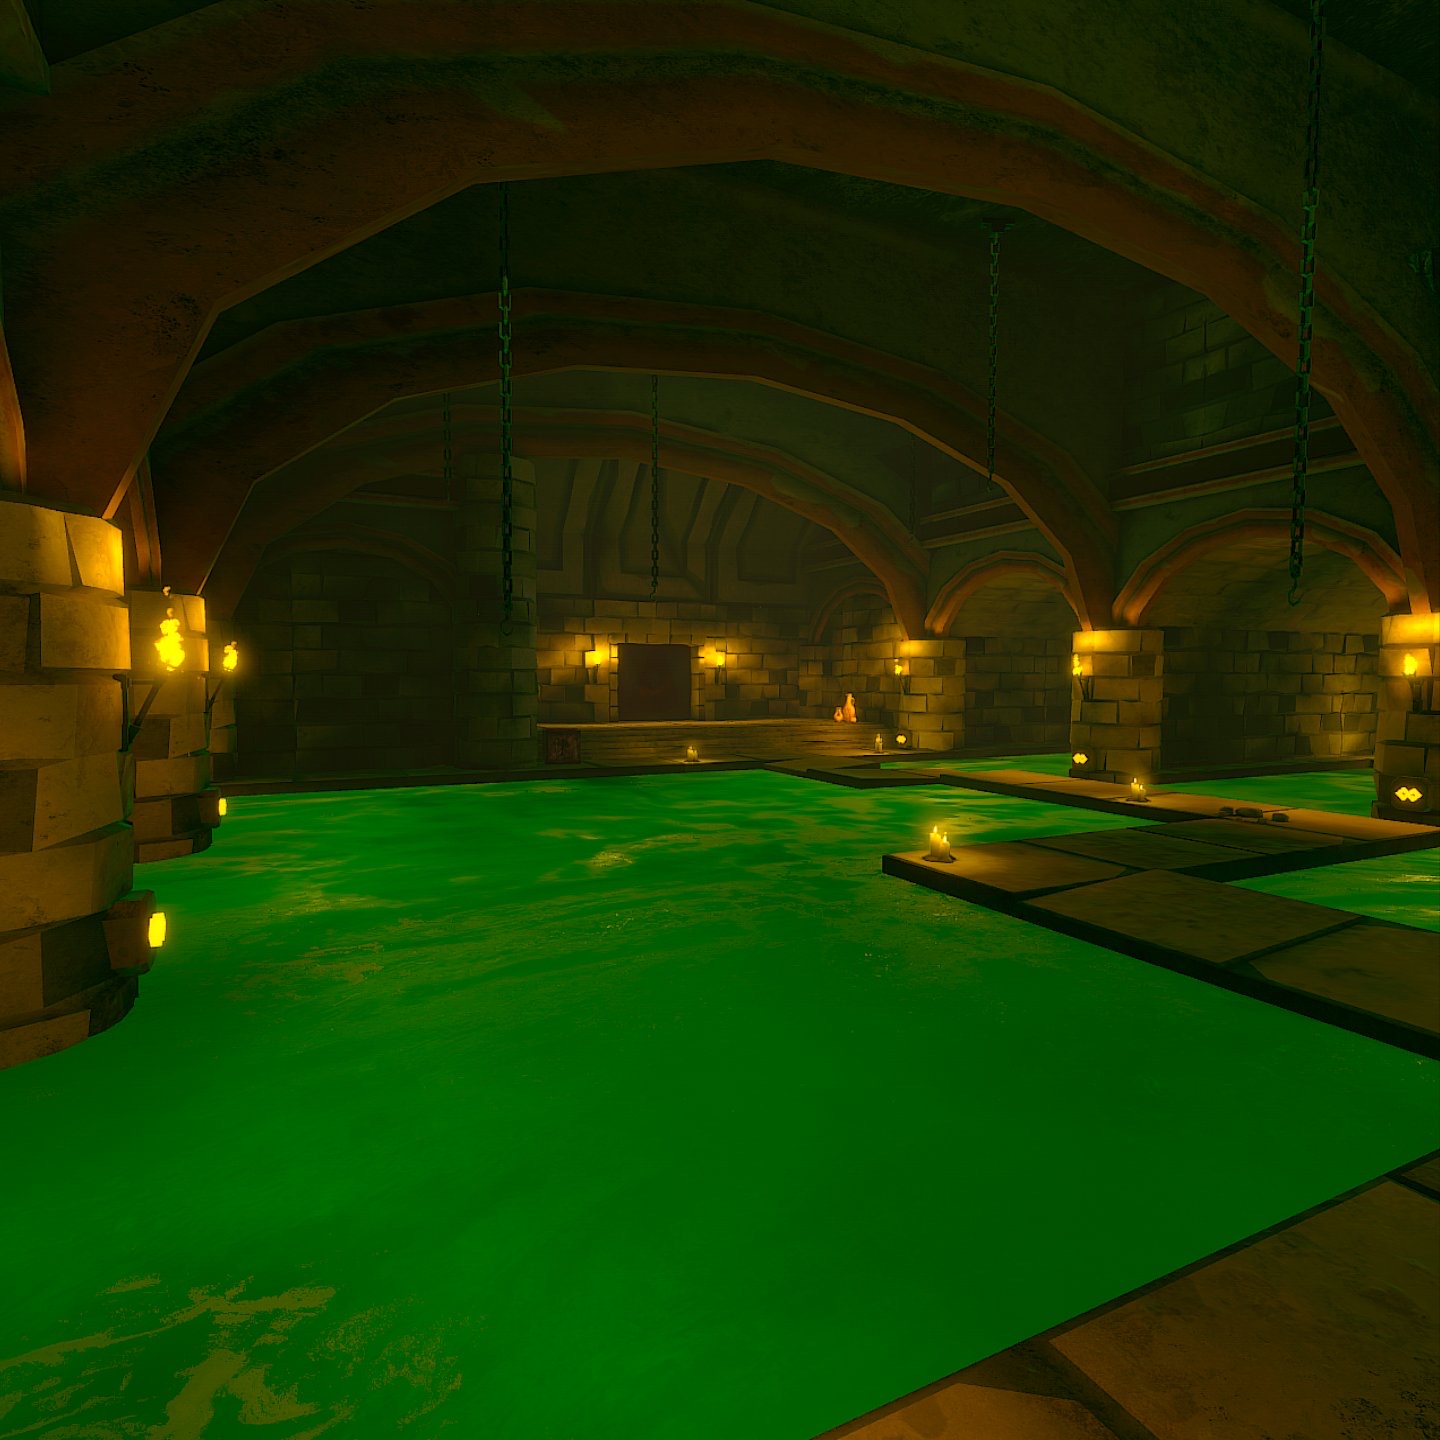
Dungeons exist in one of four [[Realms]]. The Realms represent biomes with specific fauna, flora and atmosphere. Dungeons are made up of hallways and rooms, collectively known as chambers. | Dungeons exist in one of four [[Realms]]. The Realms represent biomes with specific fauna, flora and atmosphere. Dungeons are made up of hallways and rooms, collectively known as chambers. | ||
<div class="card-deck"> | <div class="card-deck"> | ||
| Line 39: | Line 39: | ||
</div> | </div> | ||
== | == Chambers == | ||
There are some 100 or so uniquely designed chambers that are connected together like lego pieces to make a unique dungeon layout. No dungeon layout will ever have two of the same chambers in a single instance. | |||
Some chambers are tied to specific a realm. When a dungeon is generated, chambers are most often picked (60% of the time) from those designated to the current realm, although some (about 40% of the chambers) can come from other realm designations or non-designated chambers. | |||
=== Chamber Doorways === | |||
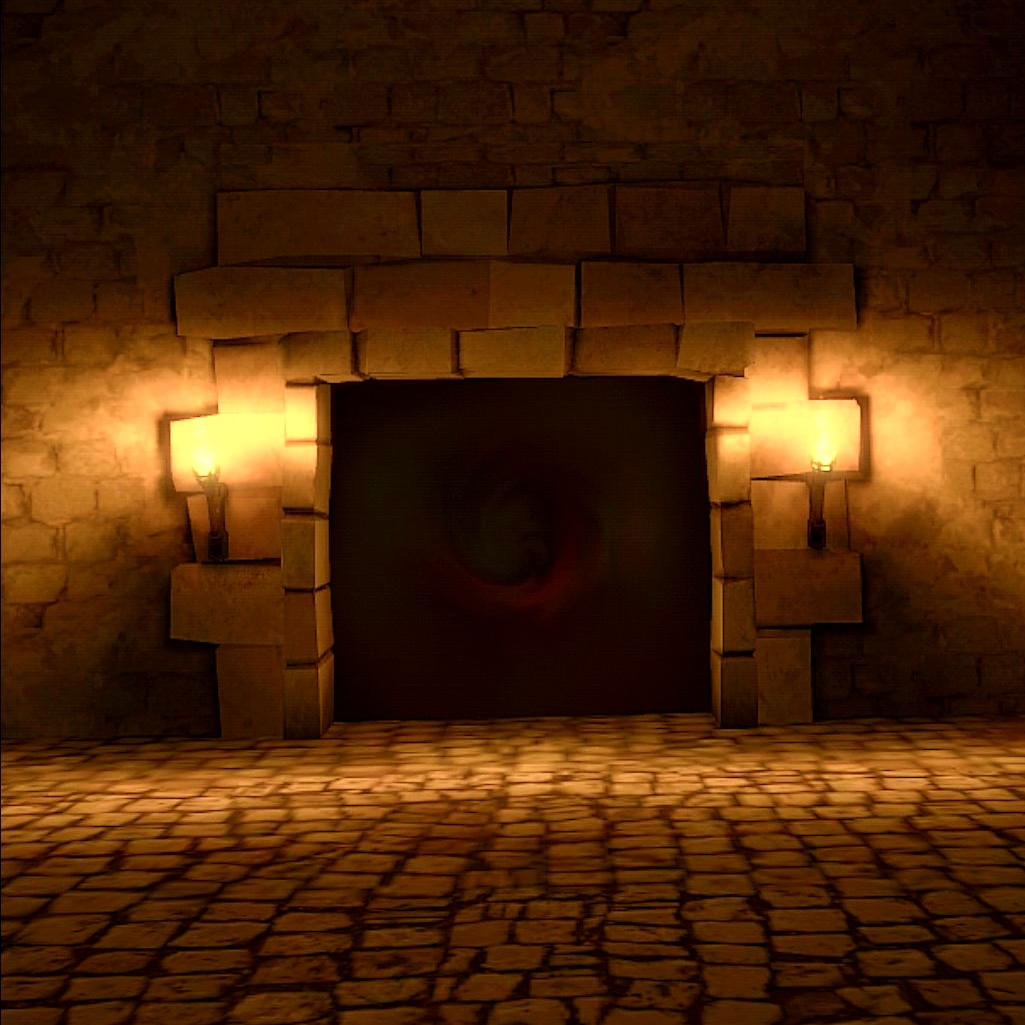
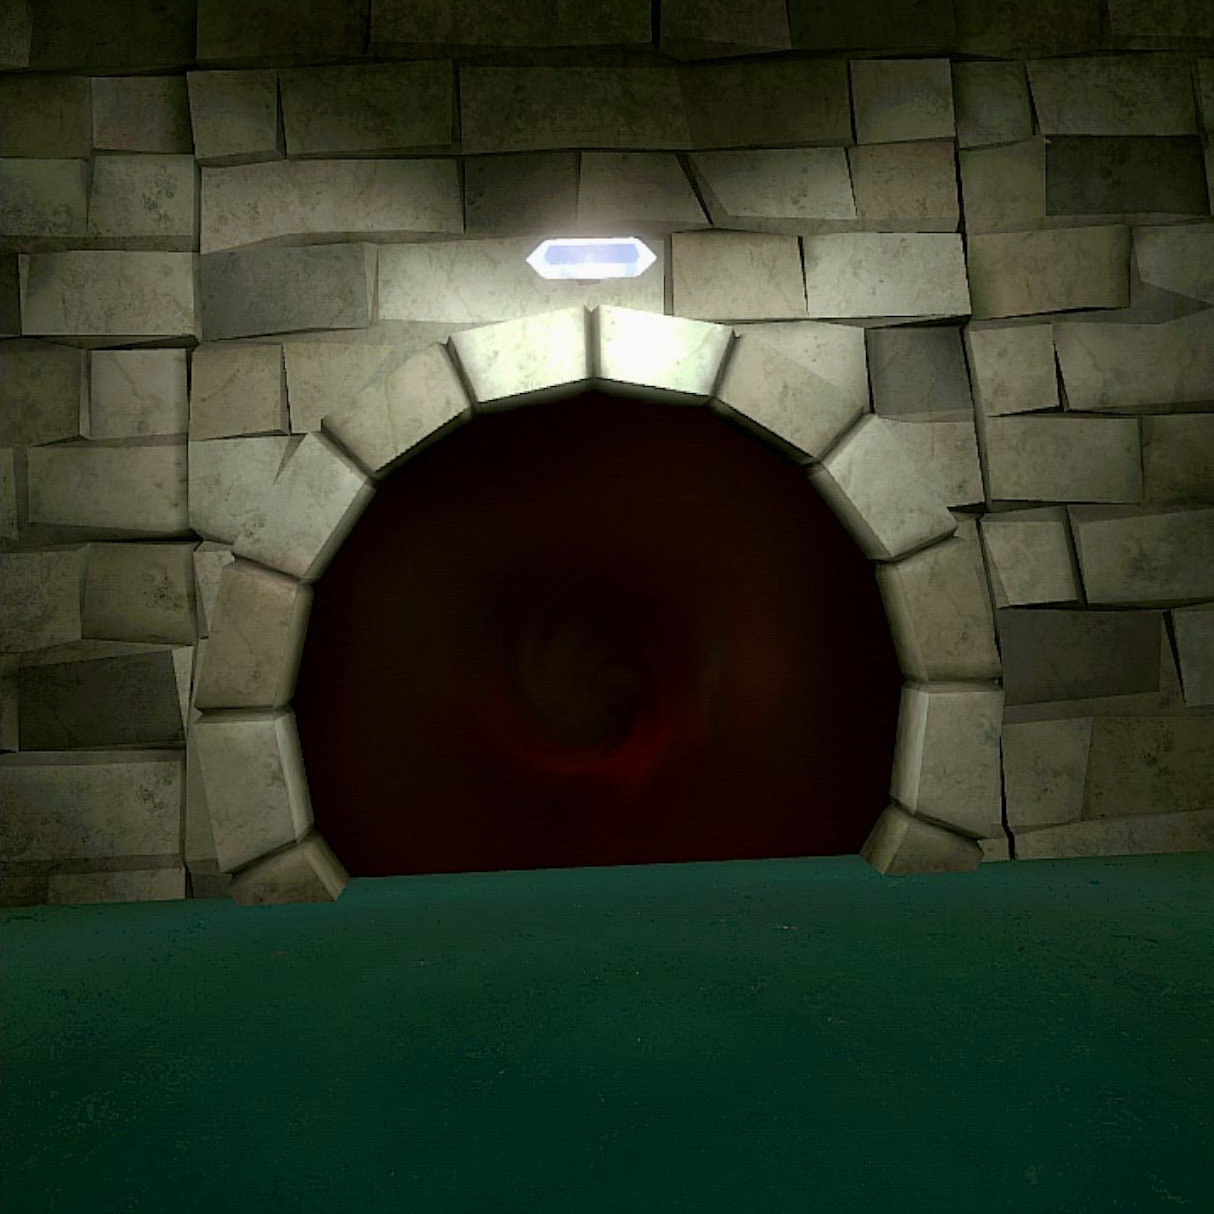
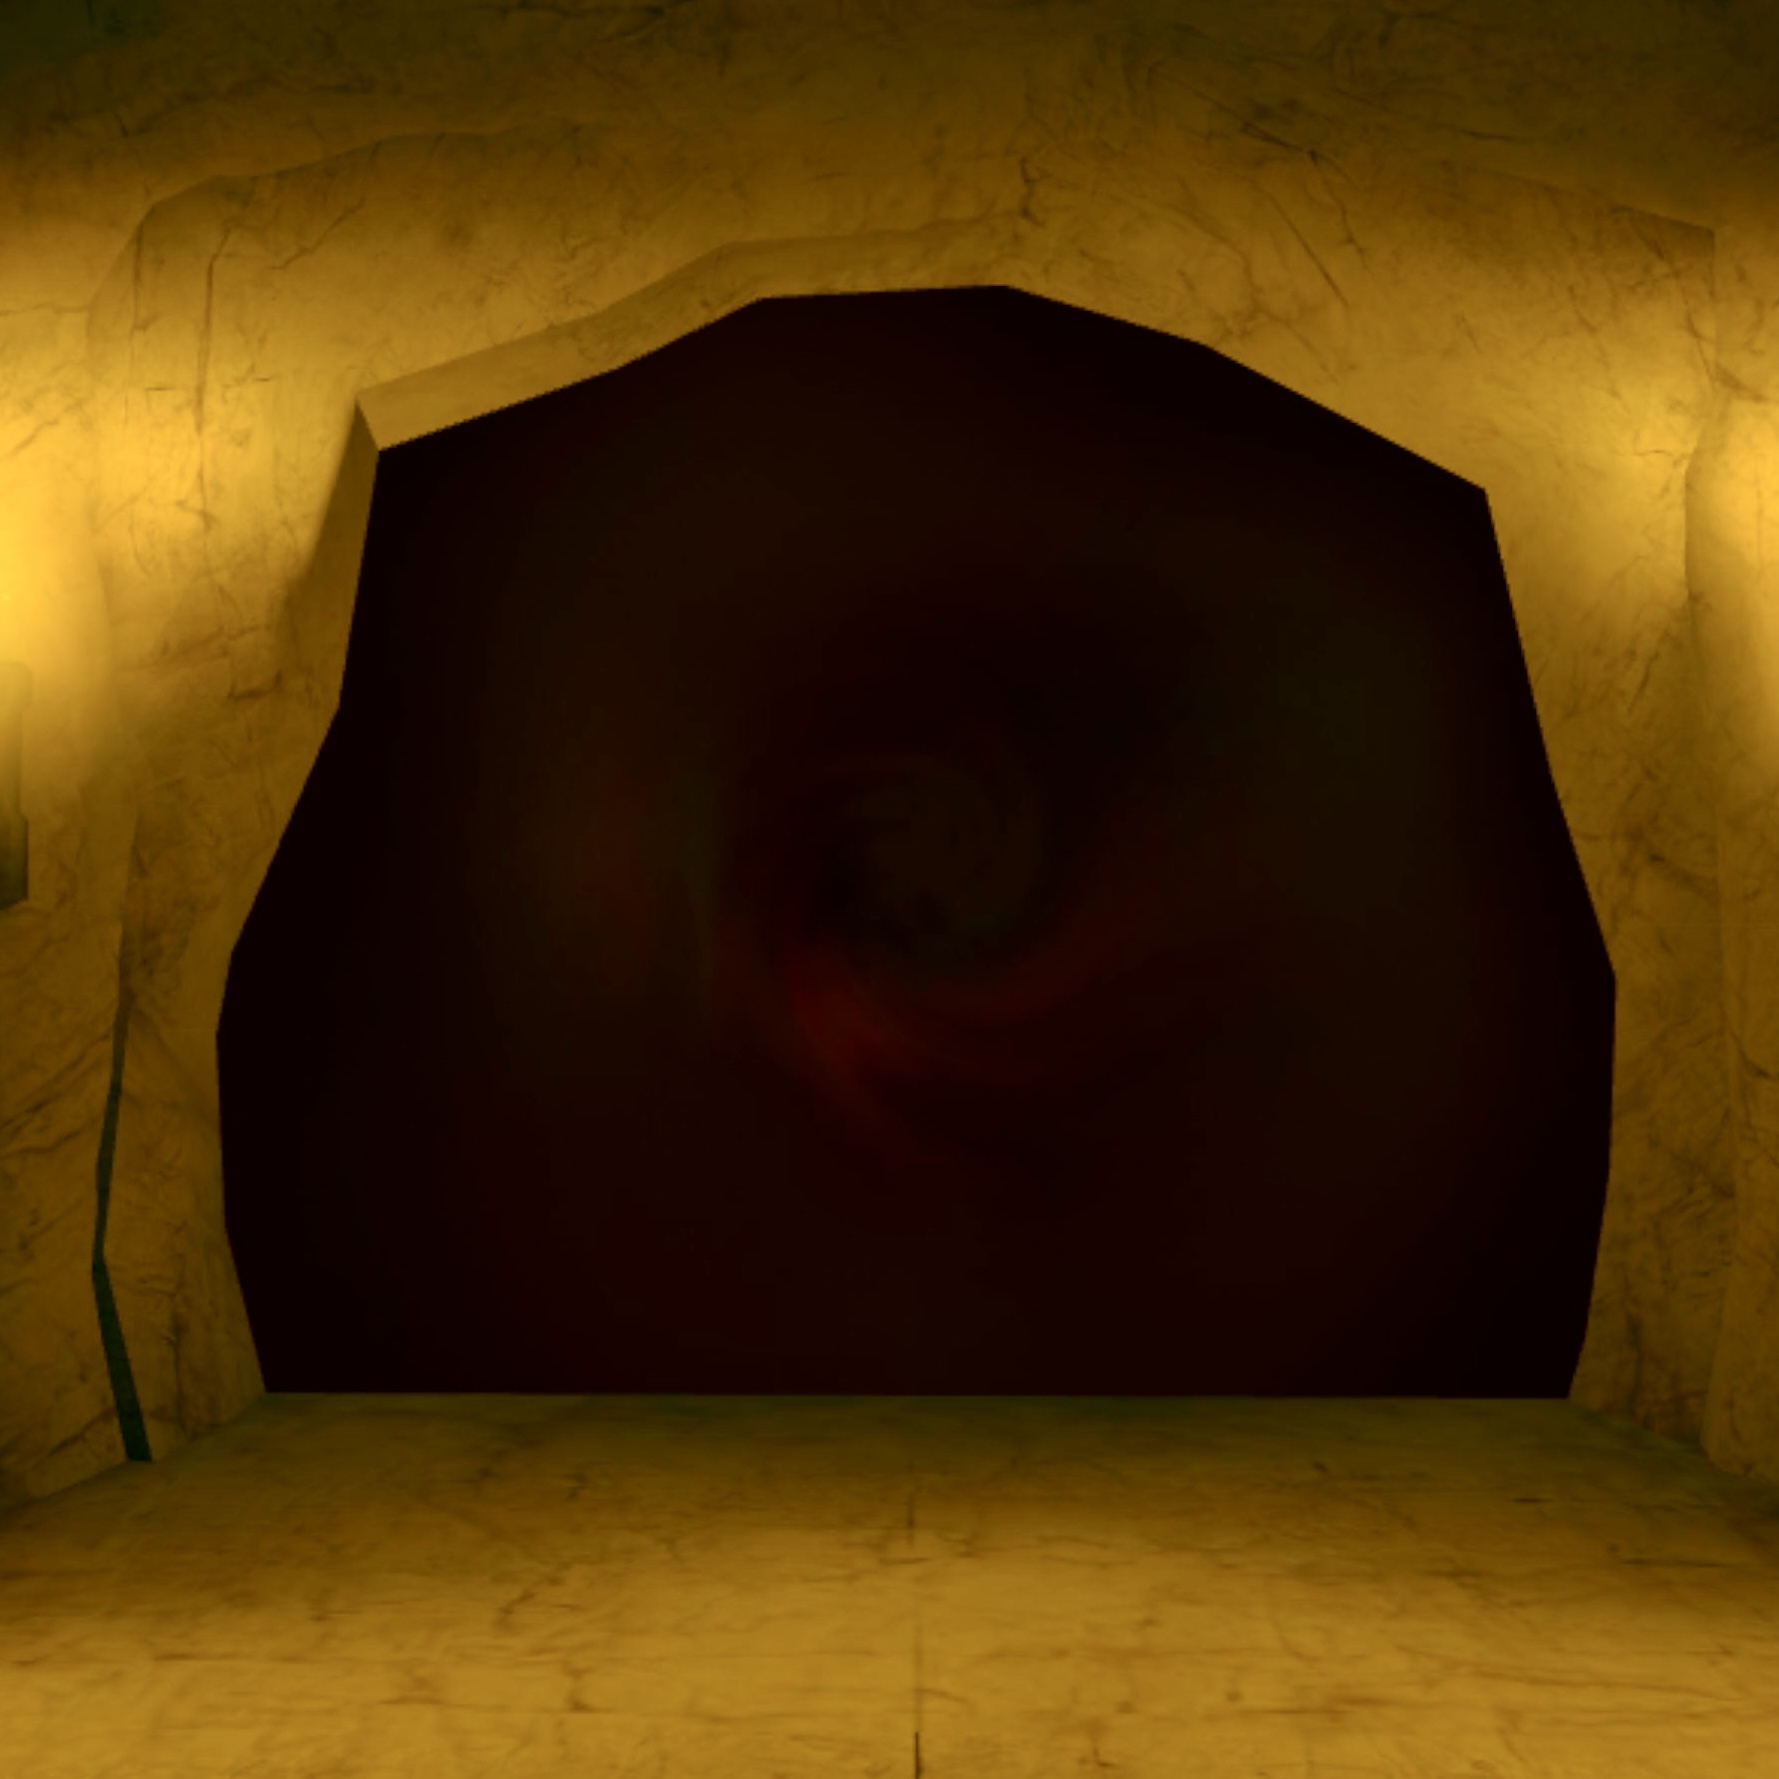
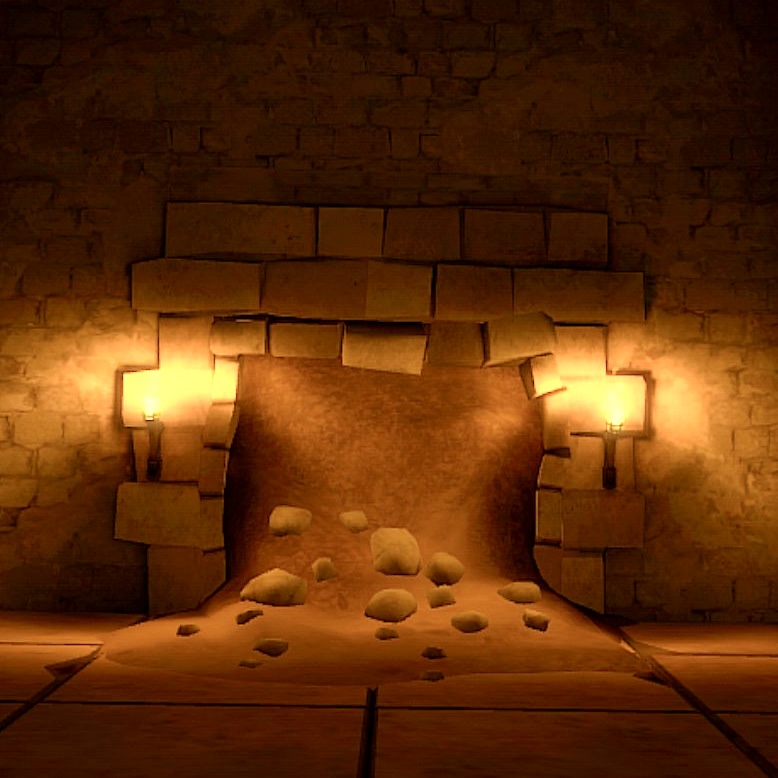
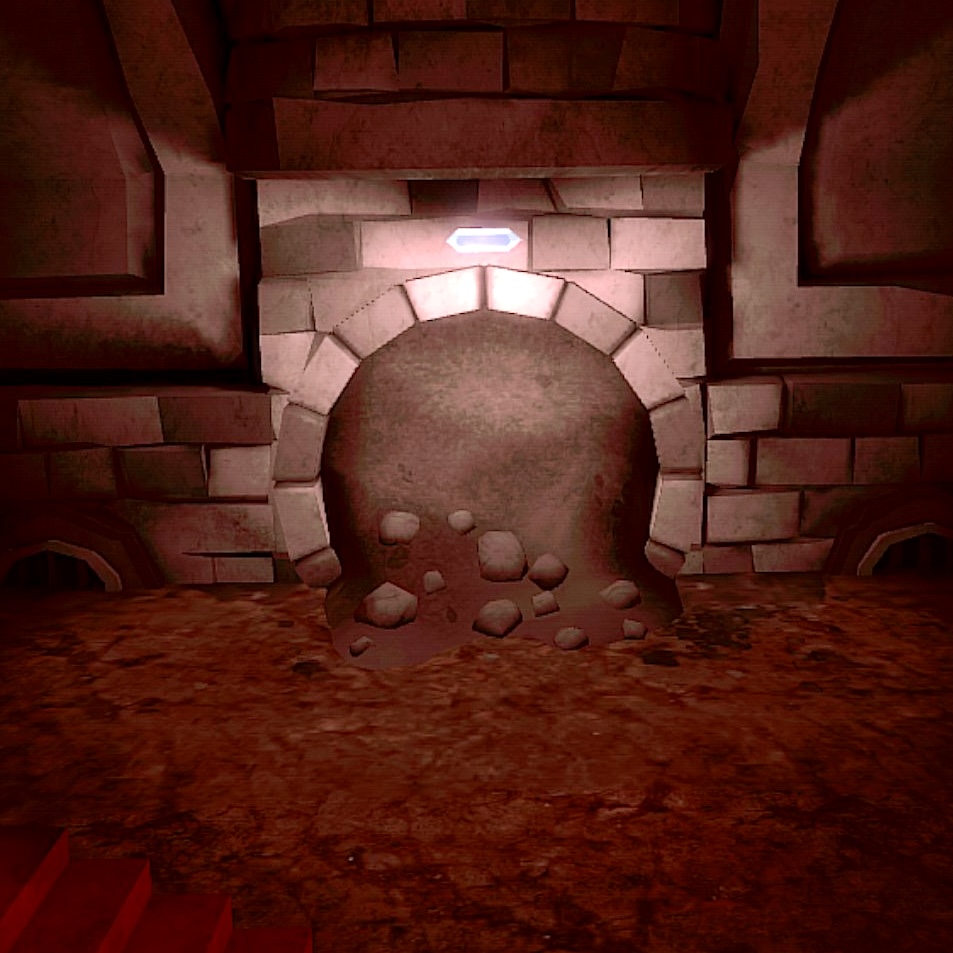
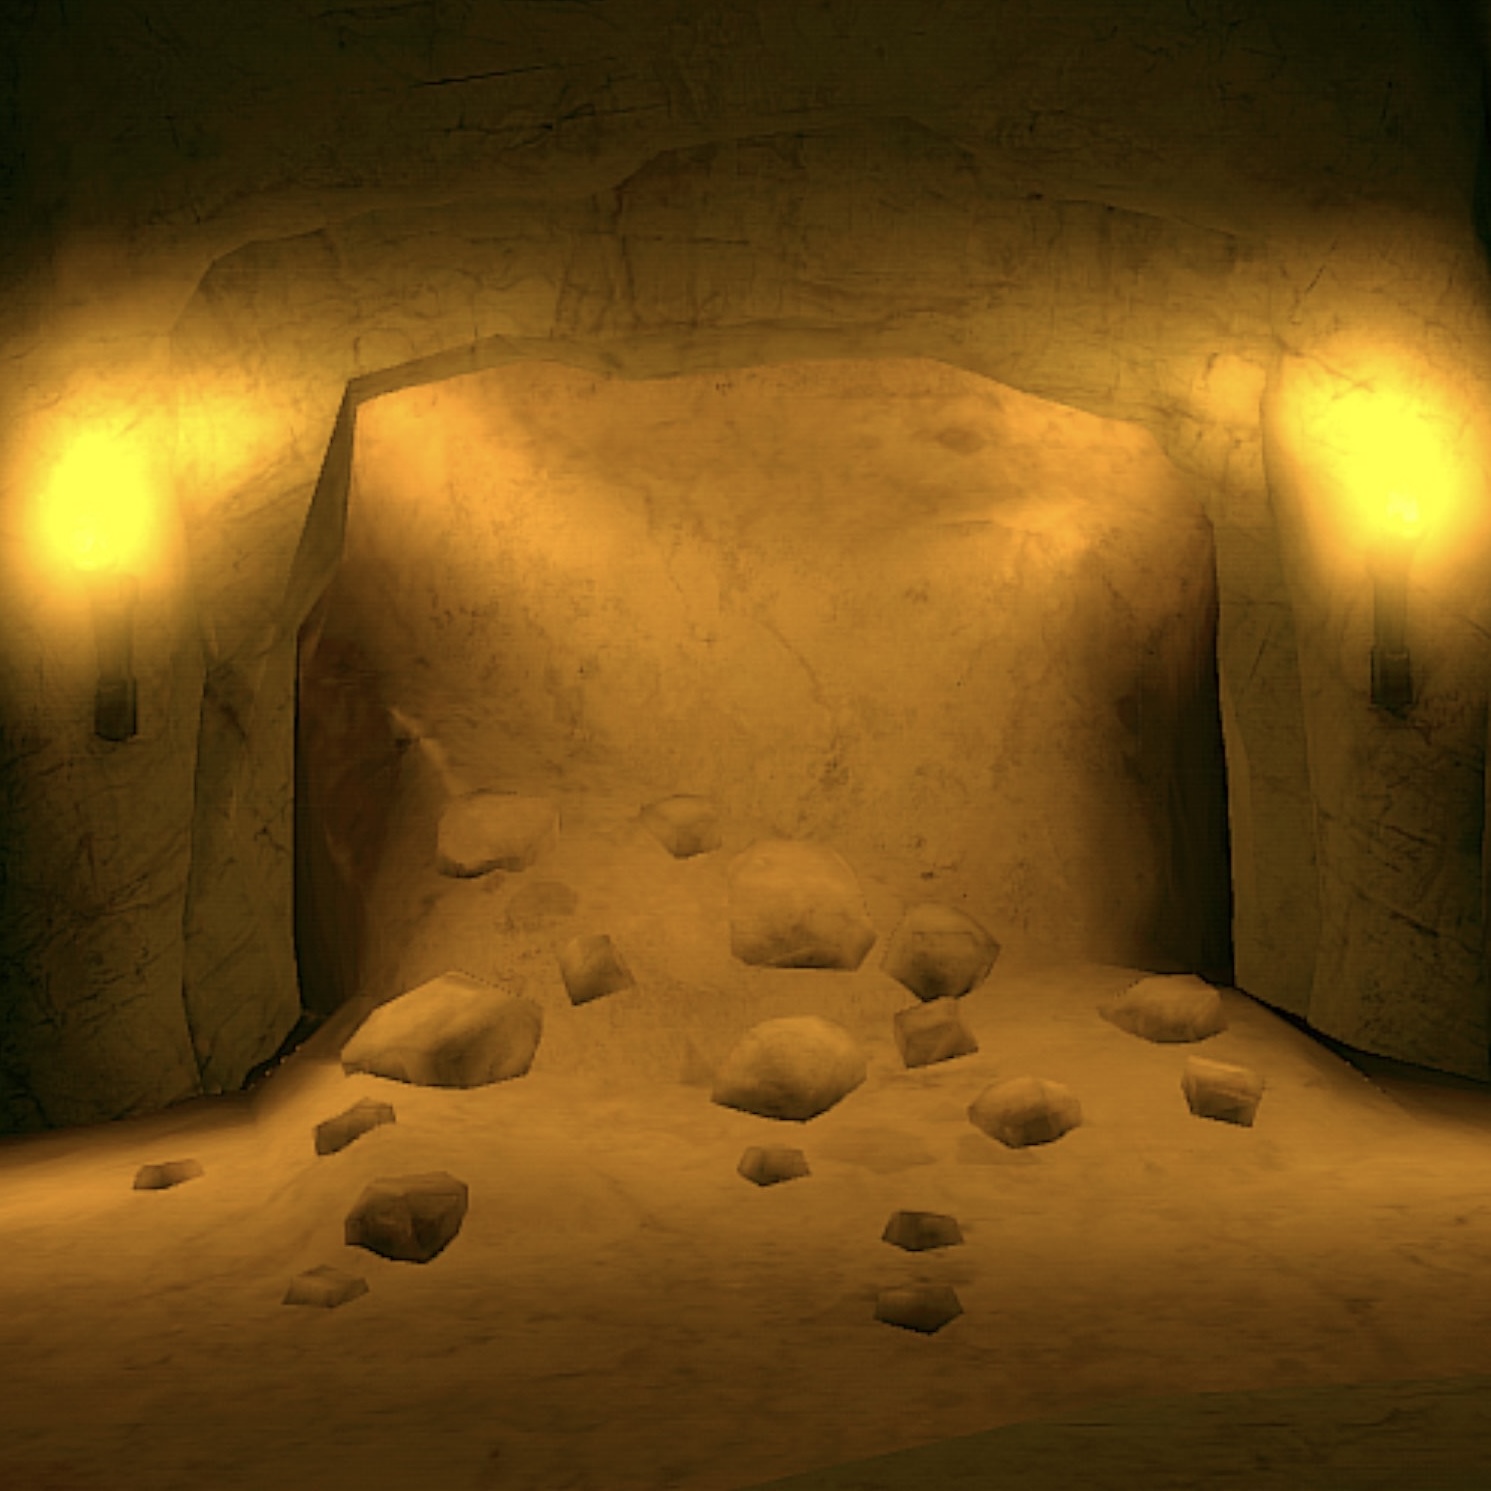
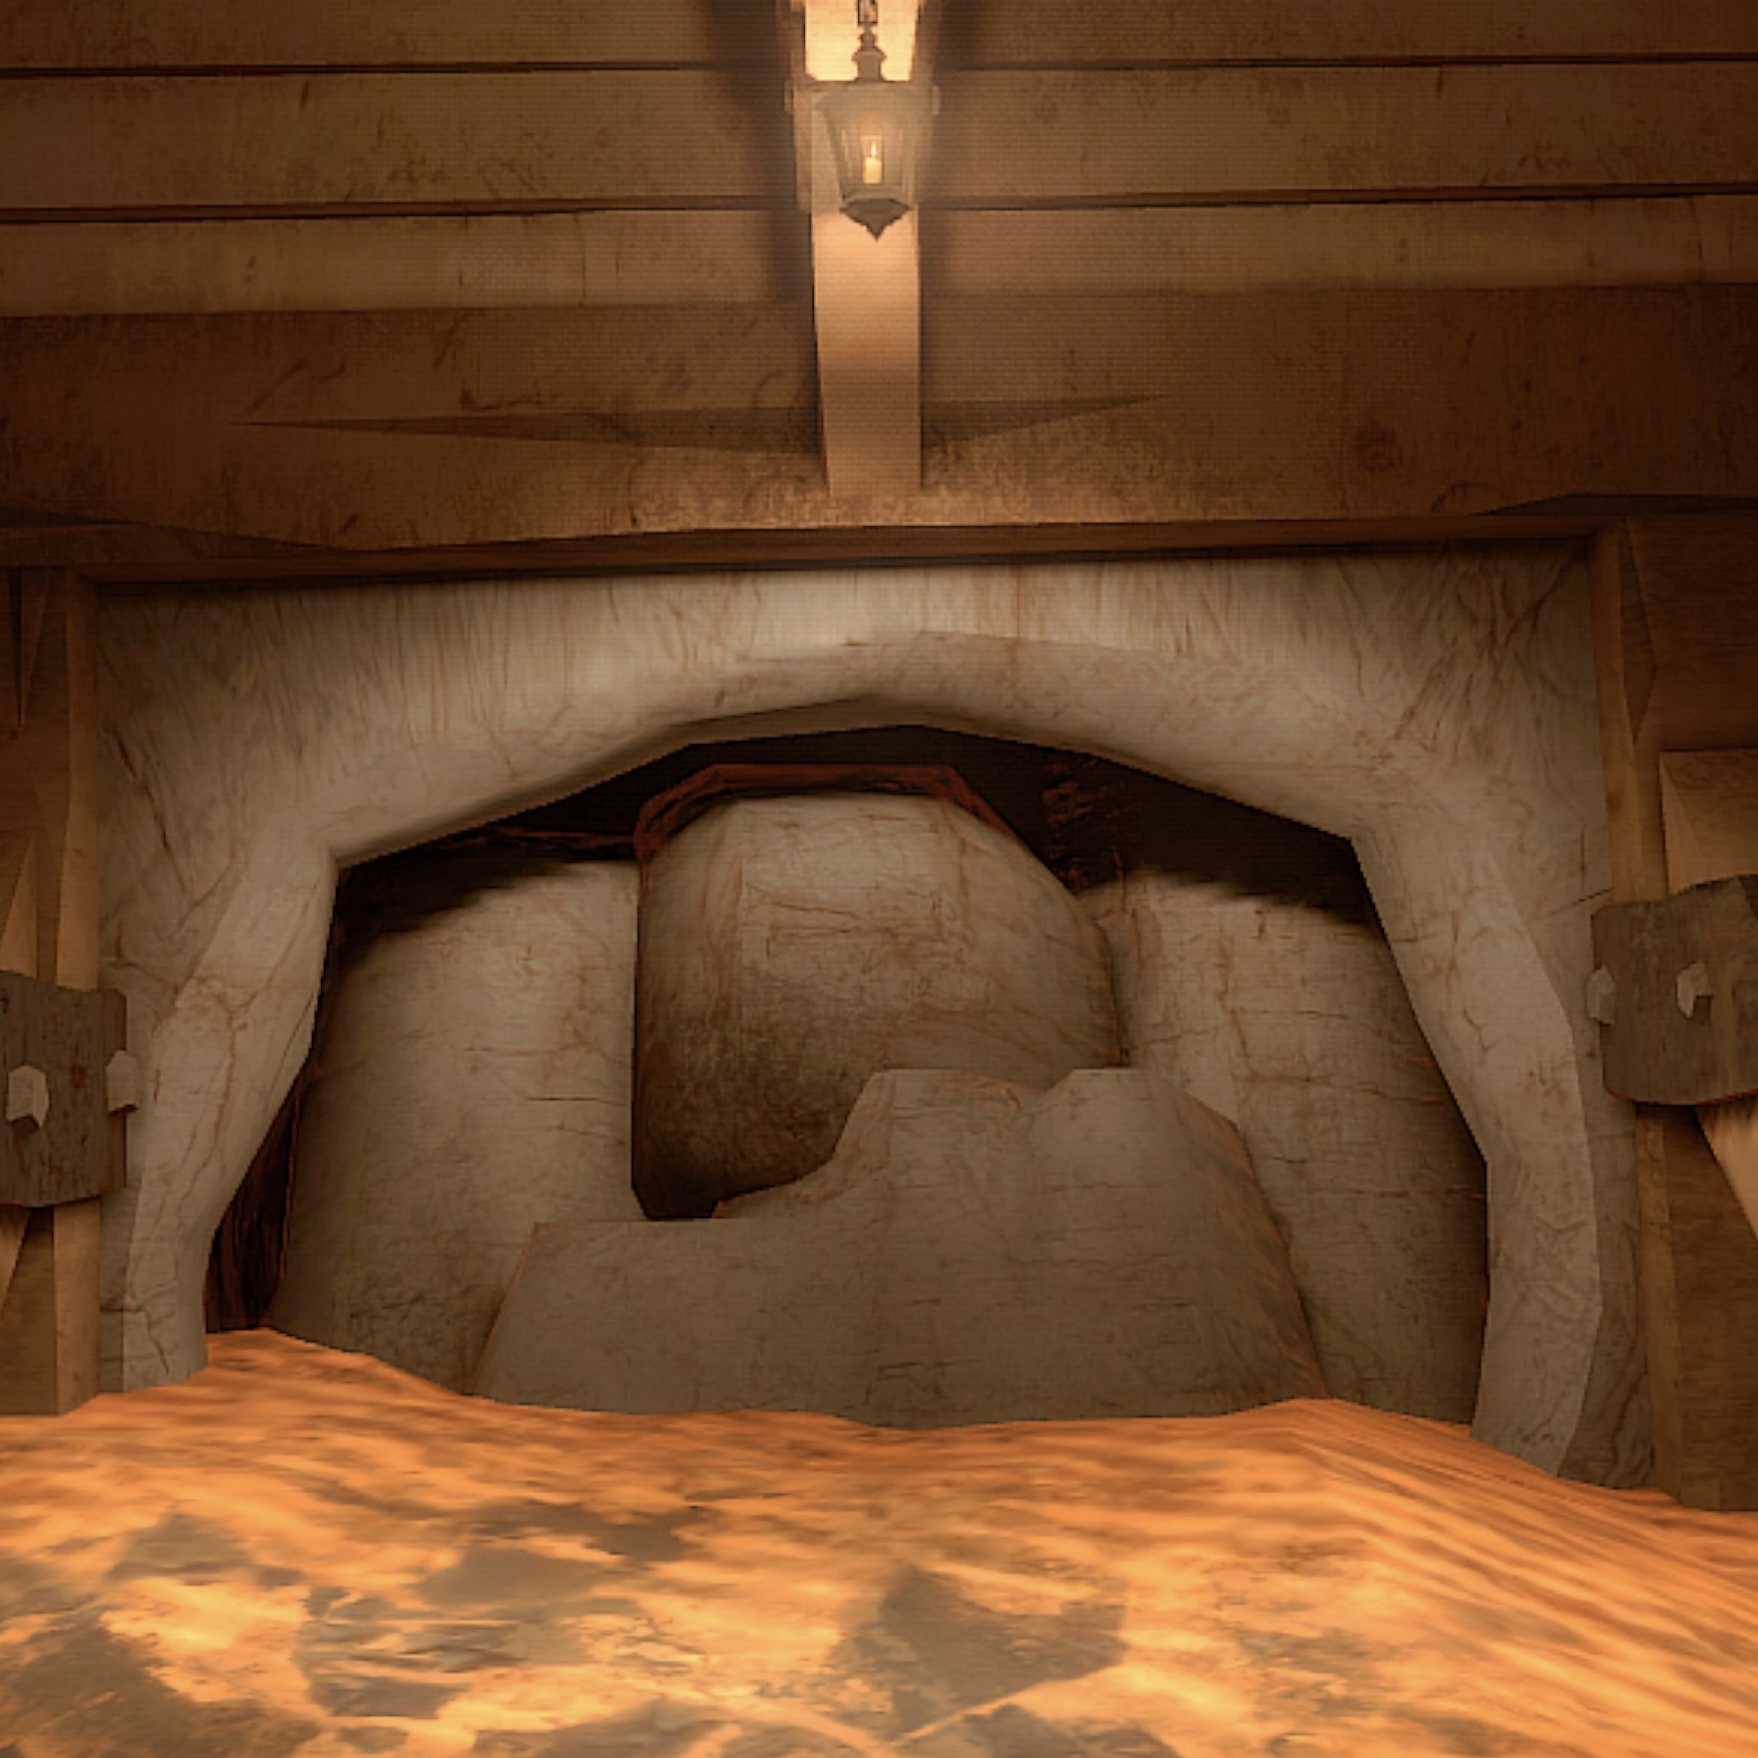
Chambers are connected via large square, circle and irregular open doorways. In some dungeons, some chamber exits will not be connected to another chamber and this is represented by caved-in rocky debris that is impassable. | |||
Circular chamber exits will always be connected to circular entrances of other chambers. Square chamber exits to square chamber entrances, and irregular doors connected to like doors in the next chambers. | |||
<div class="card-deck"> | <div class="card-deck"> | ||
| Line 74: | Line 81: | ||
</div> | </div> | ||
There are also atmospheric doorways that are always caved in: | There are also atmospheric doorways that are always caved in: | ||
| Line 84: | Line 88: | ||
</bootstrap_card> | </bootstrap_card> | ||
== Identifiable Chambers == | |||
All chambers are shown on the | === Chambers and Chest Tiers === | ||
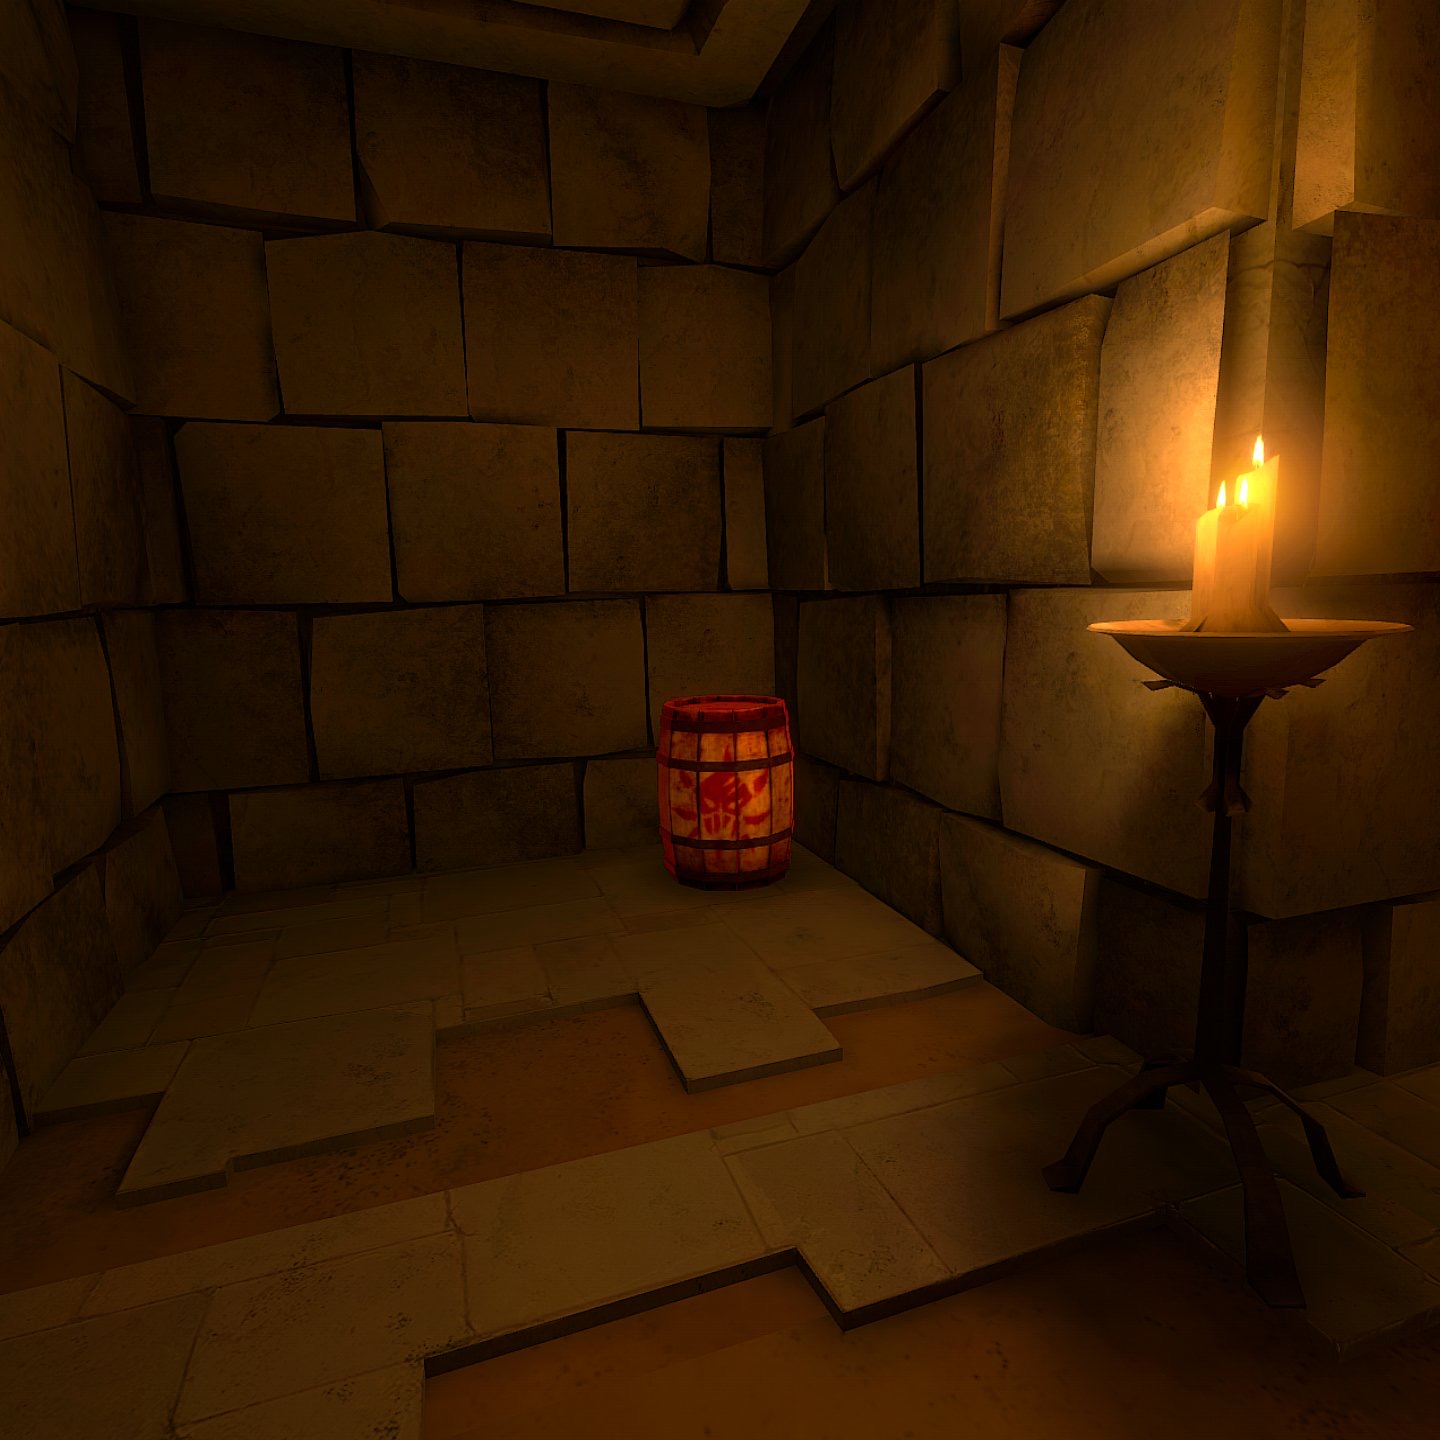
When a developer designs a chamber, they assign chest rarity to locations in the room. Legendary chest locations will always have a [[Tier 3 Chests]] in that location on every saved run of the dungeon. Common chest locations may have [[Tier 1 Chests]] or [[Tier 2 Chests]] in that location on each saved run of the dungeon. | |||
<div class="card-deck"> | |||
<bootstrap_card header="Legendary Chamber" footer="[[Tier 3 Chests|Tier 3 chest]] behind a gate."> | |||
[[File:tier 3 chest room with gate and friends.jpg]] | |||
</bootstrap_card> | |||
<bootstrap_card header="Legendary Chamber" footer="Tier 3 Chest locations will only ever have Tier 3 chests on successive saved dungeon runs."> | |||
[[File:room with tier 3 chest.jpg]] | |||
</bootstrap_card> | |||
</div> | |||
<div class="card-deck"> | |||
<bootstrap_card header="Open Tier 3 Chest" footer="This chest required a switch to be pulled to drop the gate."> | |||
[[File:tier 3 chest open.jpg]] | |||
</bootstrap_card> | |||
<bootstrap_card header="Occupied Chest Location" footer="common chest locations can be different tiers on successive saved dungeon runs"> | |||
[[File:common chest location.jpg]] | |||
</bootstrap_card> | |||
<bootstrap_card header="Unoccupied Chest Location" footer="This location may have a [[Tier 1 Chests|Tier 1 Chest]] or [[Tier 2 Chests|Tier 2 Chest]] in another dungeon instance."> | |||
[[File:empty chest location.jpg]] | |||
</bootstrap_card> | |||
</div> | |||
=== Secret Rooms === | |||
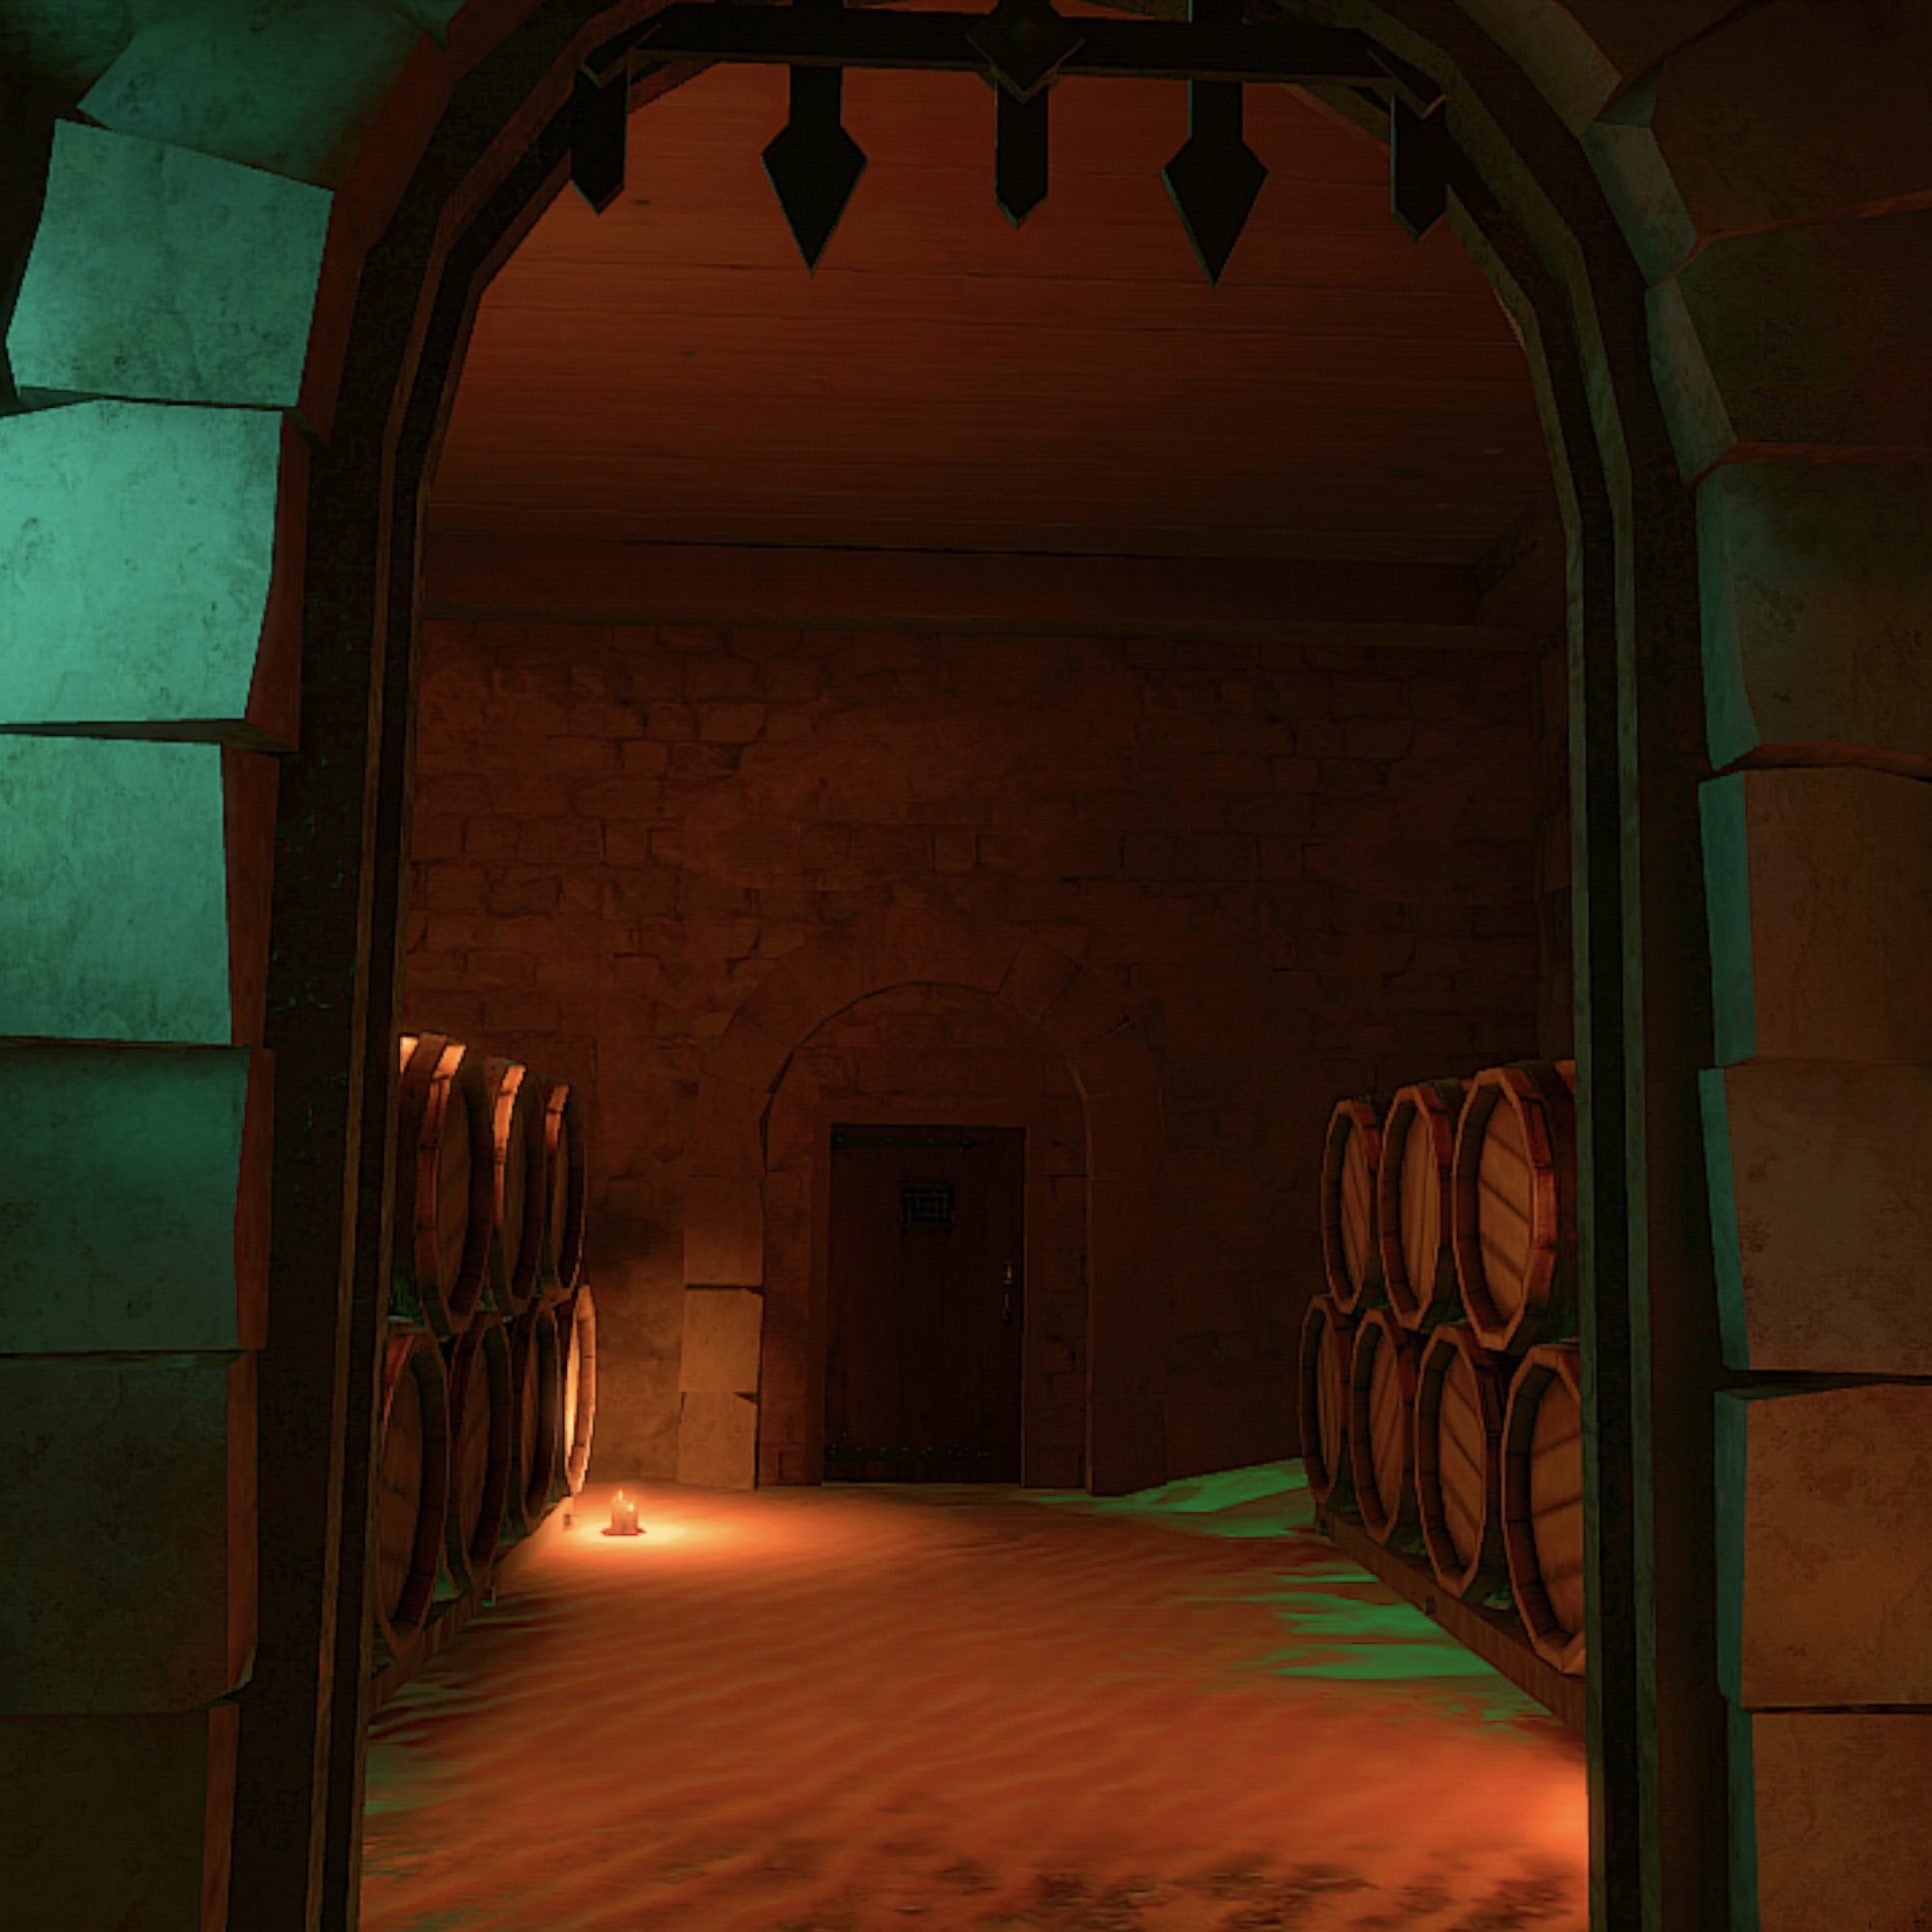
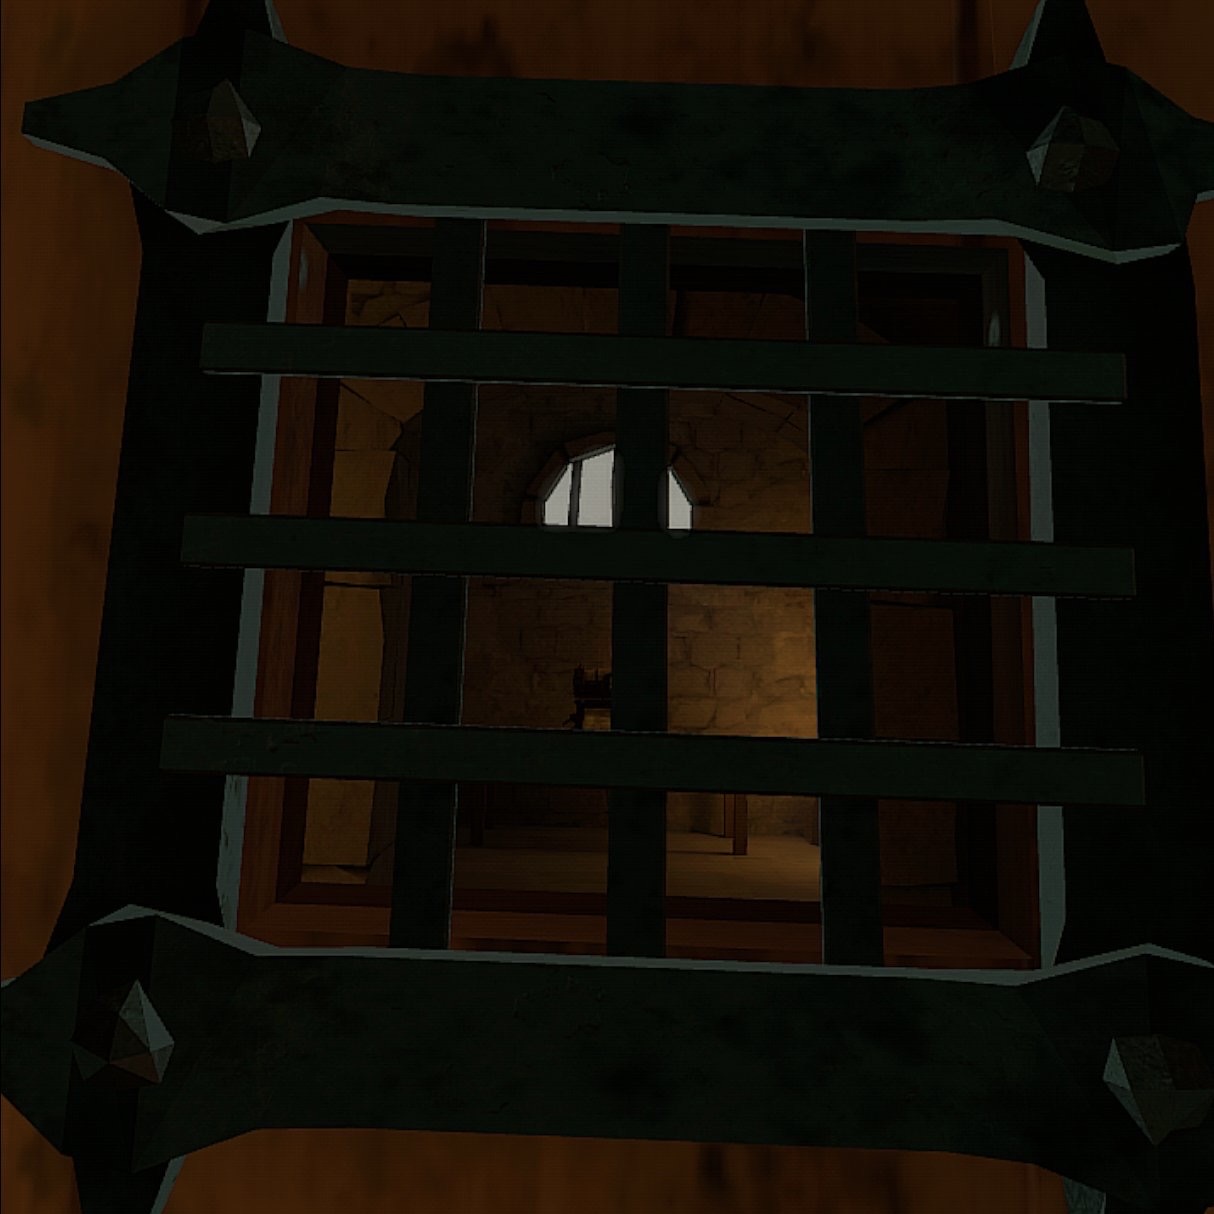
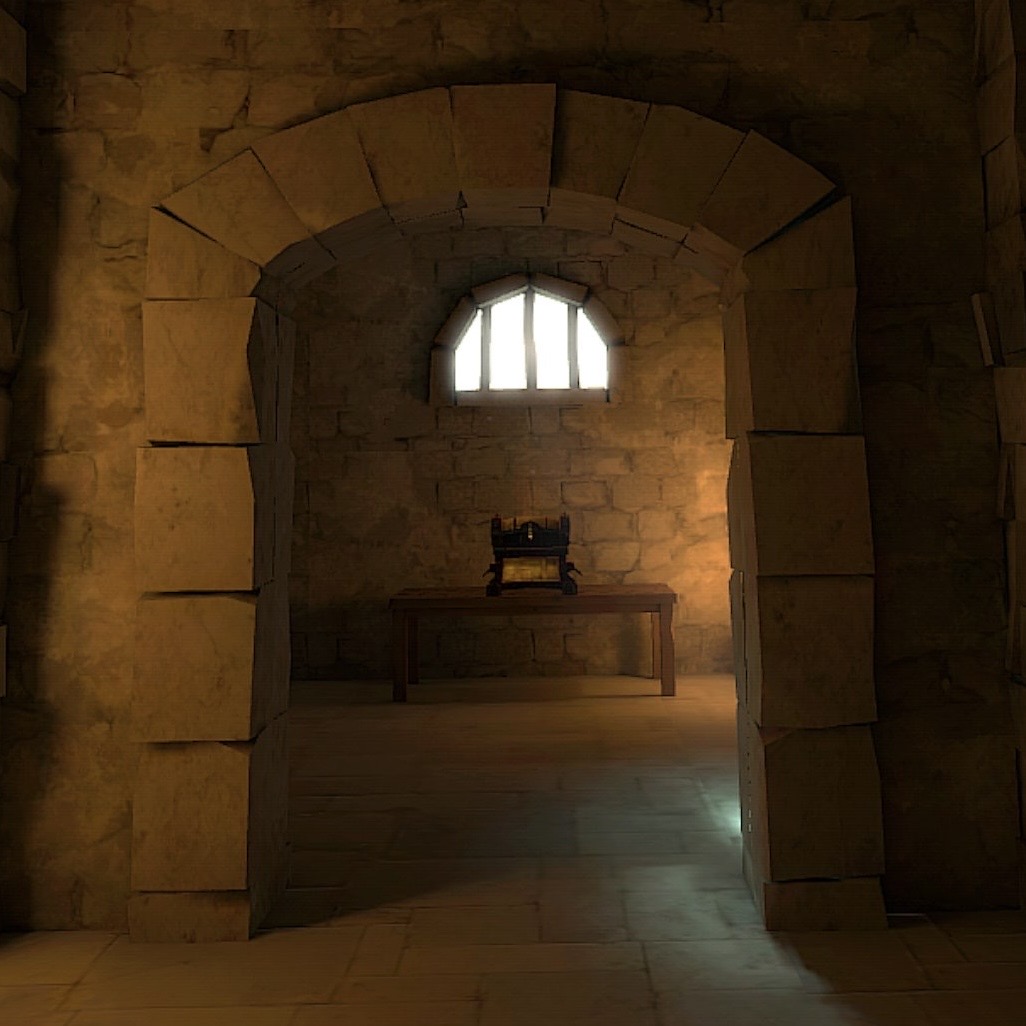
Chambers, except for the end room where "Save The Drone" occurs, may have a number of walls where a locked wooden door can appear. These are affectionally known as "secret doors" and lead to "secret rooms" which are smaller rooms that can be the size of a closet or as large as the smallest chambers. In saved dungeon, secret doors will appear in the same locations with the same secret room behind them. | |||
<div class="card-deck"> | |||
<bootstrap_card header="Secret Door" footer="locked wooden doors are affectionately known as secret doors"> | |||
[[File:secret door.jpg]] | |||
</bootstrap_card> | |||
<bootstrap_card header="Peek through secret door" footer="players can peek through locked doors to see what is on the other side""> | |||
[[File:peek through secret door.jpg]] | |||
</bootstrap_card> | |||
<bootstrap_card header="Open secret door" footer="once unlocked, players may enter and retrieve items inside."> | |||
[[File:secret open door.jpg]] | |||
</bootstrap_card> | |||
</div> | |||
Secret rooms can also contain chests which assigned chest rarities similar to chambers, legendary chest locations will always have a [[Tier 3 Chests]] in that location on every saved run of the dungeon. Common chest locations may have [[Tier 1 Chests]] or [[Tier 2 Chests]] in that location on each saved run of the dungeon. | |||
=== Key Locations === | |||
[[Key|Keys]] can be found located in predetermined places in chambers. These keys are known as "room keys". A room key can be located in one of many different locations in a single chamber. Most chambers, but not all, have one or two room keys. | |||
Players can also get keys as drops from mobs after killing them. | |||
<bootstrap_card class="center-card-wide" header="Room key on the floor" footer="a chamber with its room key"> | |||
[[File:key on floor of room.jpg]] | |||
</bootstrap_card> | |||
=== Identifiable Chambers === | |||
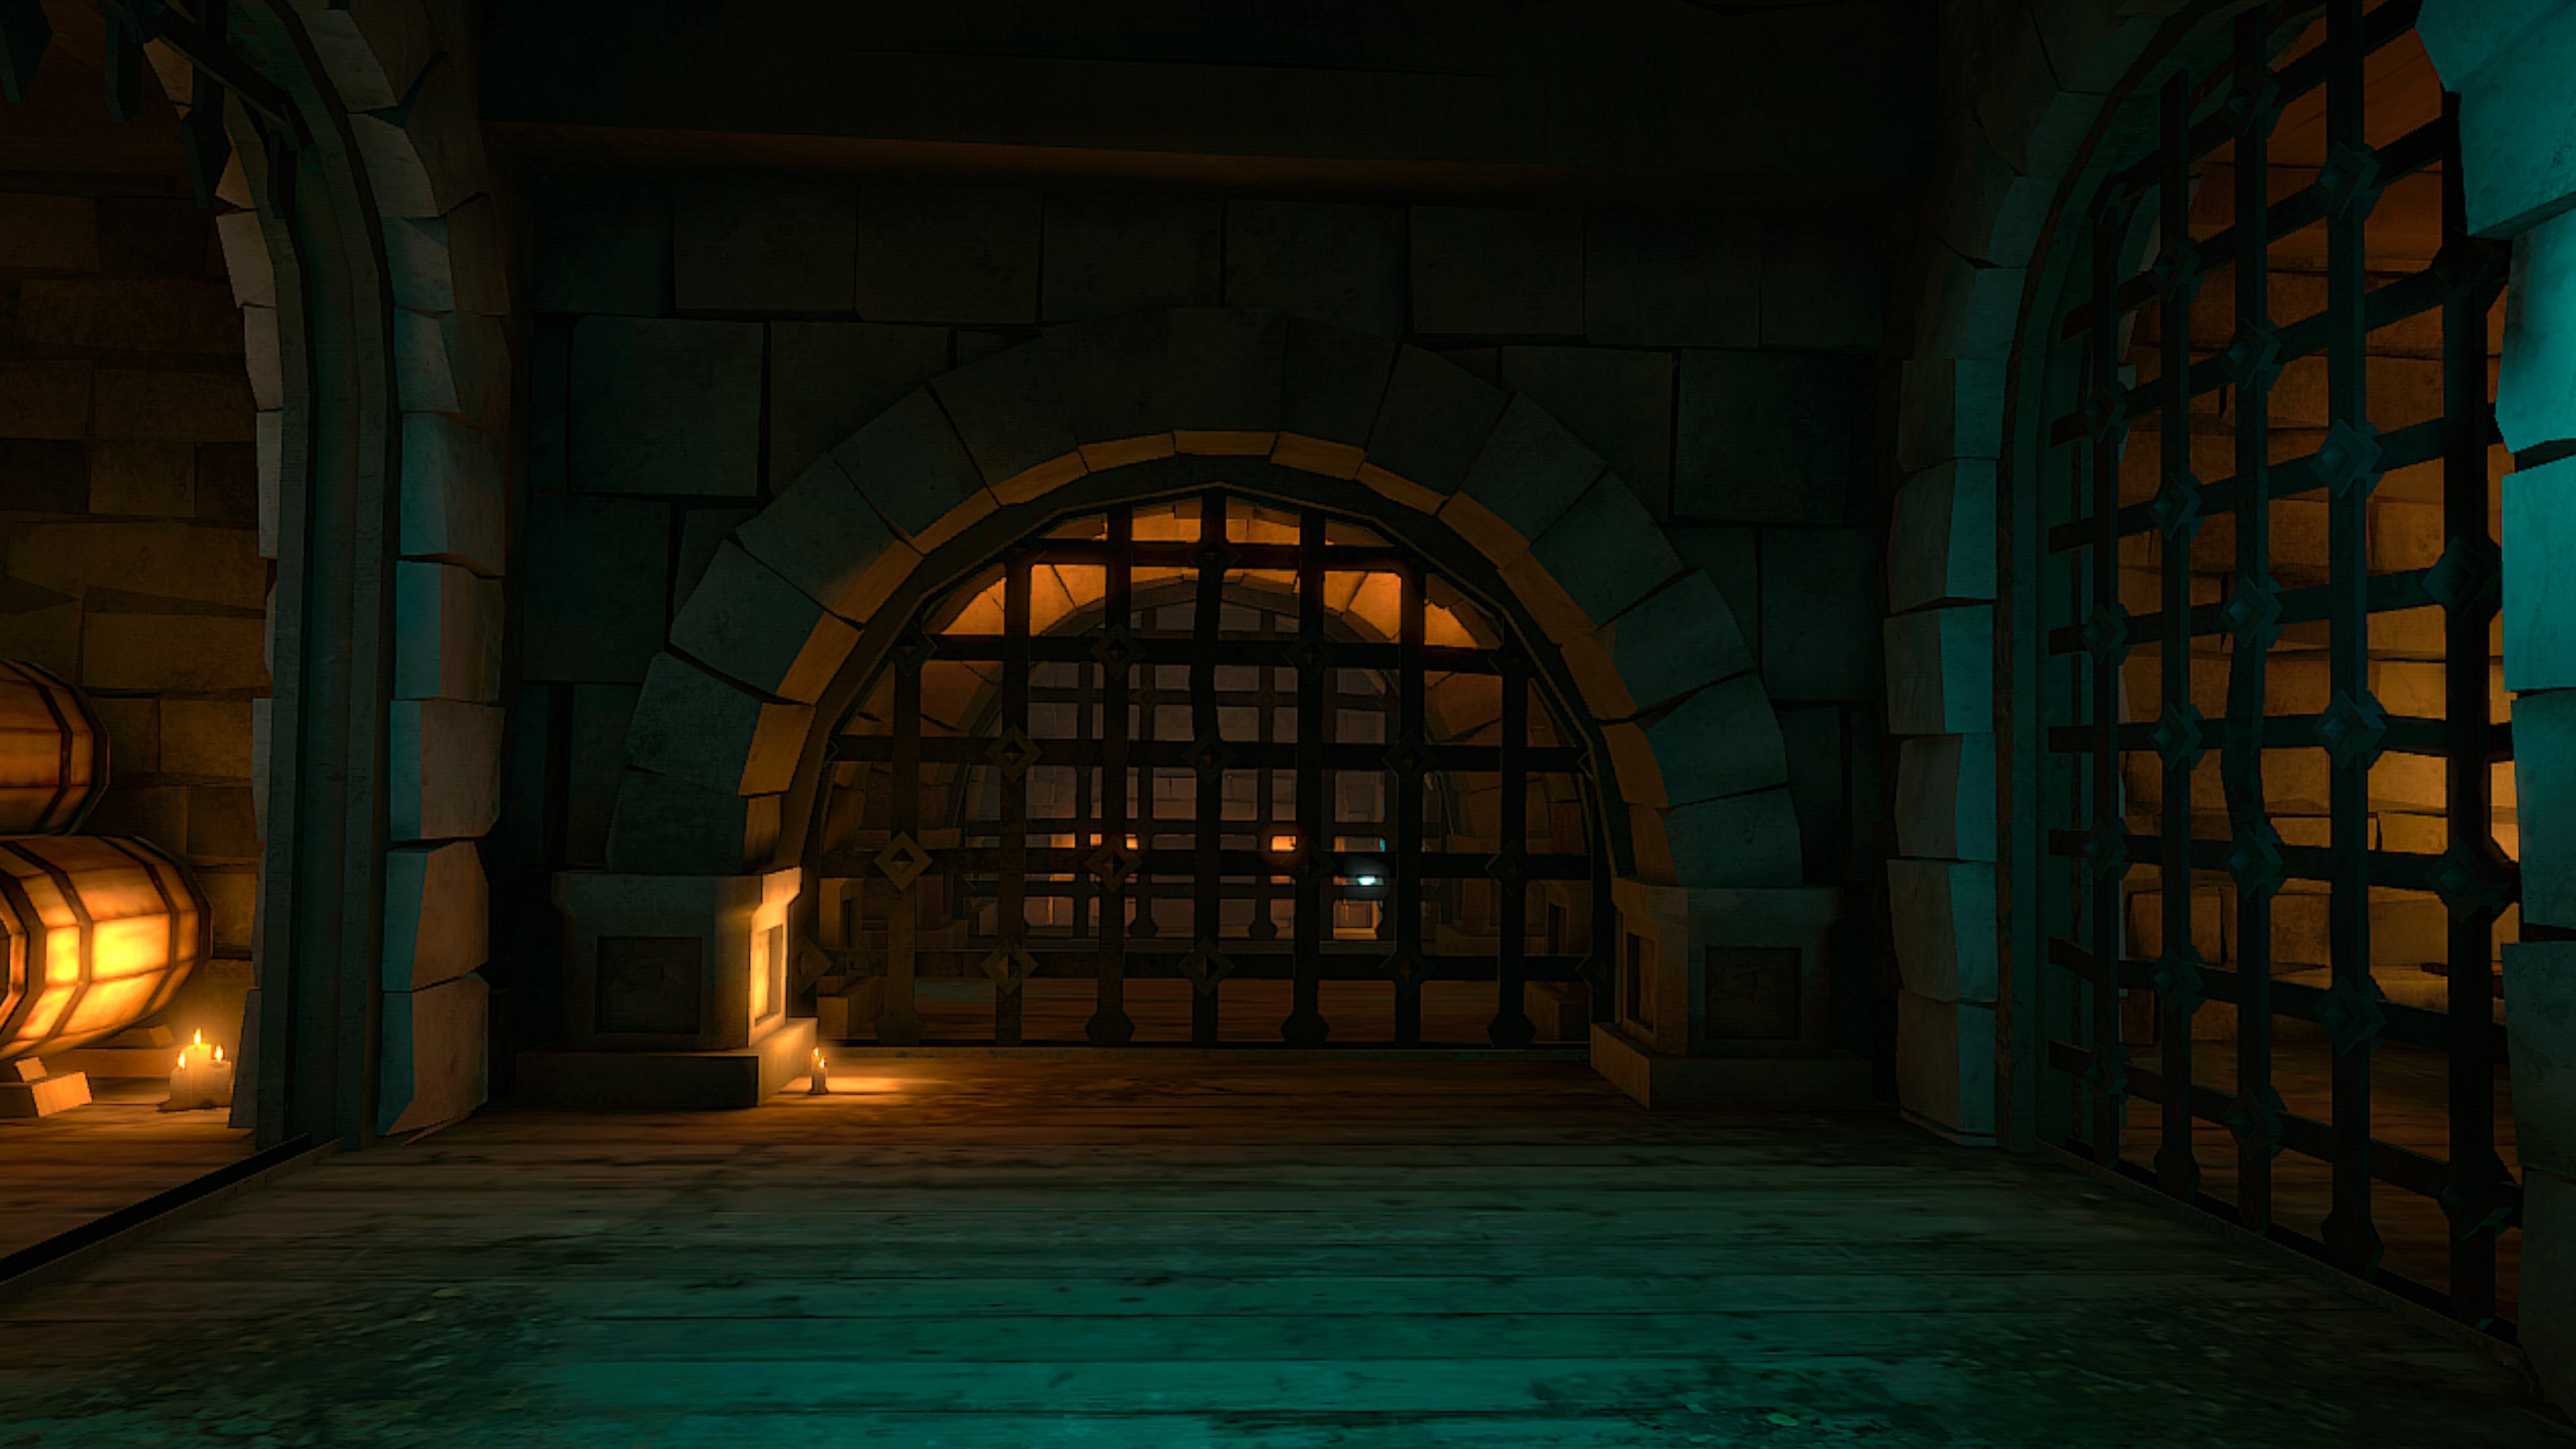
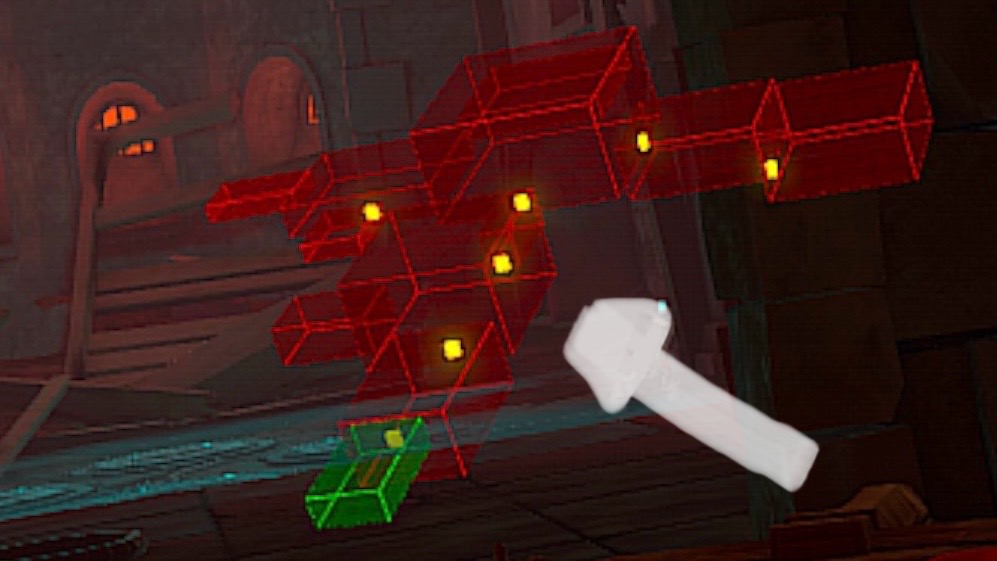
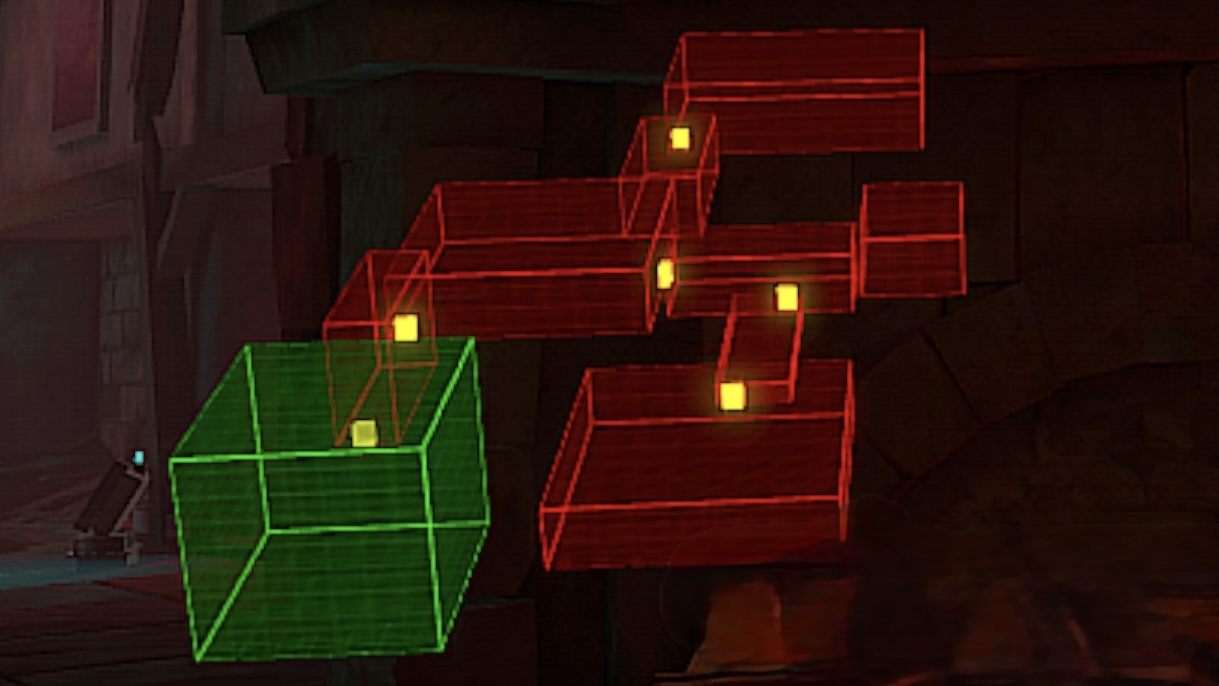
All chambers are shown on the dungeon map at start time. Some chambers can be identified by their size and shape. | |||
<div class="card-deck center-card-wide"> | <div class="card-deck center-card-wide"> | ||
| Line 94: | Line 152: | ||
<bootstrap_card header="In-game Room" footer="three-story three-chain room as seen in game"> | <bootstrap_card header="In-game Room" footer="three-story three-chain room as seen in game"> | ||
[[File: 3-story chain room.jpg]] | [[File: 3-story chain room.jpg]] | ||
</bootstrap_card> | |||
</div> | |||
<div class="card-deck center-card-wide"> | |||
<bootstrap_card header="Dungeon Map" footer="start chamber on map"> | |||
[[File:start-room-gated-map.jpg]] | |||
</bootstrap_card> | |||
<bootstrap_card header="In-game starting chamber" footer="start chamber with gated rooms"> | |||
[[File:start chamber with gated rooms.jpg]] | |||
</bootstrap_card> | |||
</div> | |||
<div class="card-deck center-card-wide"> | |||
<bootstrap_card header="Dungeon Map" footer="Arena chamber on map"> | |||
[[File:circular-arena-room-map.jpg]] | |||
</bootstrap_card> | |||
<bootstrap_card header="In-game area chamber" footer="Arena chamber in-game"> | |||
[[File:circular-arena-room.jpg]] | |||
</bootstrap_card> | |||
</div> | |||
Not all rooms are easy to distinguish from the map, but this room is identifiable because it is a start room and its doorway is vertically midway on its wall. | |||
<div class="card-deck center-card-wide"> | |||
<bootstrap_card header="Map" footer="start room mining area on map"> | |||
[[File:start-room-mine-area-map.jpg]] | |||
</bootstrap_card> | |||
<bootstrap_card header="Mining Chamber" footer="start room mining area in game"> | |||
[[File:start-room-mine-area.jpg]] | |||
</bootstrap_card> | </bootstrap_card> | ||
| Line 117: | Line 216: | ||
</div> | </div> | ||
=== Starting Chamber === | |||
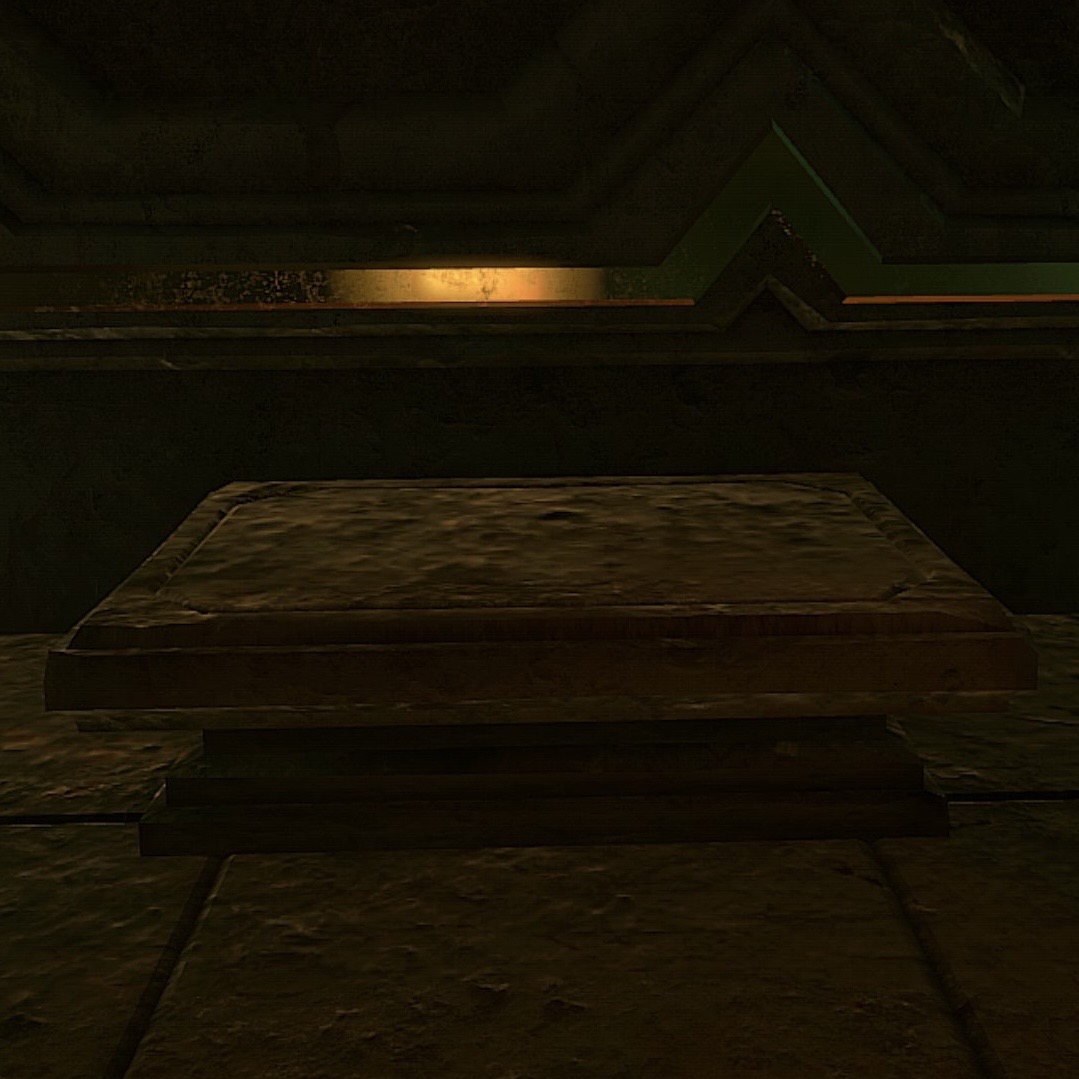
The starting Chamber, marked green on the [[Dungeon Map]] will only ever have one exit. | |||
[[ | |||
=== Ending Chamber === | |||
<bootstrap_card header=" | The last chamber in a dungeon will contain the drone you must save to complete your mission. End chambers only have one entrance. never have secret doors. | ||
[[File: | |||
<bootstrap_card class="center-card" header="The Drone"> | |||
[[File:end-room drone.jpg]] | |||
</bootstrap_card> | </bootstrap_card> | ||
== | === Skeleton Key Sconce and Gate Chambers === | ||
Some dungeons will have the end portion of the dungeon locked away behind a gate that can only be opened with a [[Skeleton Key]]. | |||
The team must first find the skeleton key located on a sconce in some chamber of the dungeon and unlock the gate using that key. | |||
<div class="card-deck"> | <div class="card-deck"> | ||
<bootstrap_card header=" | <bootstrap_card header="Skeleton key sconce"> | ||
[[File: | [[File:skeleton key sconce.jpg]] | ||
</bootstrap_card> | |||
<bootstrap_card header="Locked gate"> | |||
[[File:unlocked skeleton gate.jpg]] | |||
</bootstrap_card> | </bootstrap_card> | ||
<bootstrap_card header=" | <bootstrap_card header="Skeleton key lock"> | ||
[[File: | [[File:skeleton key receptacle .jpg]] | ||
</bootstrap_card> | </bootstrap_card> | ||
<bootstrap_card header=" | <bootstrap_card header="Unlocked gate"> | ||
[[File: | [[File:locked skeleton gate.jpg]] | ||
</bootstrap_card> | </bootstrap_card> | ||
</div> | </div> | ||
=== Boss Event Chamber === | |||
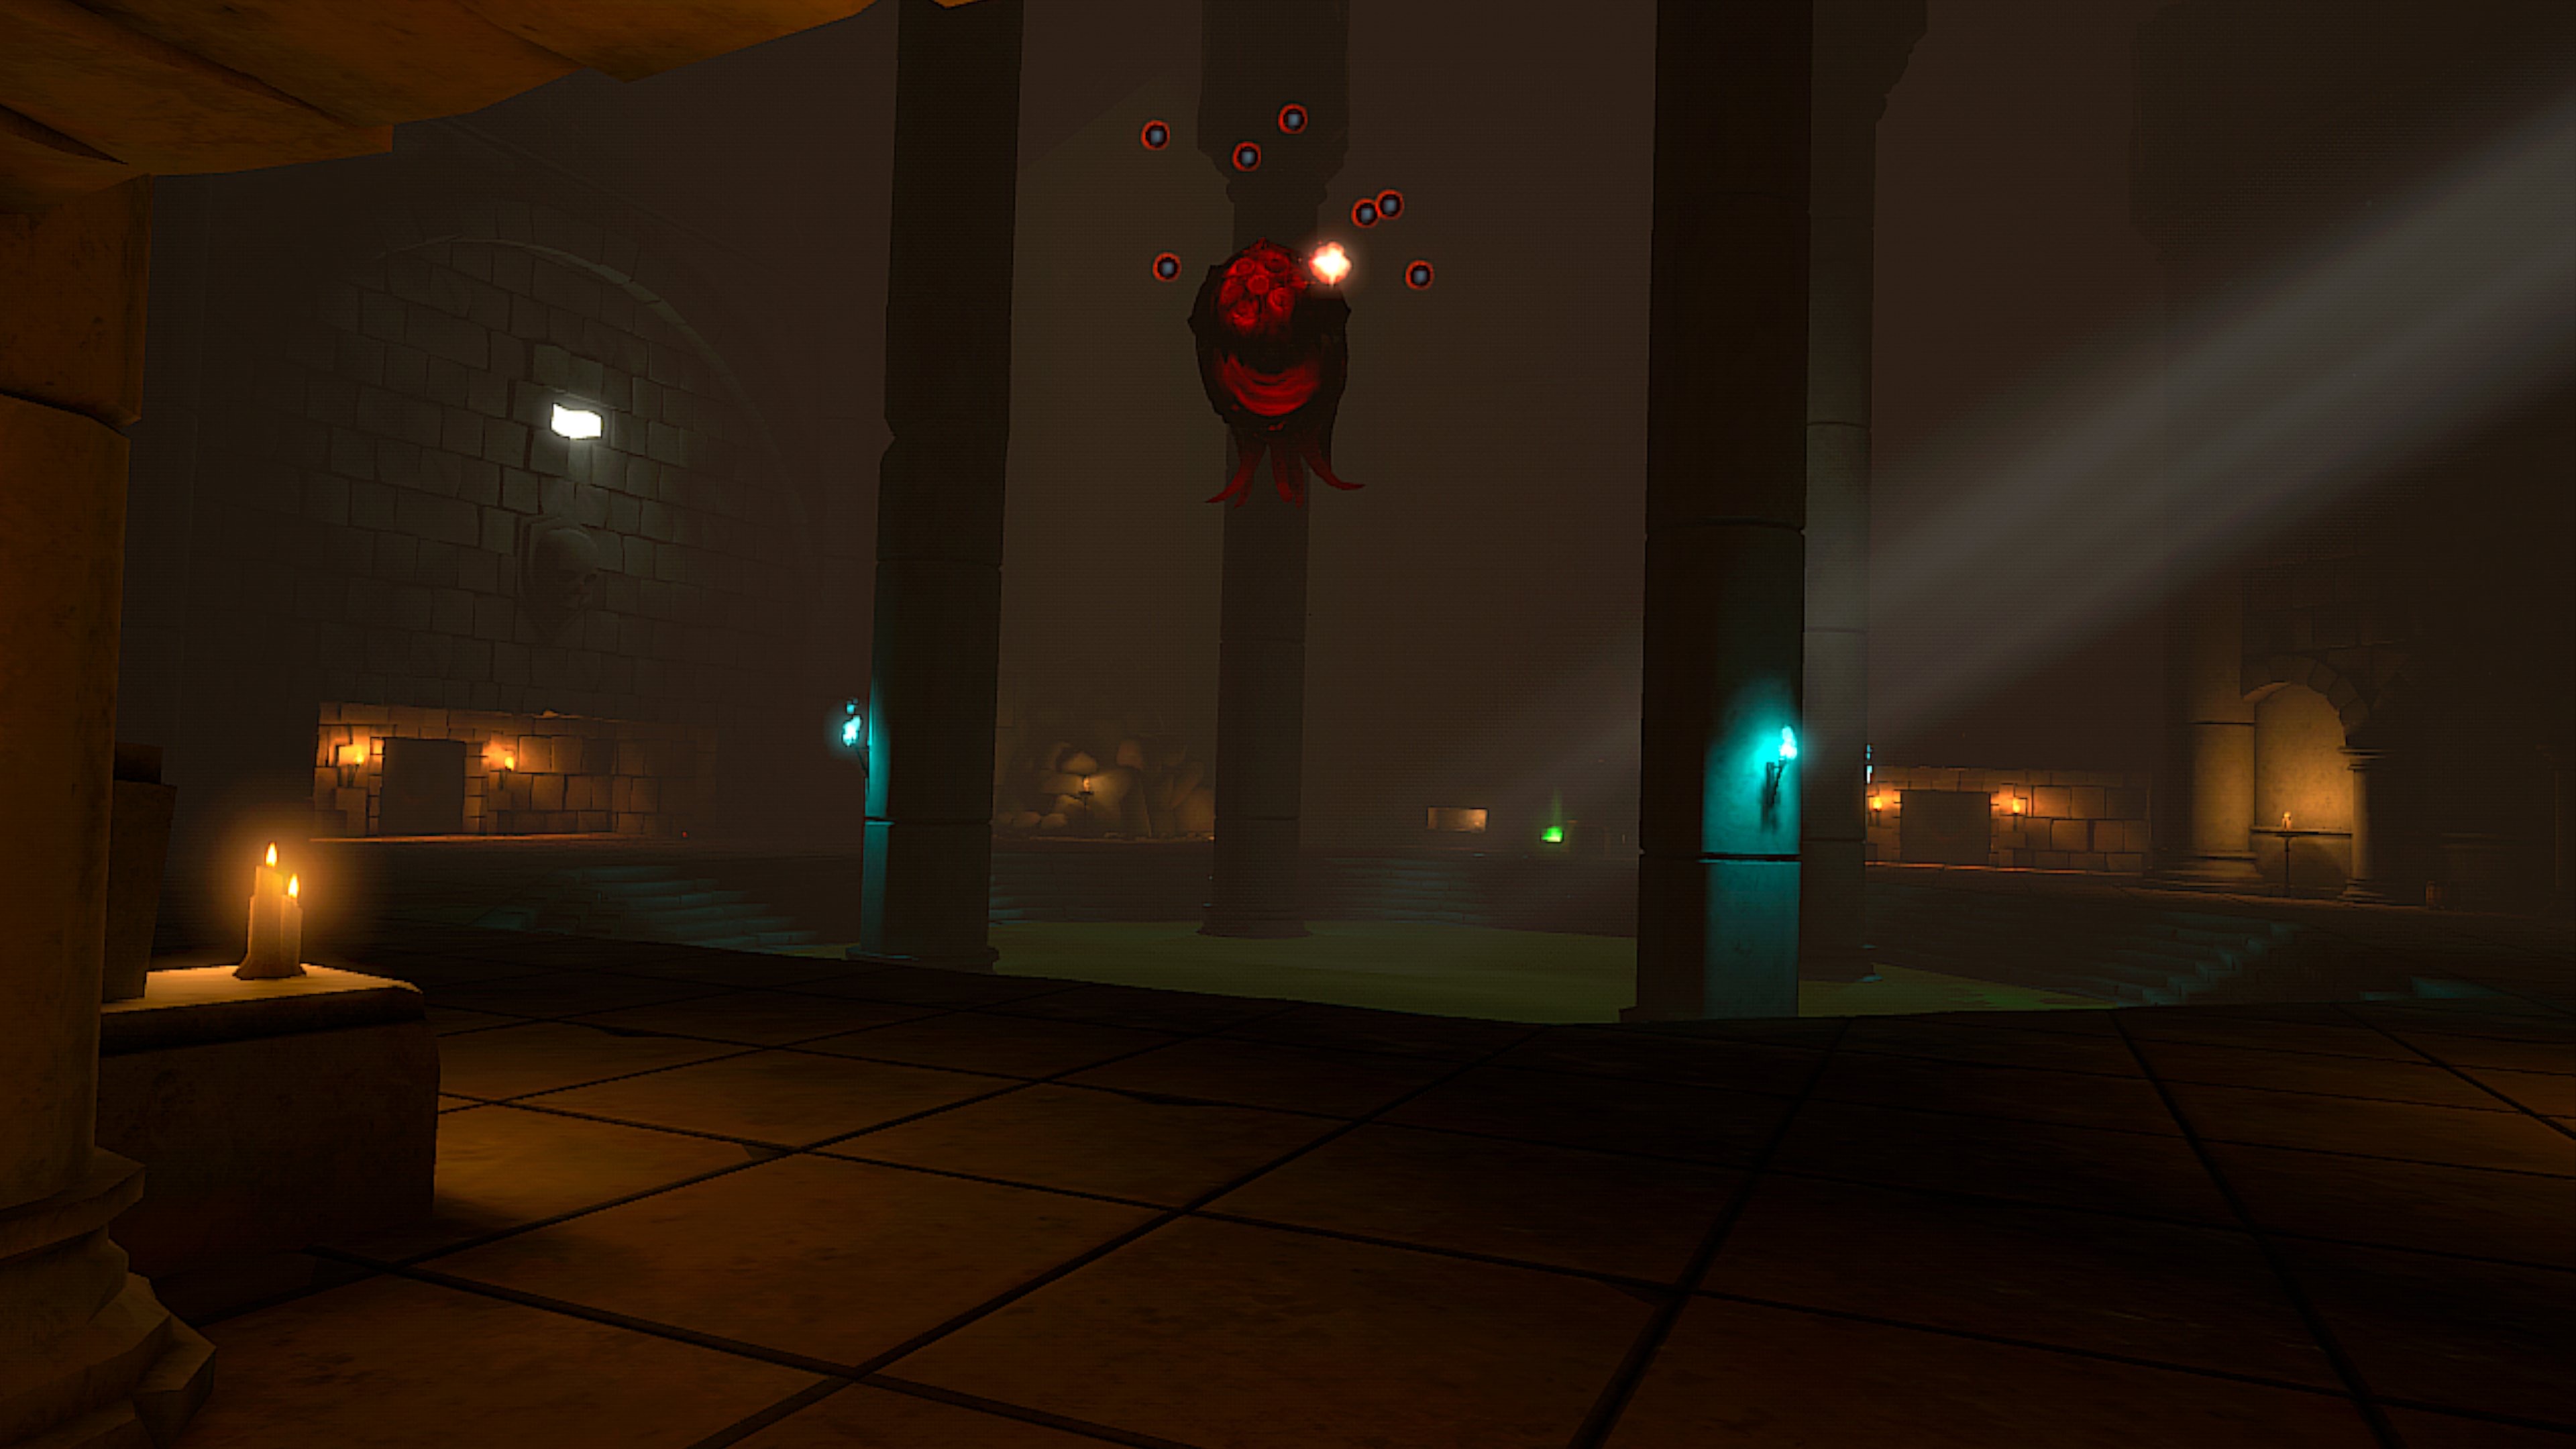
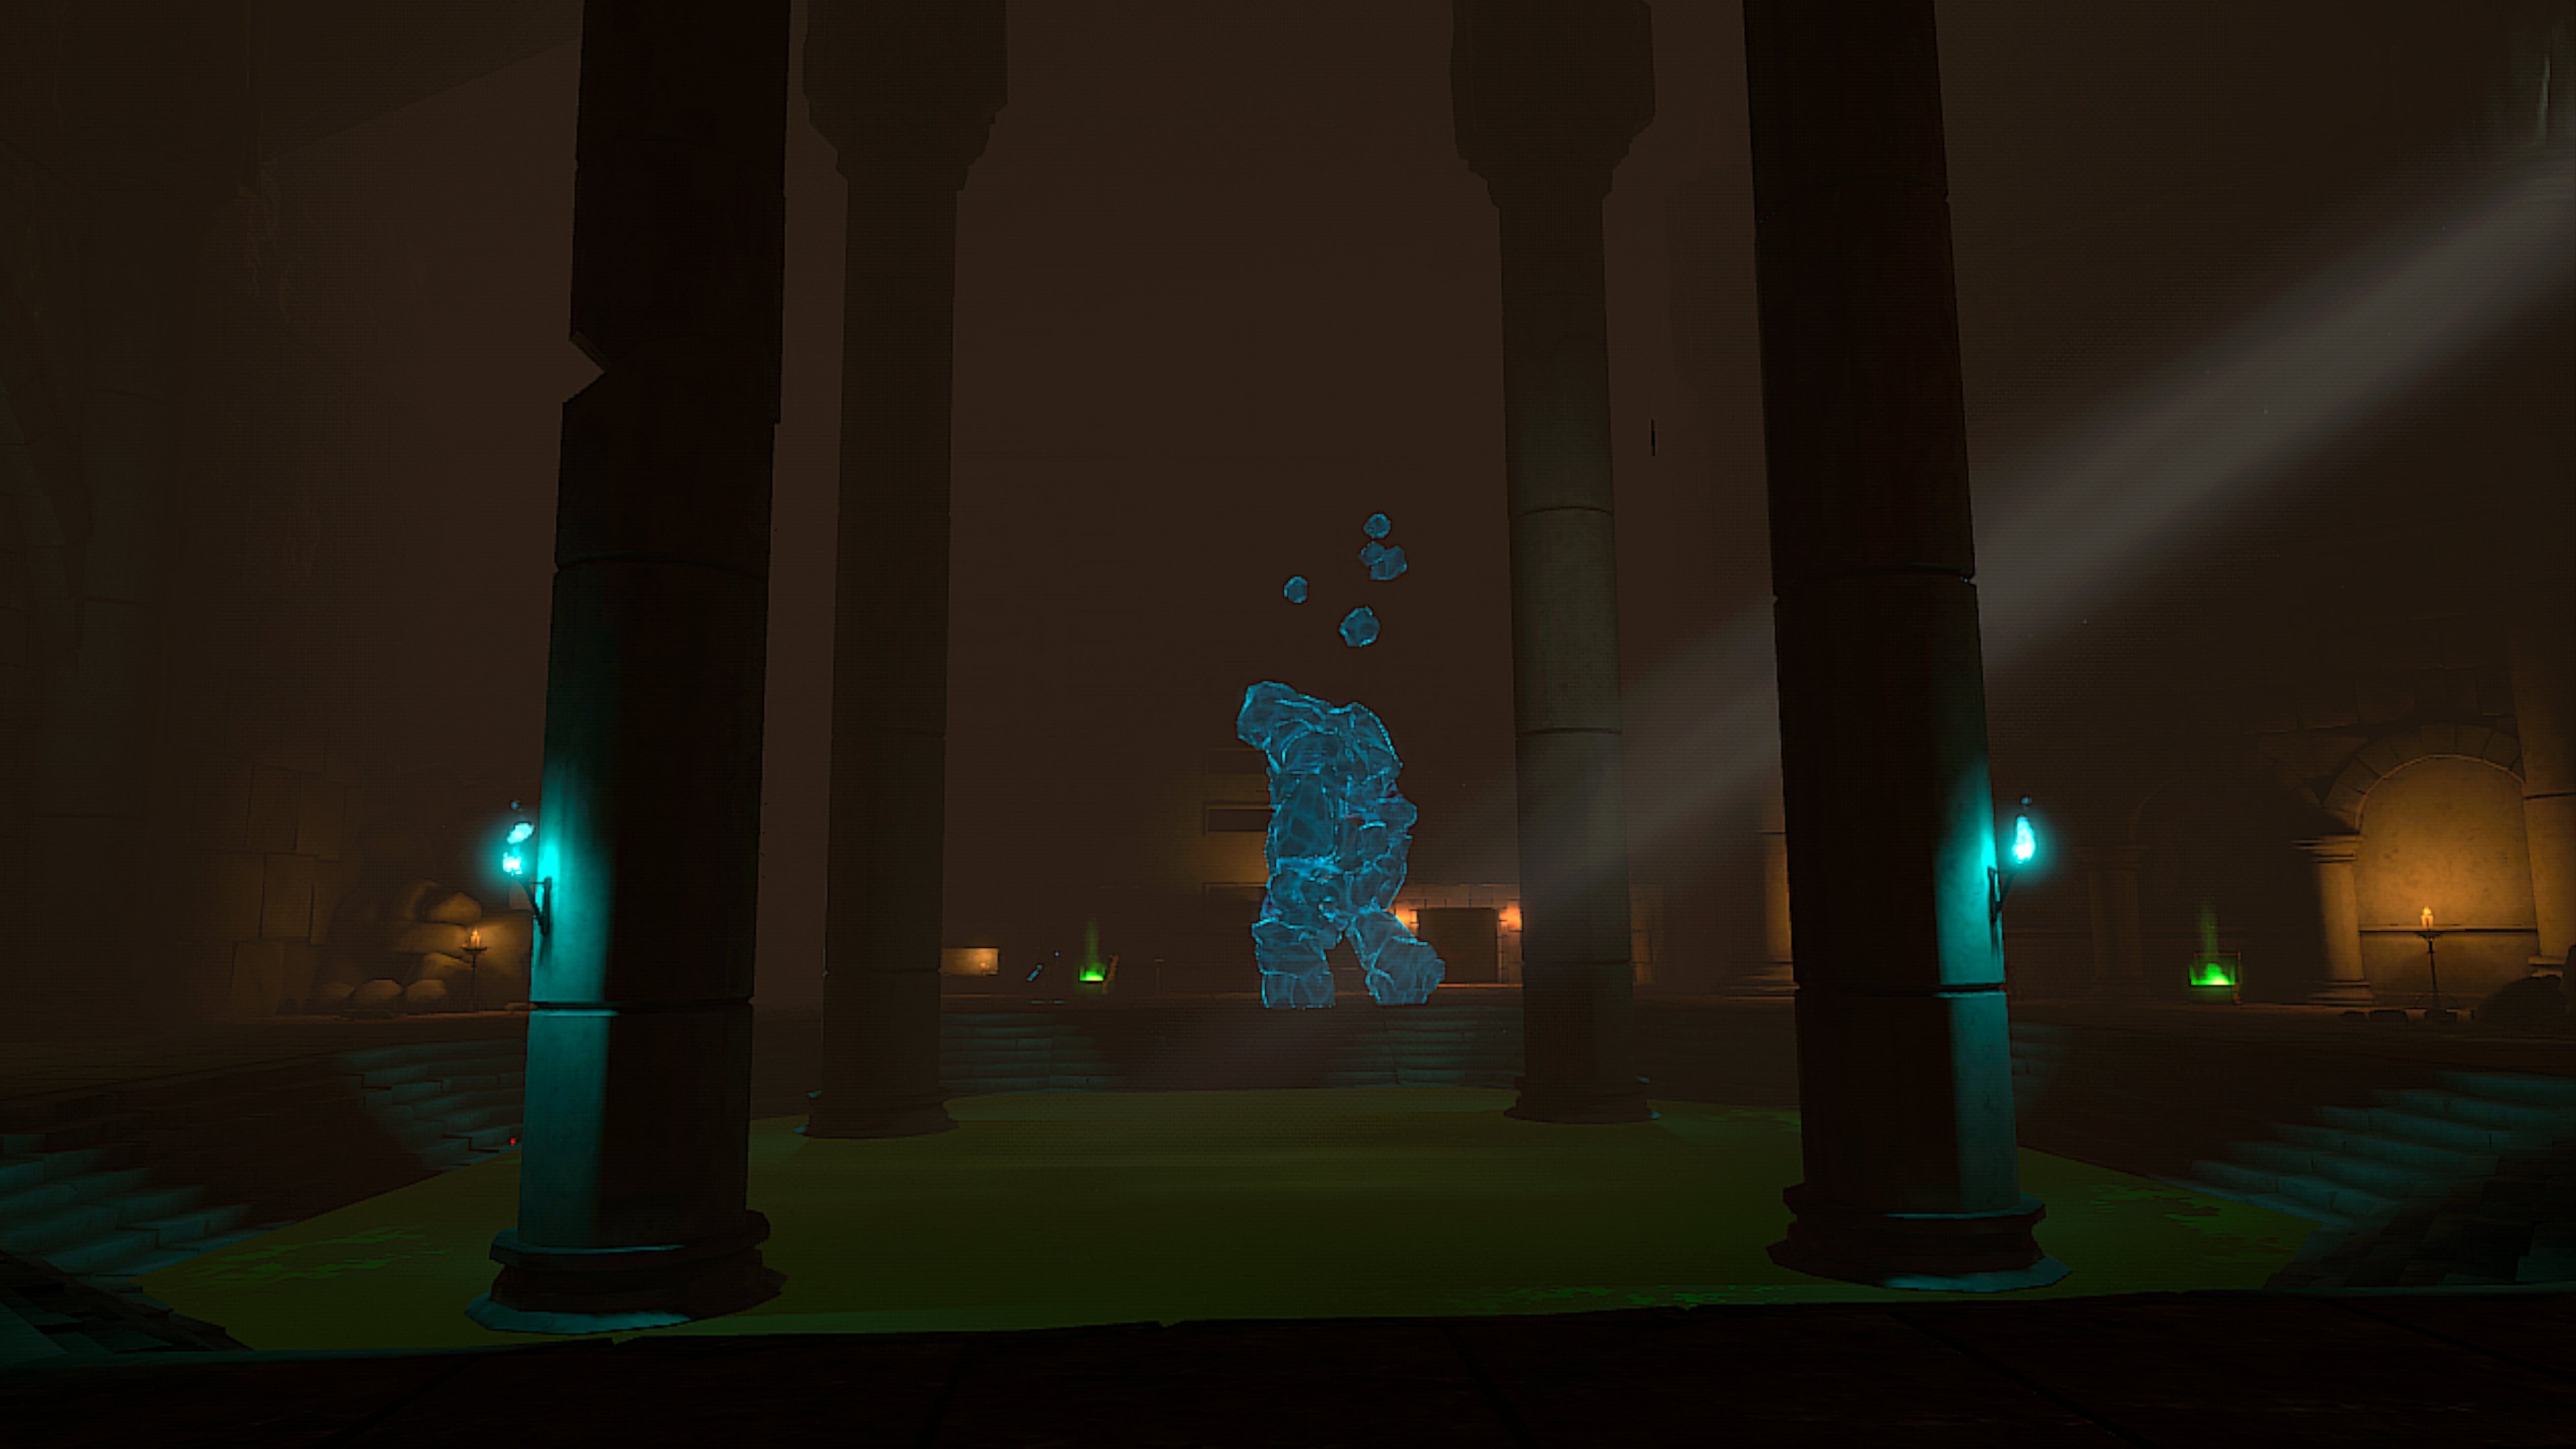
Some of the larger chambers can be used for a special event called the Boss Event. If a dungeon instance has one of these chambers it can be designated and the chamber will have five chests with unlimited [[Bomb Potion|bomb potions]] and either a [[Golem]] or [[Octoculus Boss]]. | |||
Your reward for completing this event is a [[Tier 3 Chests|Tier 3 Chest]]. | |||
Only one boss event will ever appear in a single dungeon layout. | |||
== | <div class="card-deck center-card-wide"> | ||
<bootstrap_card header="Golem Boss Event" footer="Arena chamber with the golem boss"> | |||
[[File:boss-event-with-golem.jpg]] | |||
</bootstrap_card> | |||
<bootstrap_card | <bootstrap_card header="Arena Chamber" footer="Arena chamber with the Octoculus Boss"> | ||
[[File: | [[File:circular-arena-room.jpg]] | ||
</bootstrap_card> | </bootstrap_card> | ||
</div> | |||
== Chamber Gadgets == | |||
== | === Switches and Pressure plates === | ||
<gallery> | |||
File:floor pressure plate.jpg | |||
File:wall switch orange light.jpg | |||
</gallery> | |||
== | === Gates === | ||
<gallery> | |||
File:skeleton key gate no light.jpg | |||
File:chest behind gate.jpg | |||
File:skeleton key gate two lights.jpg | |||
</gallery> | |||
=== Lights above switches and doors === | |||
Lights above gates, doors and switches don't always seem to be consistently connected. | |||
<div class="card-deck"> | <div class="card-deck"> | ||
<bootstrap_card header=" | <bootstrap_card header="Dungeon gate, no light"> | ||
[[File: | [[File:skeleton key gate no light.jpg]] | ||
</bootstrap_card> | </bootstrap_card> | ||
<bootstrap_card header=" | <bootstrap_card header="Dungeon gate, orange light"> | ||
[[File:unlocked skeleton gate.jpg]] | [[File:unlocked skeleton gate.jpg]] | ||
</bootstrap_card> | </bootstrap_card> | ||
<bootstrap_card header=" | <bootstrap_card header="Wall switch, orange light"> | ||
[[File: | [[File:wall switch orange light.jpg]] | ||
</bootstrap_card> | </bootstrap_card> | ||
<bootstrap_card header=" | <bootstrap_card header="Dungeon gate, white and orange lights"> | ||
[[File:skeleton key | [[File:skeleton key gate two lights.jpg]] | ||
</bootstrap_card> | </bootstrap_card> | ||
</div> | </div> | ||
== Hazards == | == Hazards and Traps == | ||
Dangerous dungeon features abound. These can be biome dependent like lava, in [[Lavaforge Realm]] and [[Sewer Tentacle]] or universally found across all [[realms]] like exploding barrels and [[Mimics]]. | Dangerous dungeon features abound. These can be biome dependent like lava, in [[Lavaforge Realm]] and [[Sewer Tentacle]] or universally found across all [[realms]] like exploding barrels and [[Mimics]]. | ||
| Line 222: | Line 314: | ||
</div> | </div> | ||
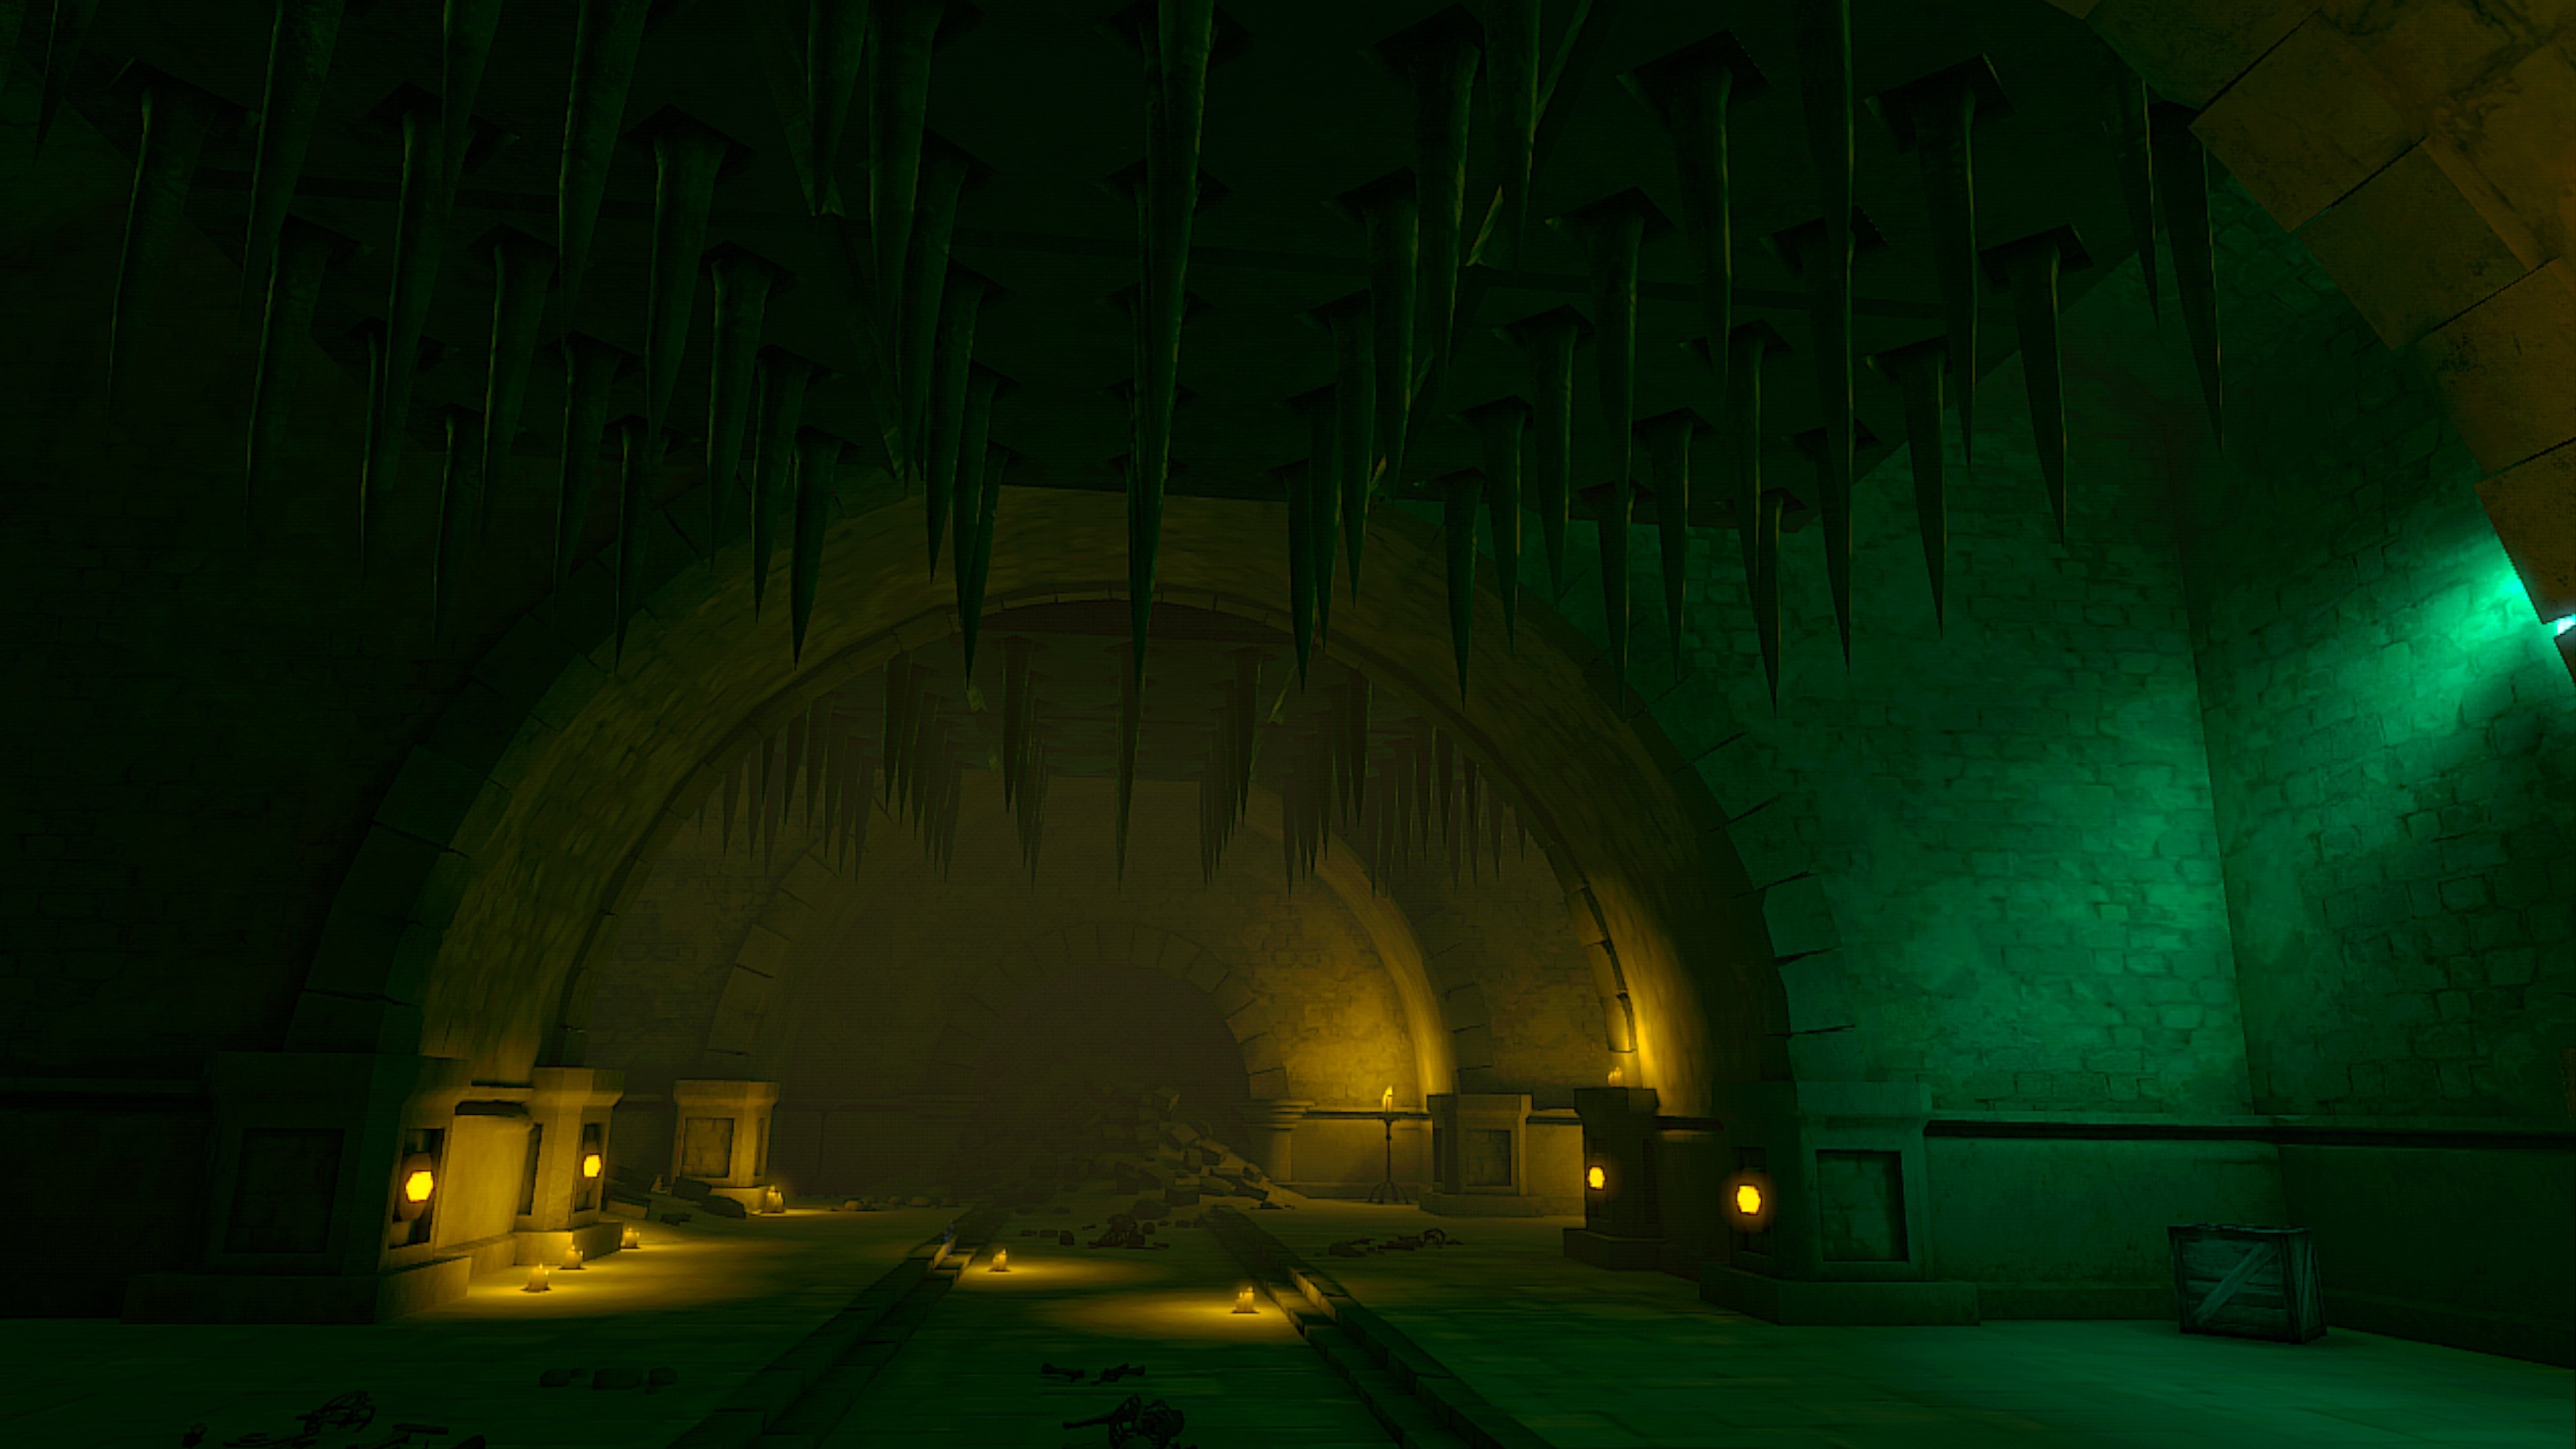
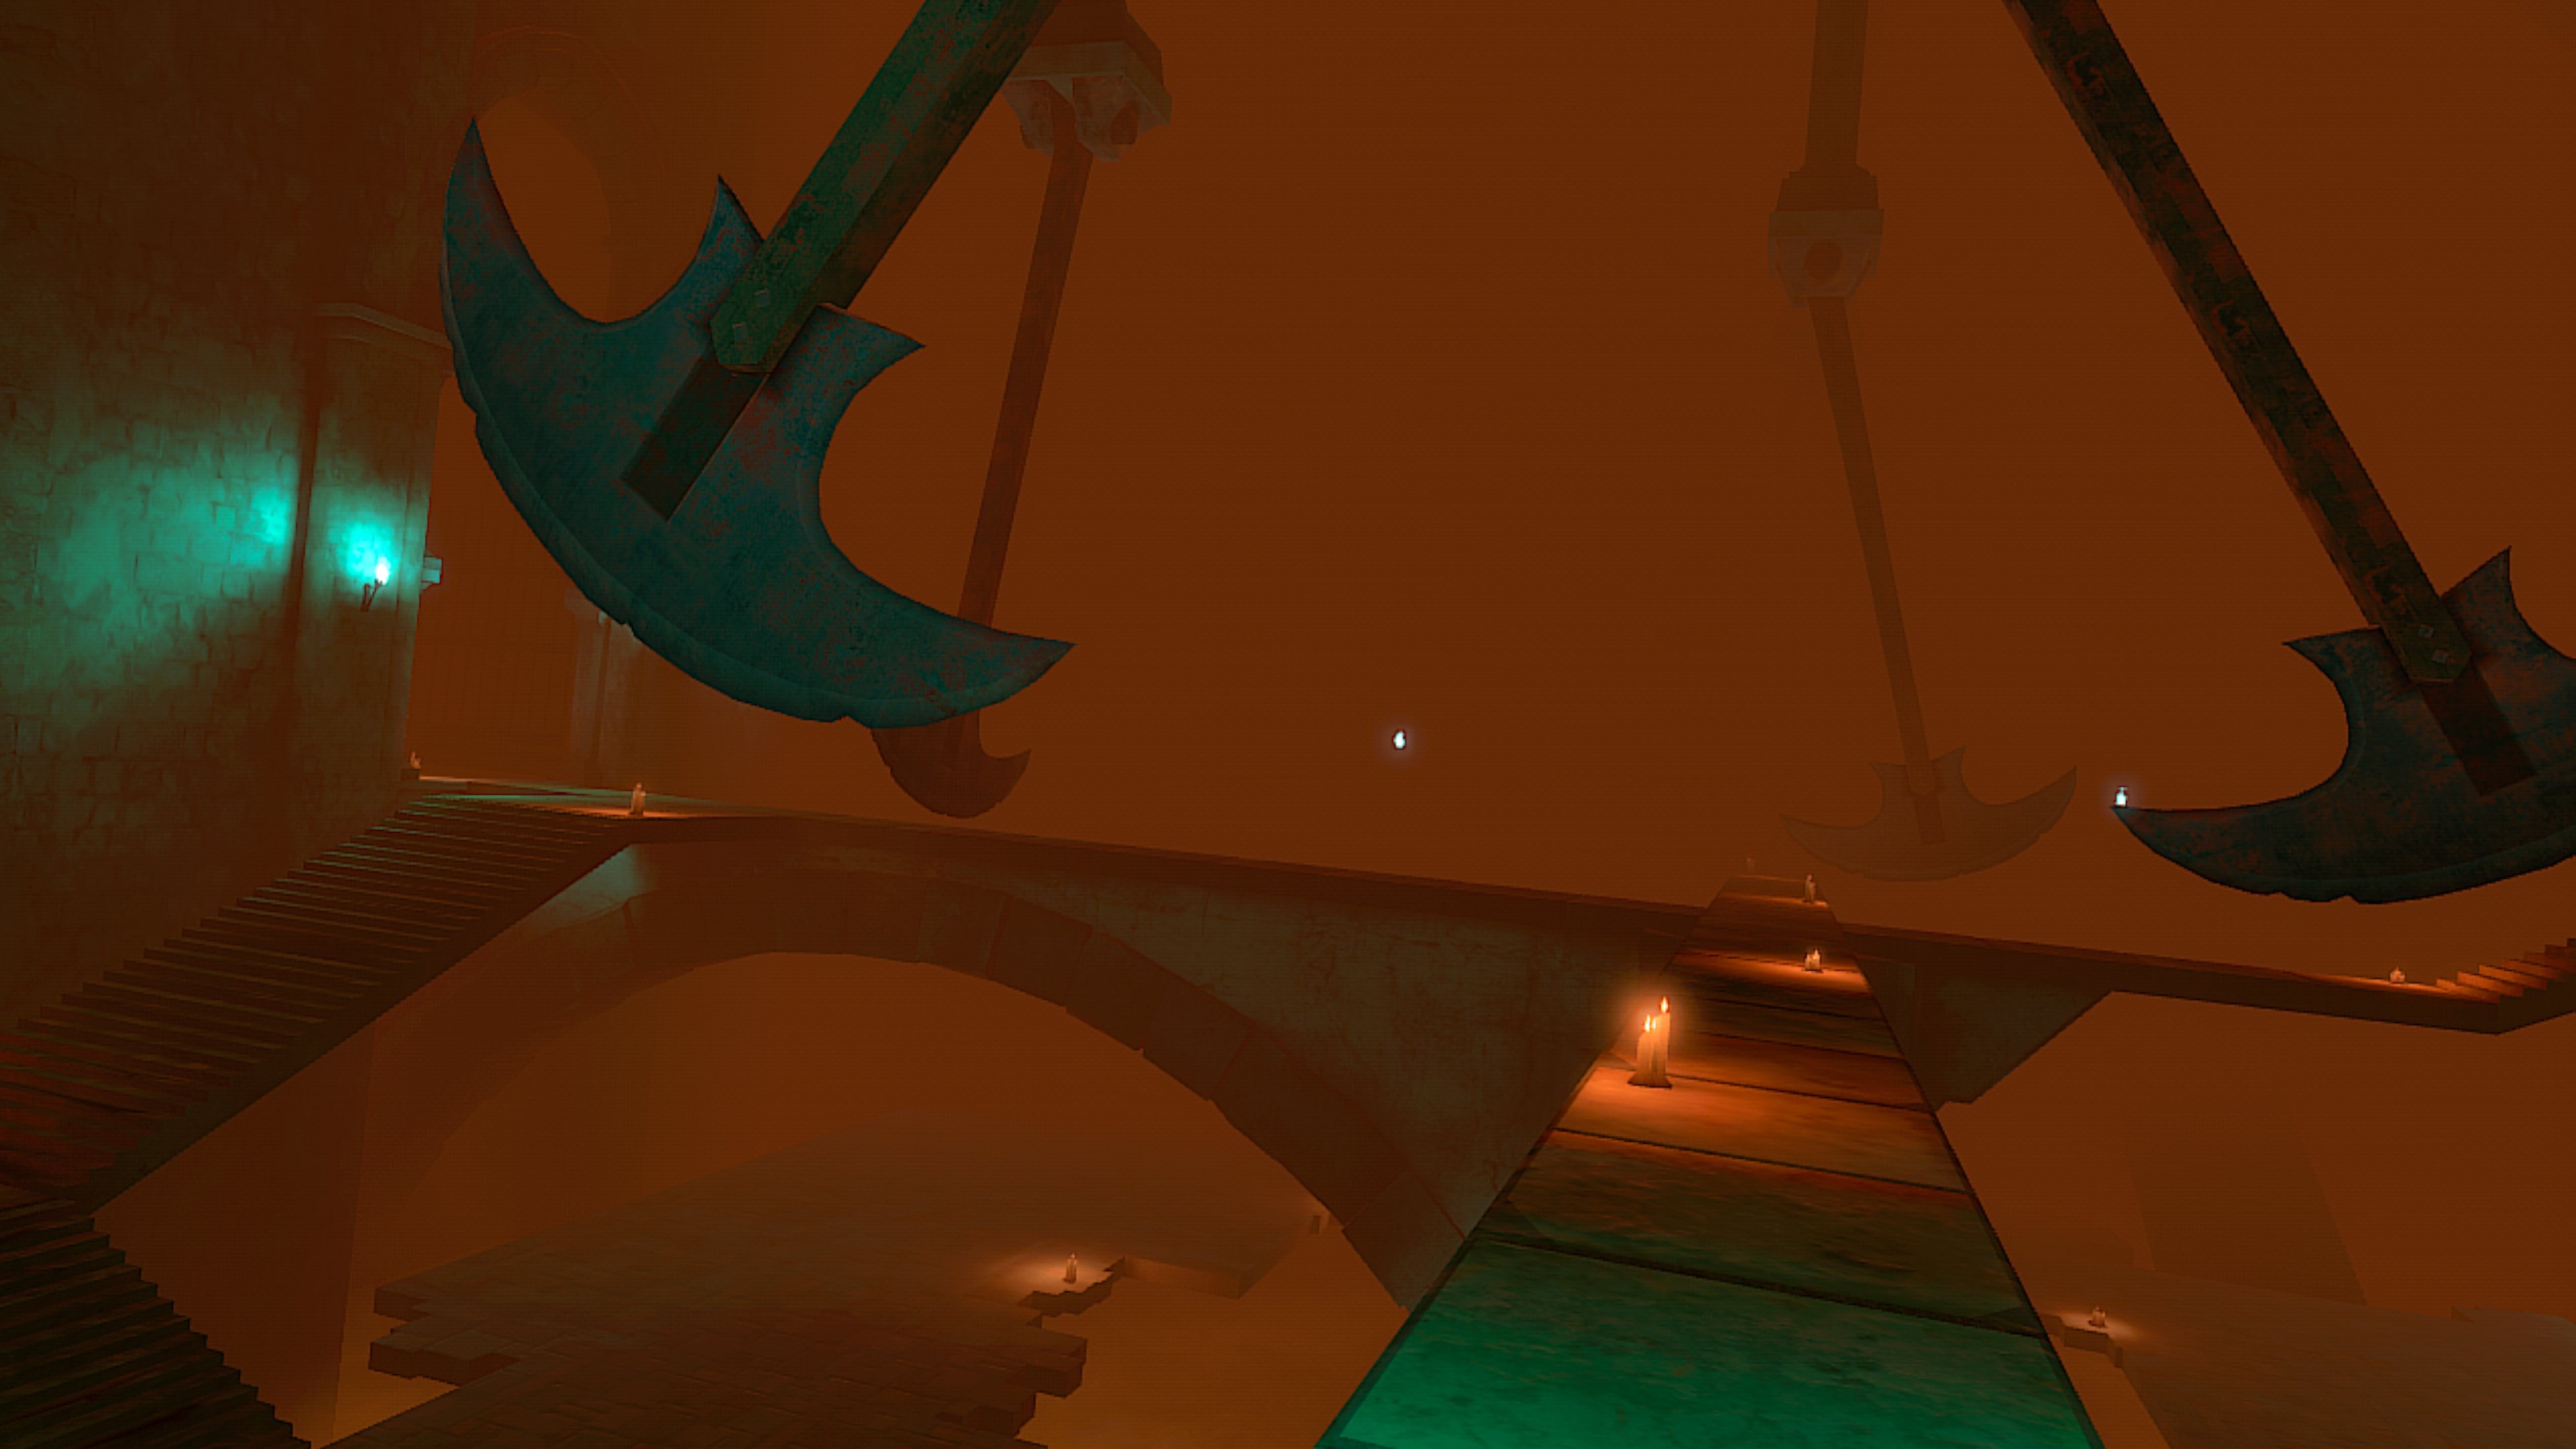
== | Traps can come in many forms: pits, crushing walls and ceilings, fireball and laser machines, as well as large swinging axes that the players must dodge. | ||
<div class="card-deck"> | |||
<bootstrap_card header="Spiked Ceiling"> | |||
[[File:ceiling spike crushing trap.jpg]] | |||
</bootstrap_card> | |||
<bootstrap_card header="Swinging Axes"> | |||
[[File:swinging axes.jpg]] | |||
</bootstrap_card> | |||
<bootstrap_card header="Freaking Lasers"> | |||
[[File:freaking-lasers-trap.jpg|400px]] | |||
</bootstrap_card> | |||
</div> | |||
== Enemy Waves == | |||
When a player first steps into a room, [[Enemies]] will spawn in groups called waves. The number of waves and types of enemies in each wave are determined at generation time and will be the same across saved dungeon runs. | |||
The numbers of enemies in each wave is determined by the number of players in the dungeon when the wave starts. The toughness of enemies is determined by the dungeon difficulty tier. They specific type of enemies in each wave as well as their element type follow closely to the type of realm the chamber is generated in. | |||
Some waves will always be of specific enemy type. Some waves will be a combination of enemy types. There are also boss waves where one or two [[bosses]] will spawn. | |||
The boss event (described above) will always consist of one wave and a single boss and will result in a tier 3 chest reward on success. | |||
Some chambers will have all doors blocked off when the waves start. This gauntlet event prevents players from exiting the chamber until all waves are dispatched. | |||
The start chamber will never have enemy waves. The end chamber will always have three waves of enemies whose final wave will always be a boss wave. | |||
Revision as of 01:56, 29 March 2025
Every 20 minutes Missions on the Mission Map Table are regenerated and each location is given a name consisting of two words, typically an adjective followed by a noun, sometimes linked with an article or preposition like "Darkened Calamity", "Profitable Halls", "Lair of Death" and "The Stygian Maze".
Generated mission names are unique in any given generation, players may see two missions with the same name across generations. Identical names will not have the same dungeon layout as duplicate dungeons are essentially impossible.
There are always at least one of each type of mission in each of the four realms. The Underworld Realm will always have a Raid Dungeon named "Forgotten Tombs", at least one raid dungeon and the Sandbox Arena mission.
Realms
Dungeons exist in one of four Realms. The Realms represent biomes with specific fauna, flora and atmosphere. Dungeons are made up of hallways and rooms, collectively known as chambers.
Chambers
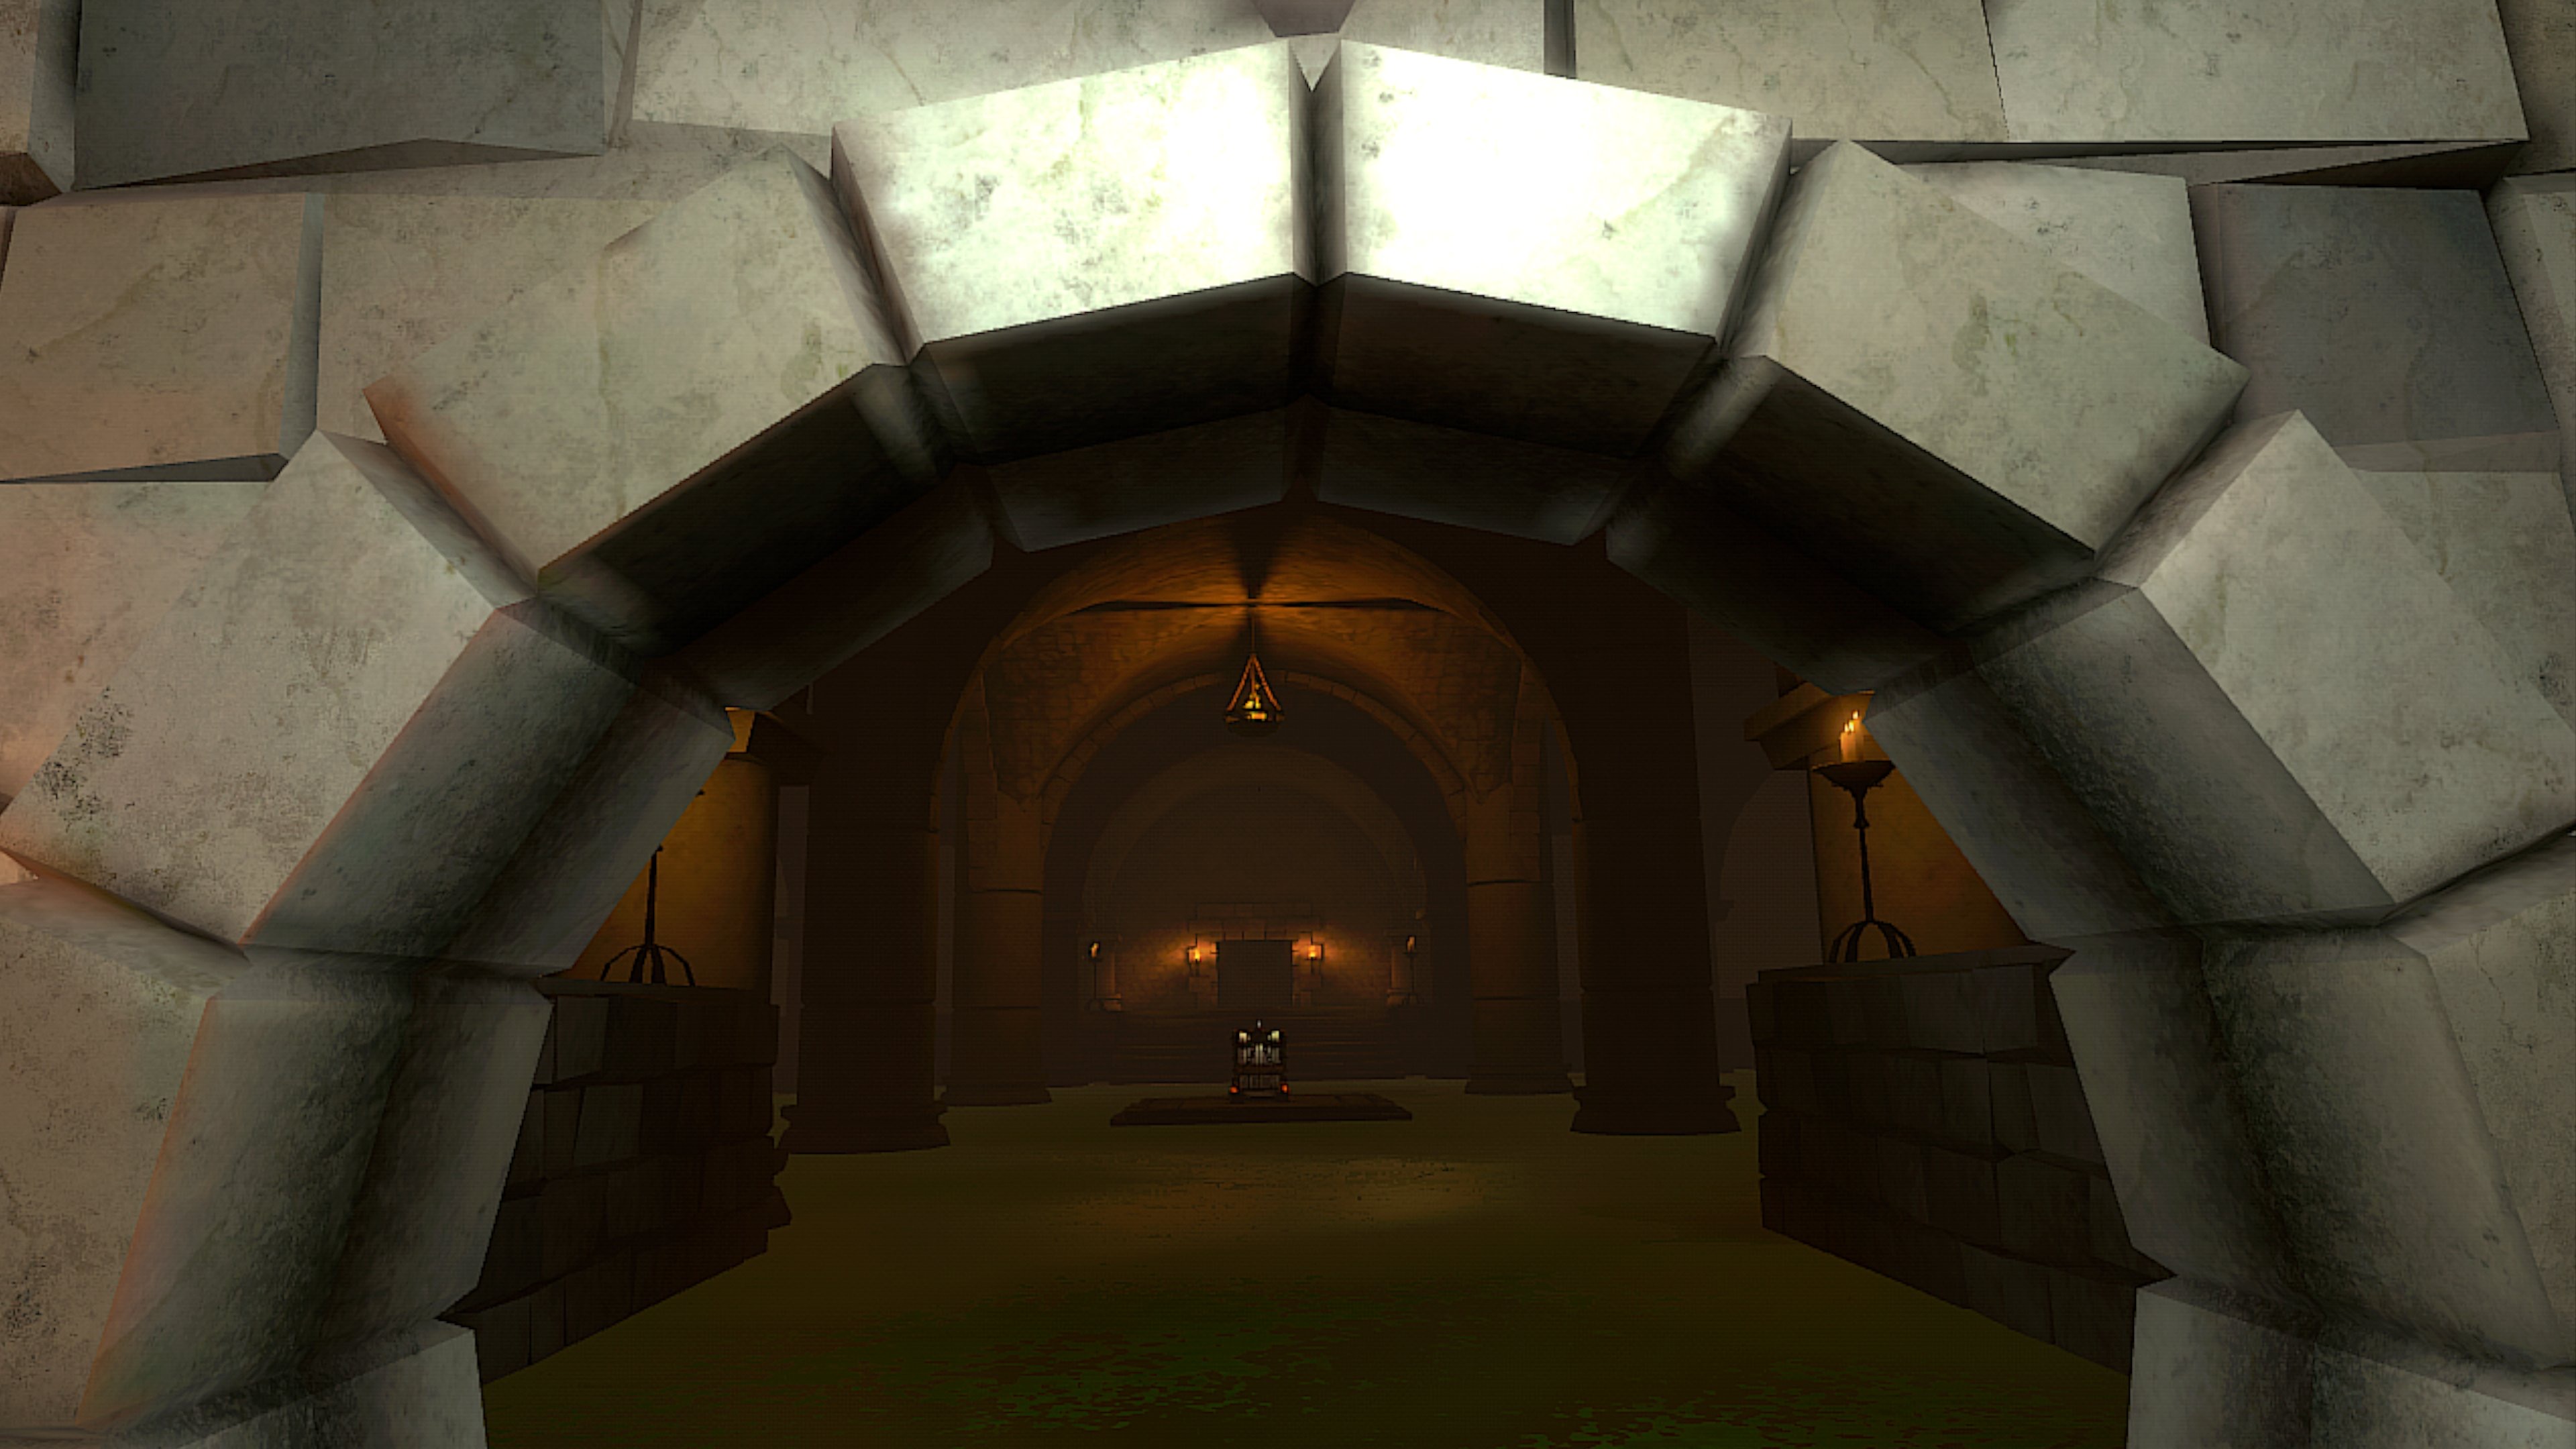
There are some 100 or so uniquely designed chambers that are connected together like lego pieces to make a unique dungeon layout. No dungeon layout will ever have two of the same chambers in a single instance.
Some chambers are tied to specific a realm. When a dungeon is generated, chambers are most often picked (60% of the time) from those designated to the current realm, although some (about 40% of the chambers) can come from other realm designations or non-designated chambers.
Chamber Doorways
Chambers are connected via large square, circle and irregular open doorways. In some dungeons, some chamber exits will not be connected to another chamber and this is represented by caved-in rocky debris that is impassable.
Circular chamber exits will always be connected to circular entrances of other chambers. Square chamber exits to square chamber entrances, and irregular doors connected to like doors in the next chambers.
There are also atmospheric doorways that are always caved in:
Chambers and Chest Tiers
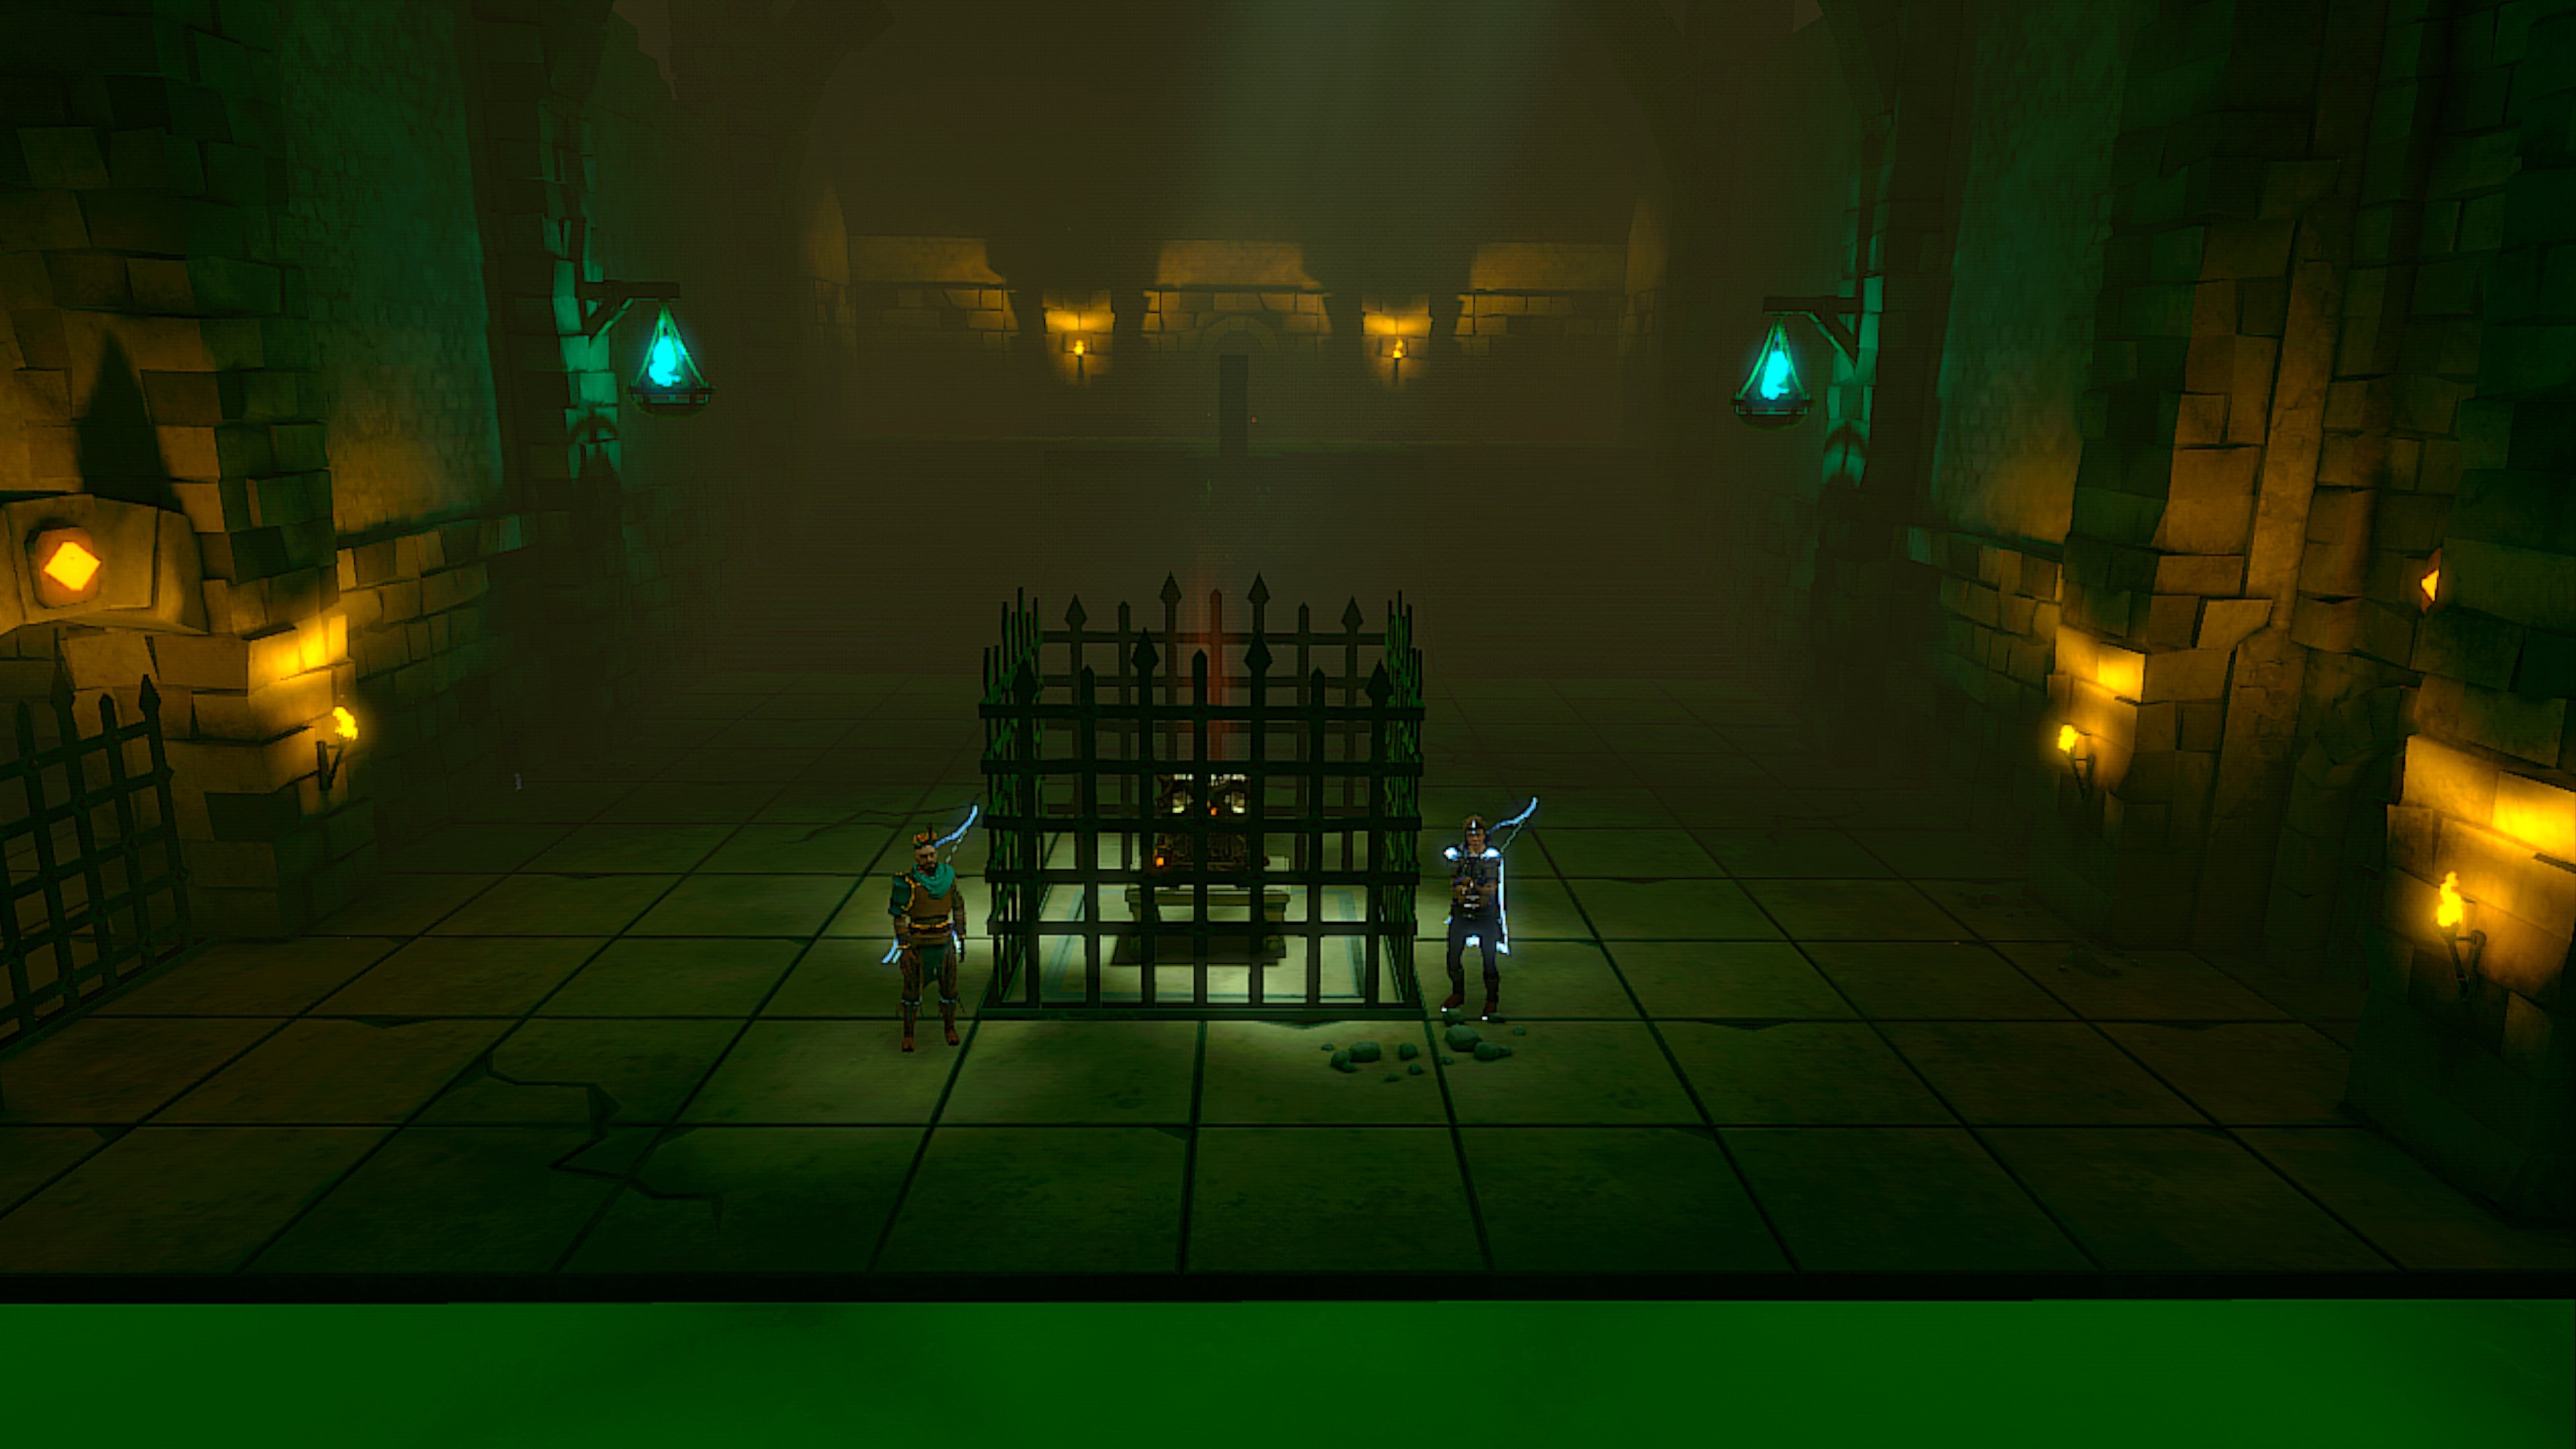
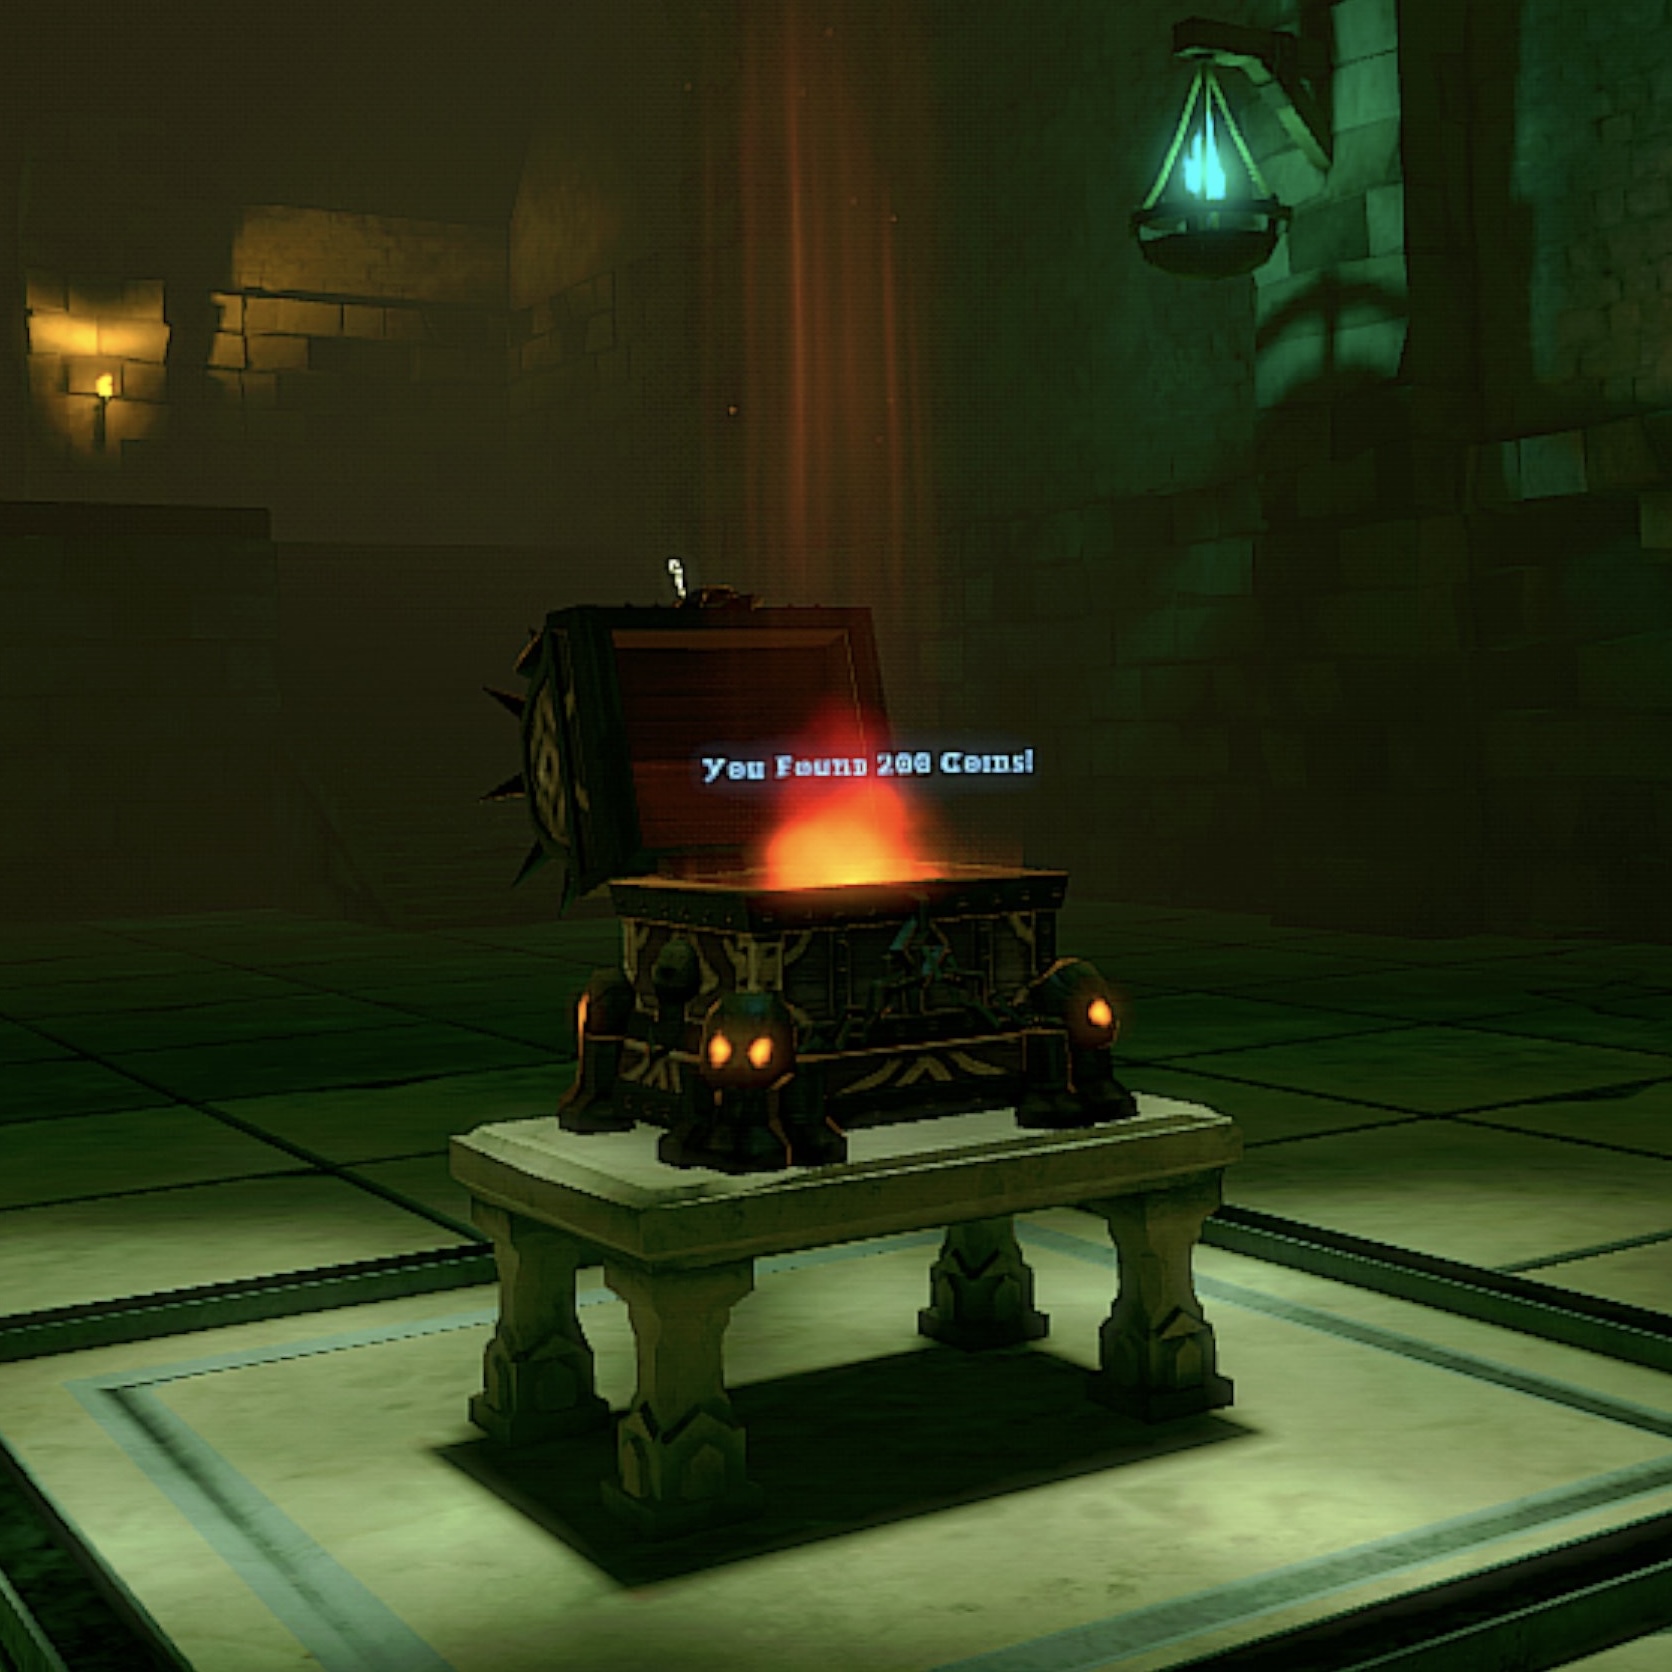
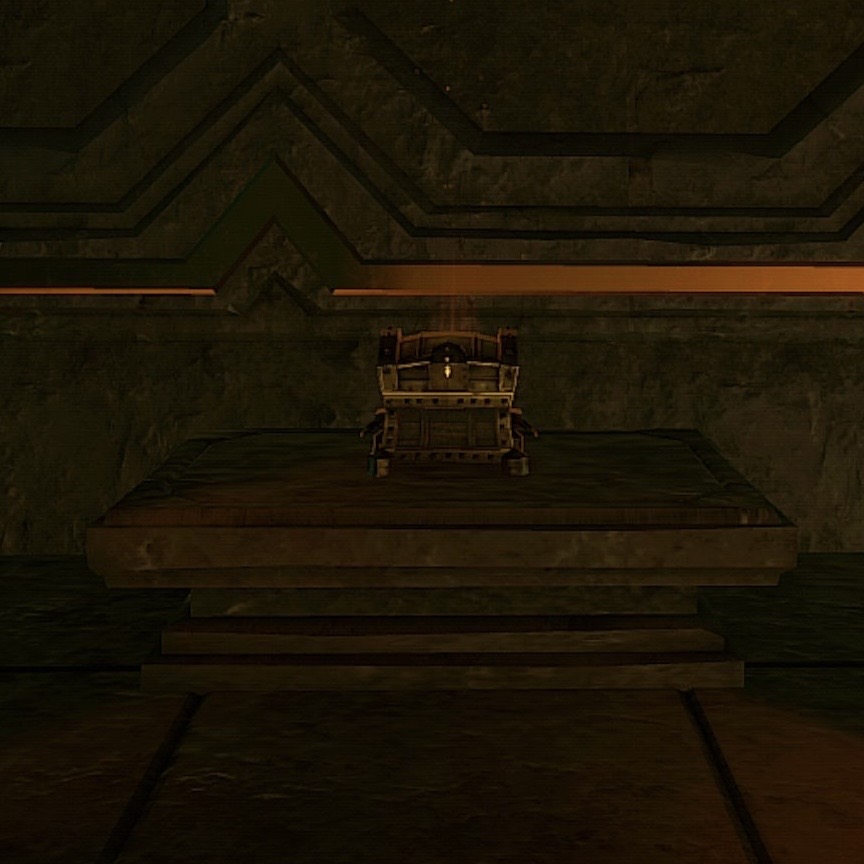
When a developer designs a chamber, they assign chest rarity to locations in the room. Legendary chest locations will always have a Tier 3 Chests in that location on every saved run of the dungeon. Common chest locations may have Tier 1 Chests or Tier 2 Chests in that location on each saved run of the dungeon.
Secret Rooms
Chambers, except for the end room where "Save The Drone" occurs, may have a number of walls where a locked wooden door can appear. These are affectionally known as "secret doors" and lead to "secret rooms" which are smaller rooms that can be the size of a closet or as large as the smallest chambers. In saved dungeon, secret doors will appear in the same locations with the same secret room behind them.
Secret rooms can also contain chests which assigned chest rarities similar to chambers, legendary chest locations will always have a Tier 3 Chests in that location on every saved run of the dungeon. Common chest locations may have Tier 1 Chests or Tier 2 Chests in that location on each saved run of the dungeon.
Key Locations
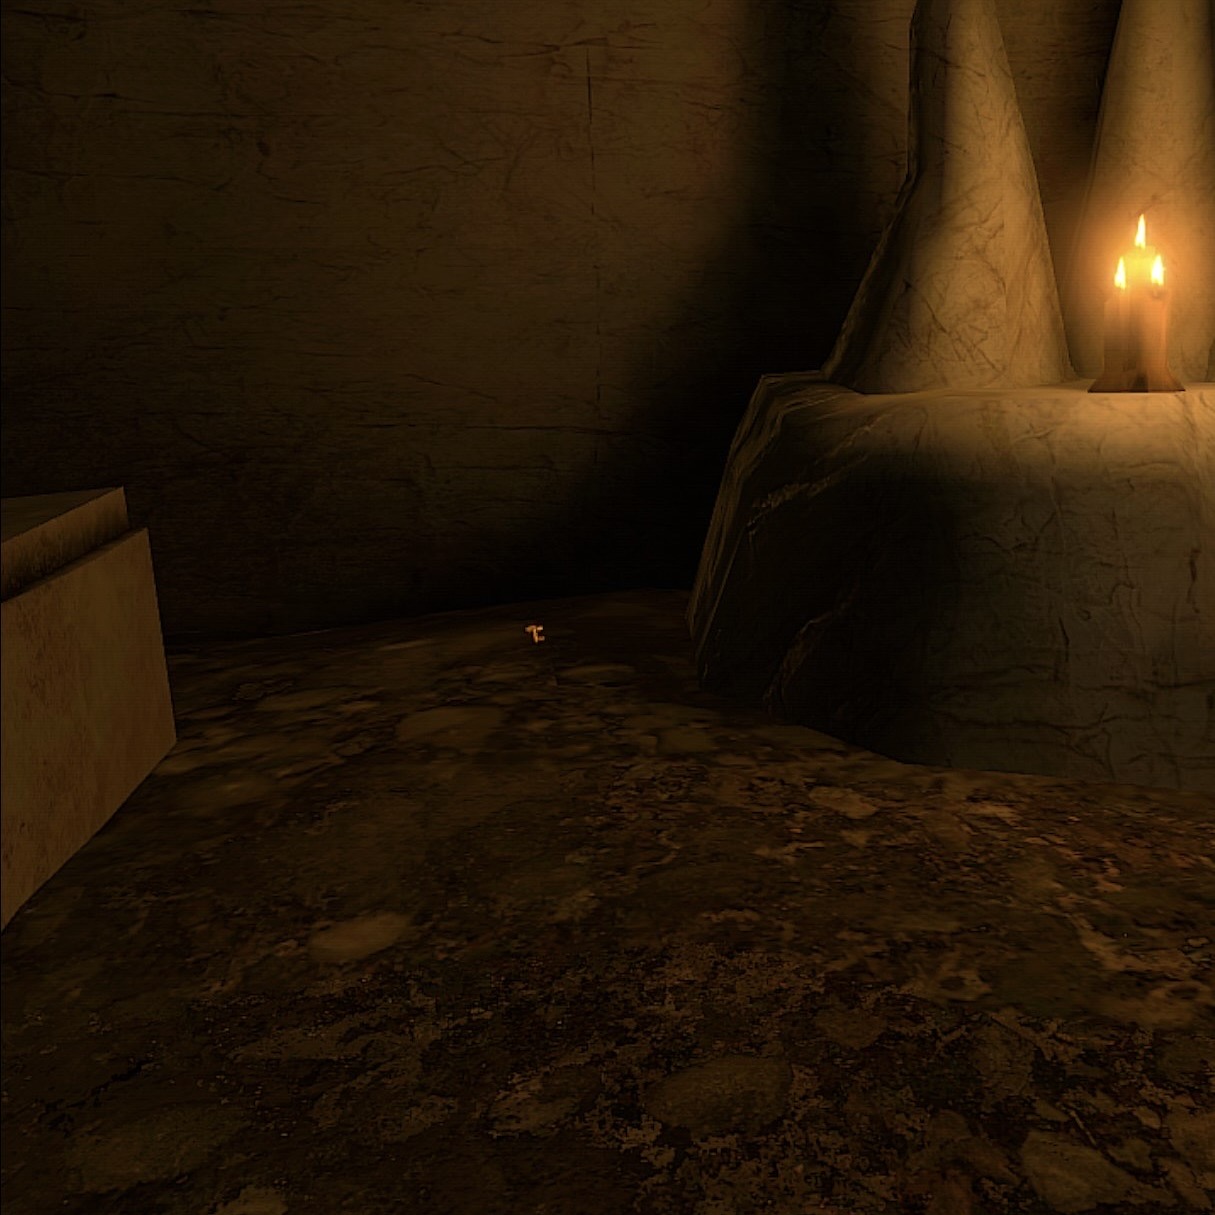
Keys can be found located in predetermined places in chambers. These keys are known as "room keys". A room key can be located in one of many different locations in a single chamber. Most chambers, but not all, have one or two room keys.
Players can also get keys as drops from mobs after killing them.
Identifiable Chambers
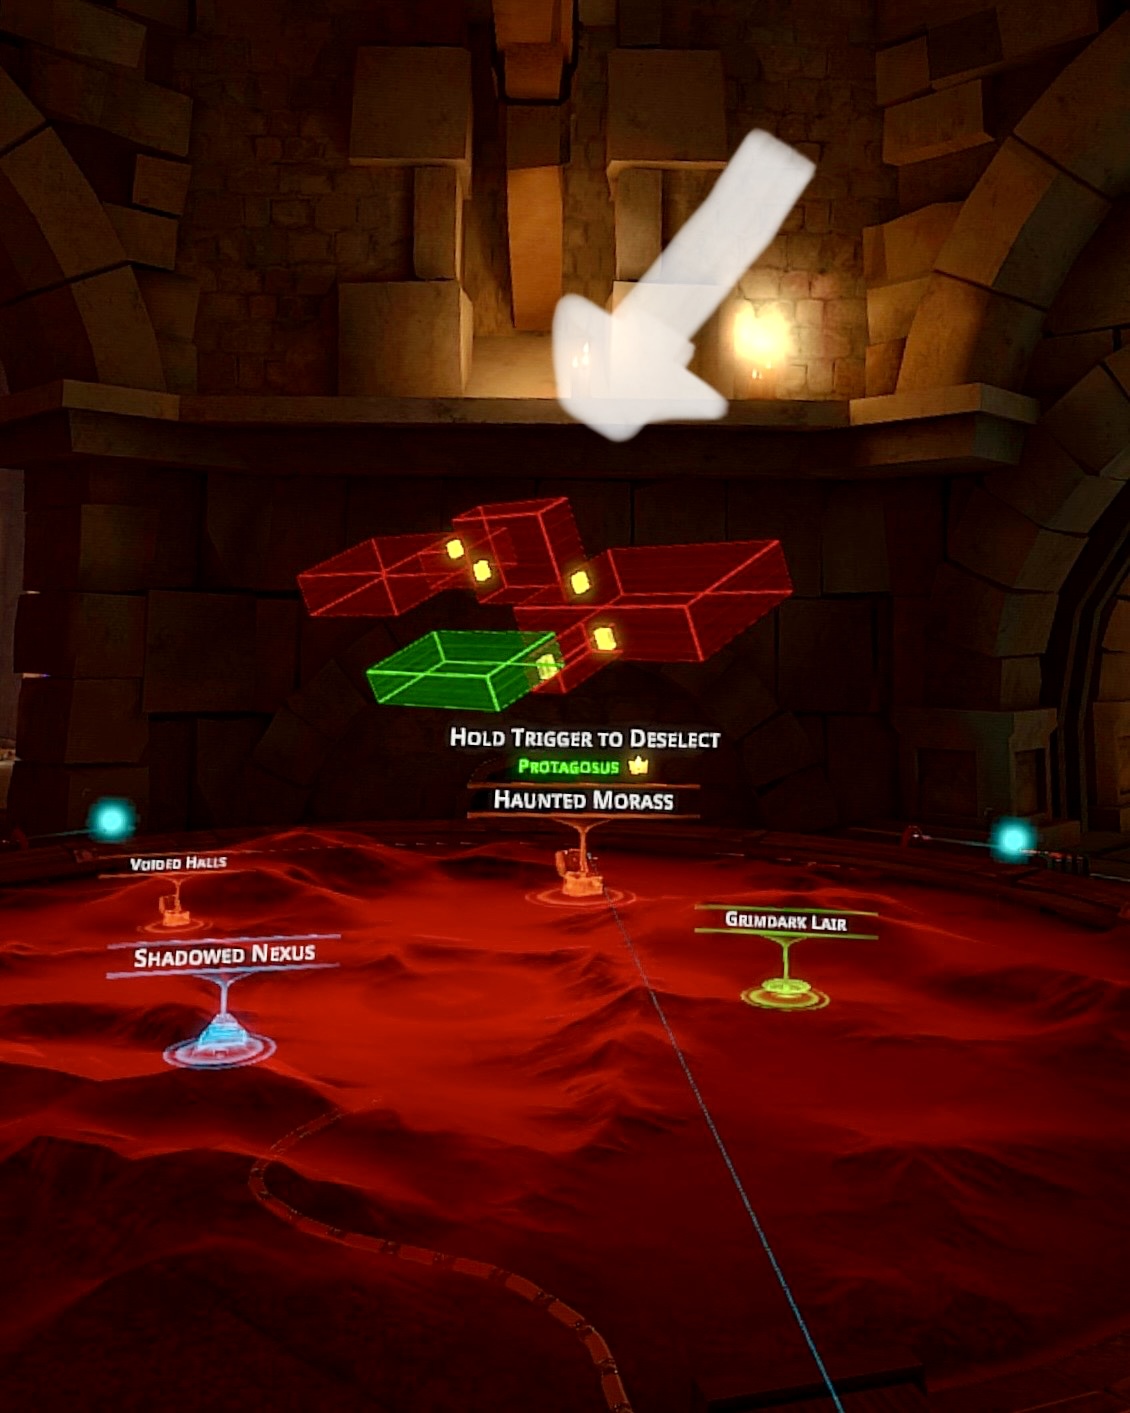
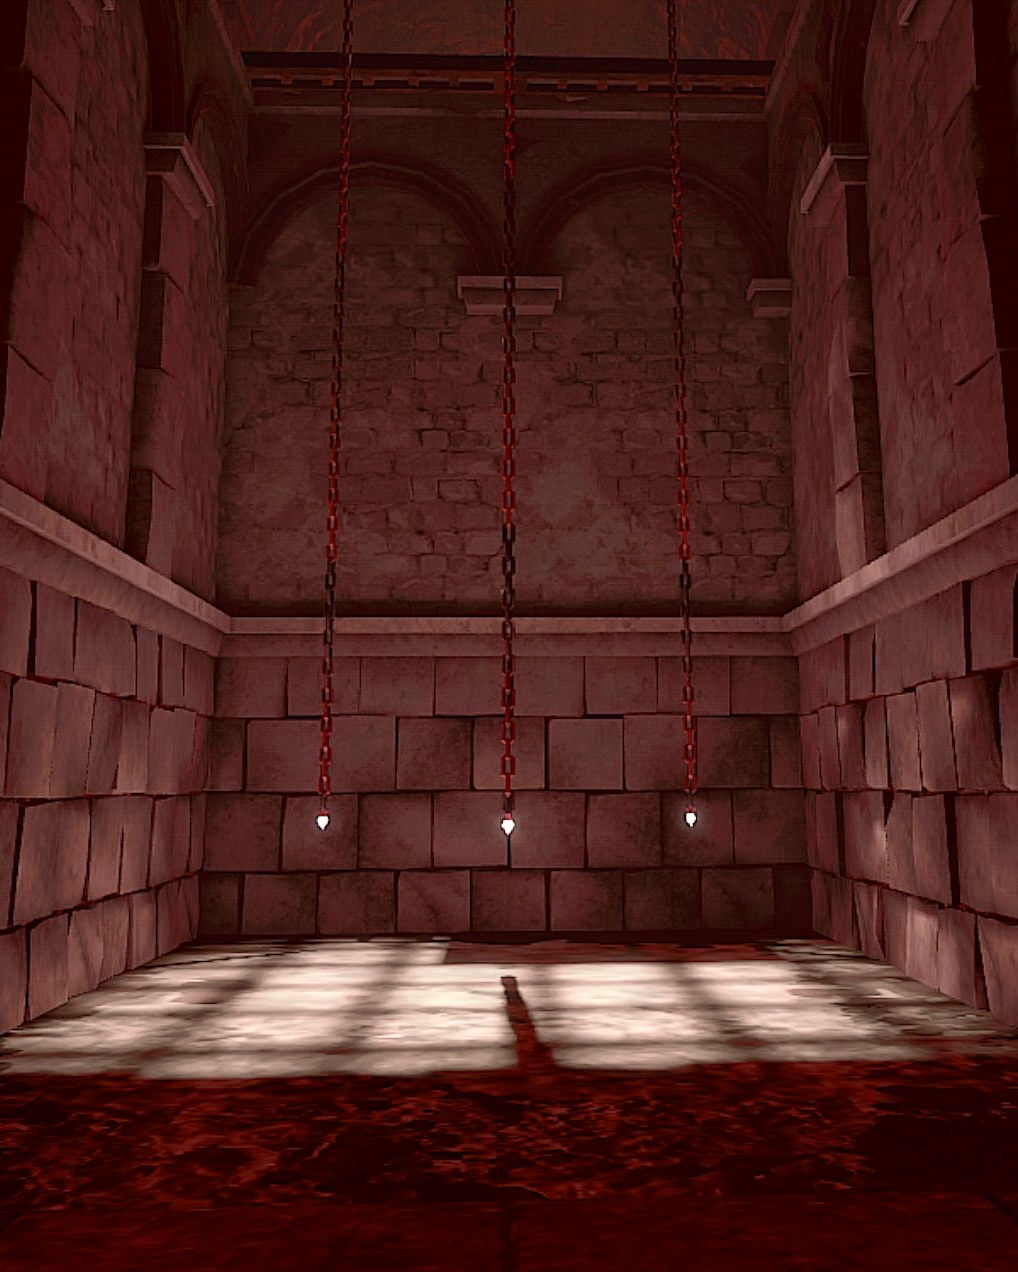
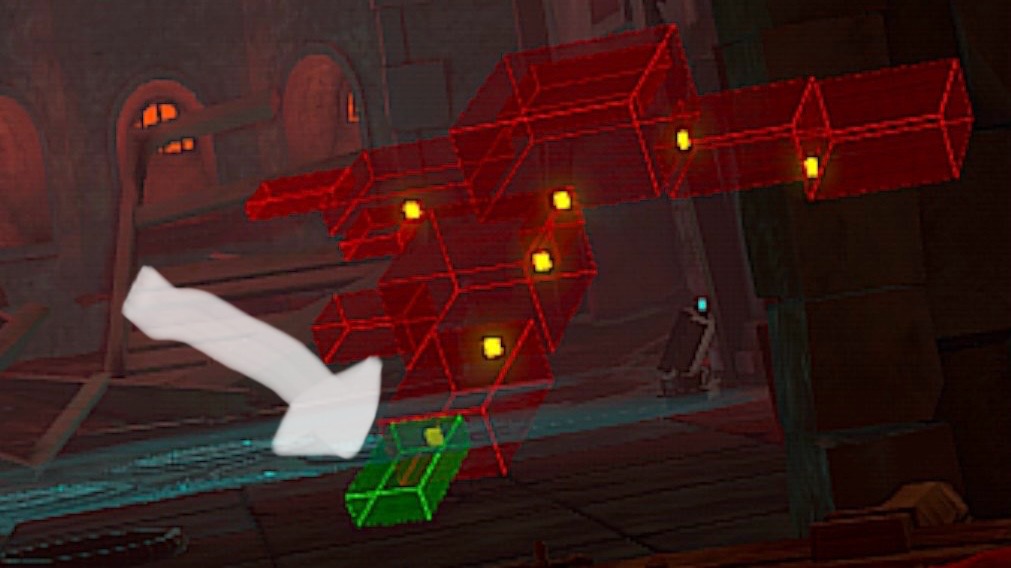
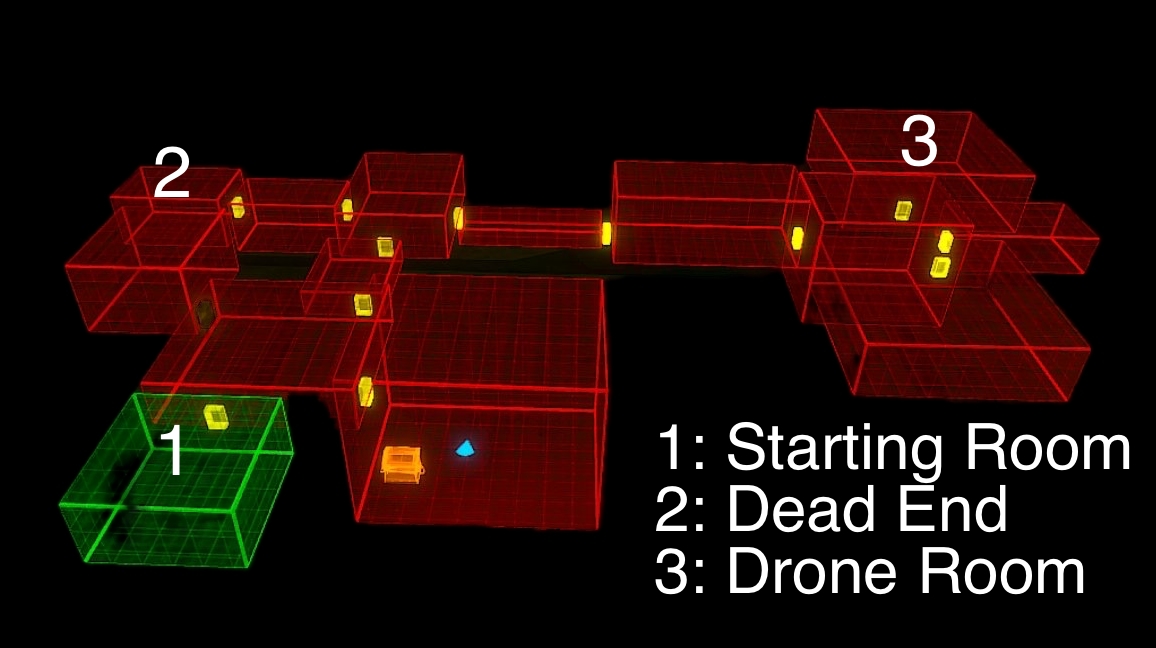
All chambers are shown on the dungeon map at start time. Some chambers can be identified by their size and shape.
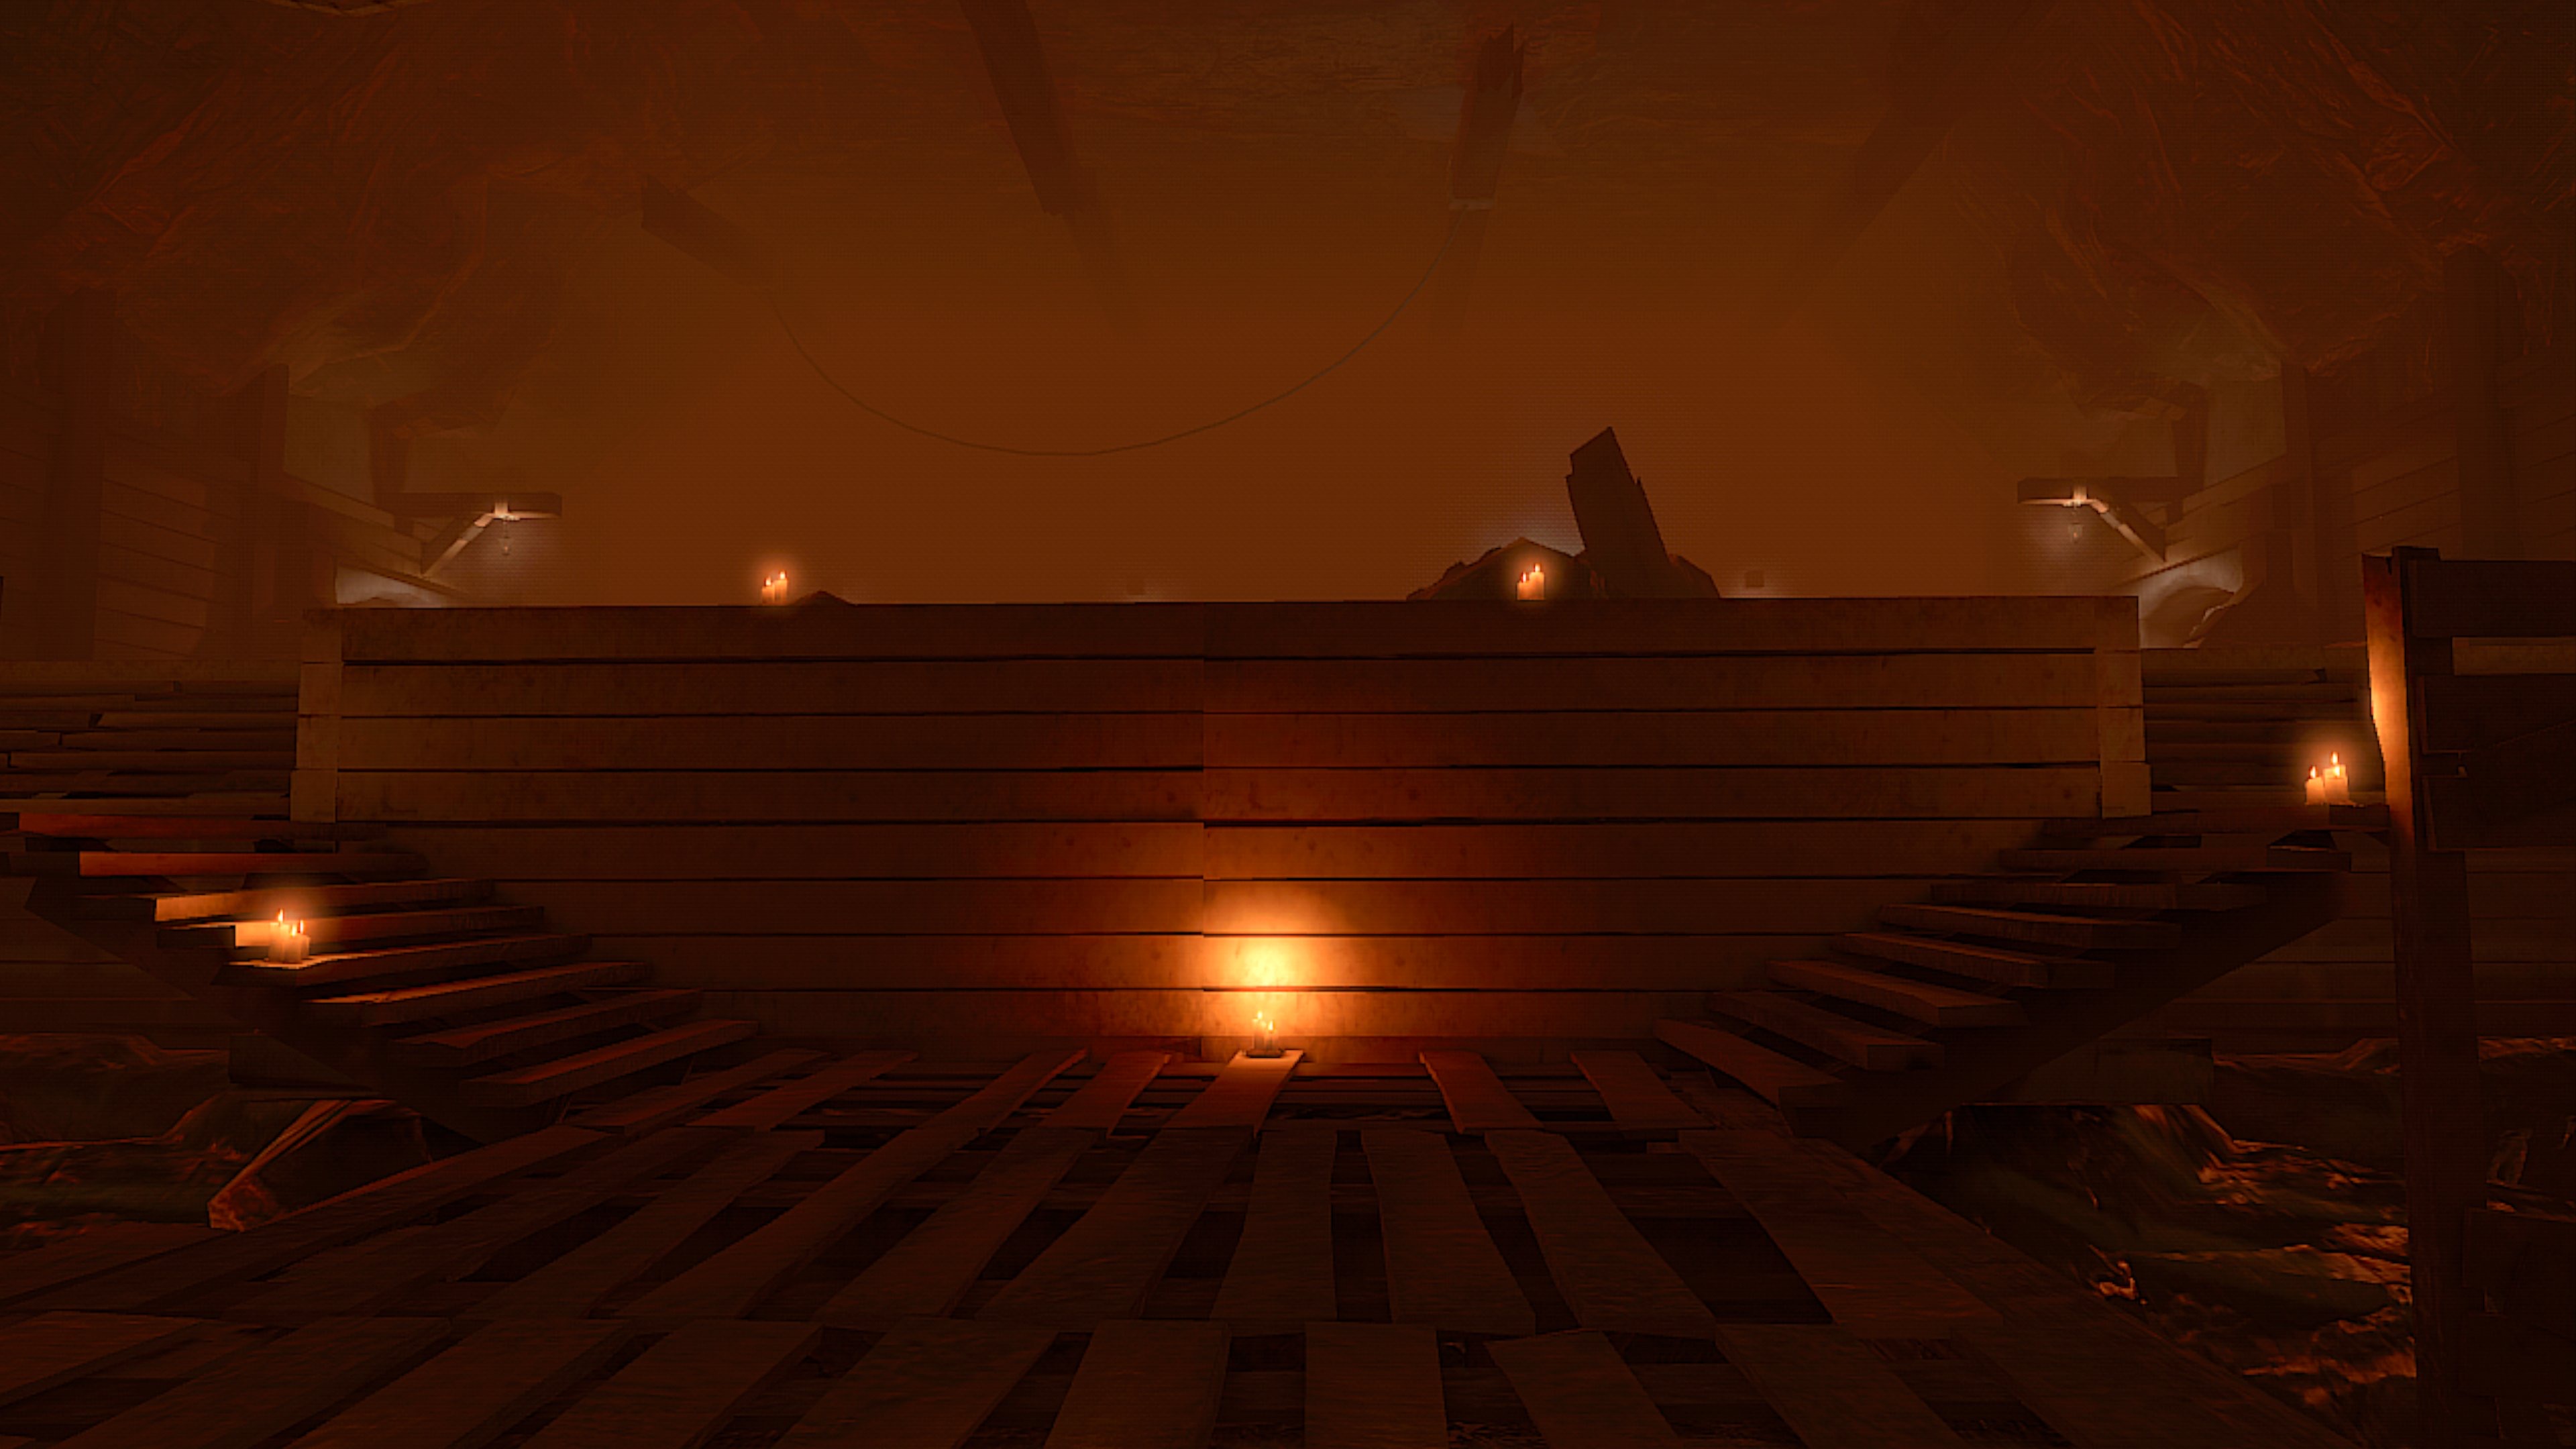
Not all rooms are easy to distinguish from the map, but this room is identifiable because it is a start room and its doorway is vertically midway on its wall.
Dungeon Layout
The dungeon team starts in an empty (of enemies) room searching through the chambers for the missing drone. The start room is label green on the map.
Starting Chamber
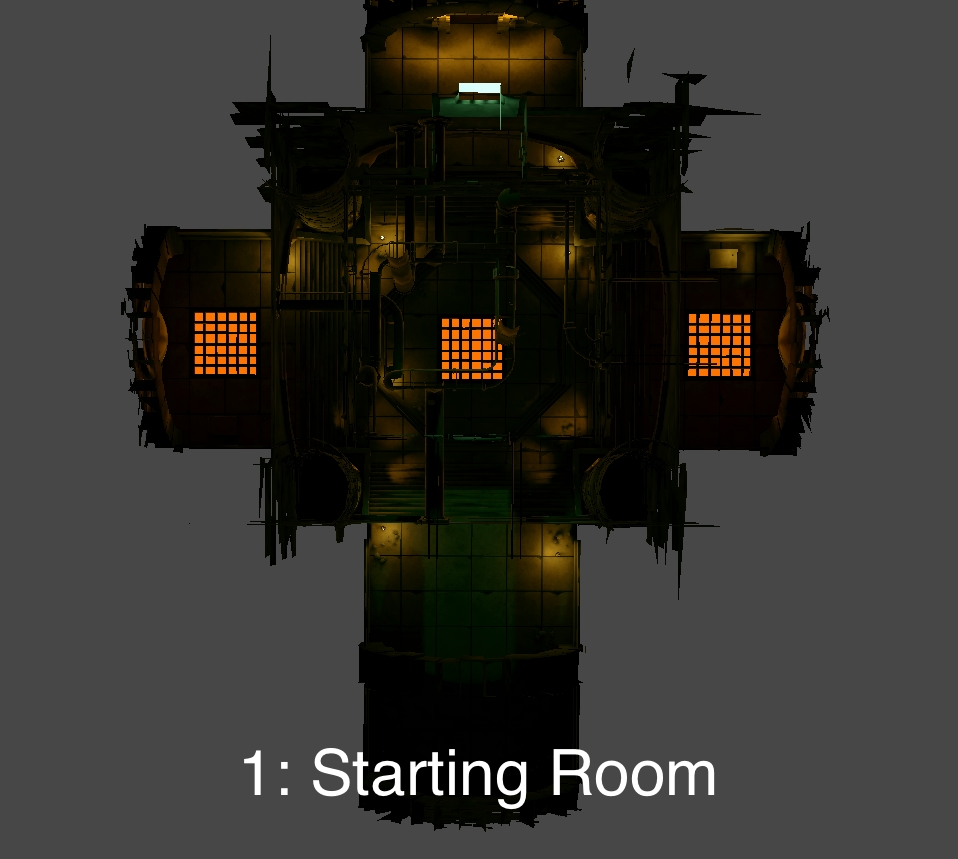
The starting Chamber, marked green on the Dungeon Map will only ever have one exit.
Ending Chamber
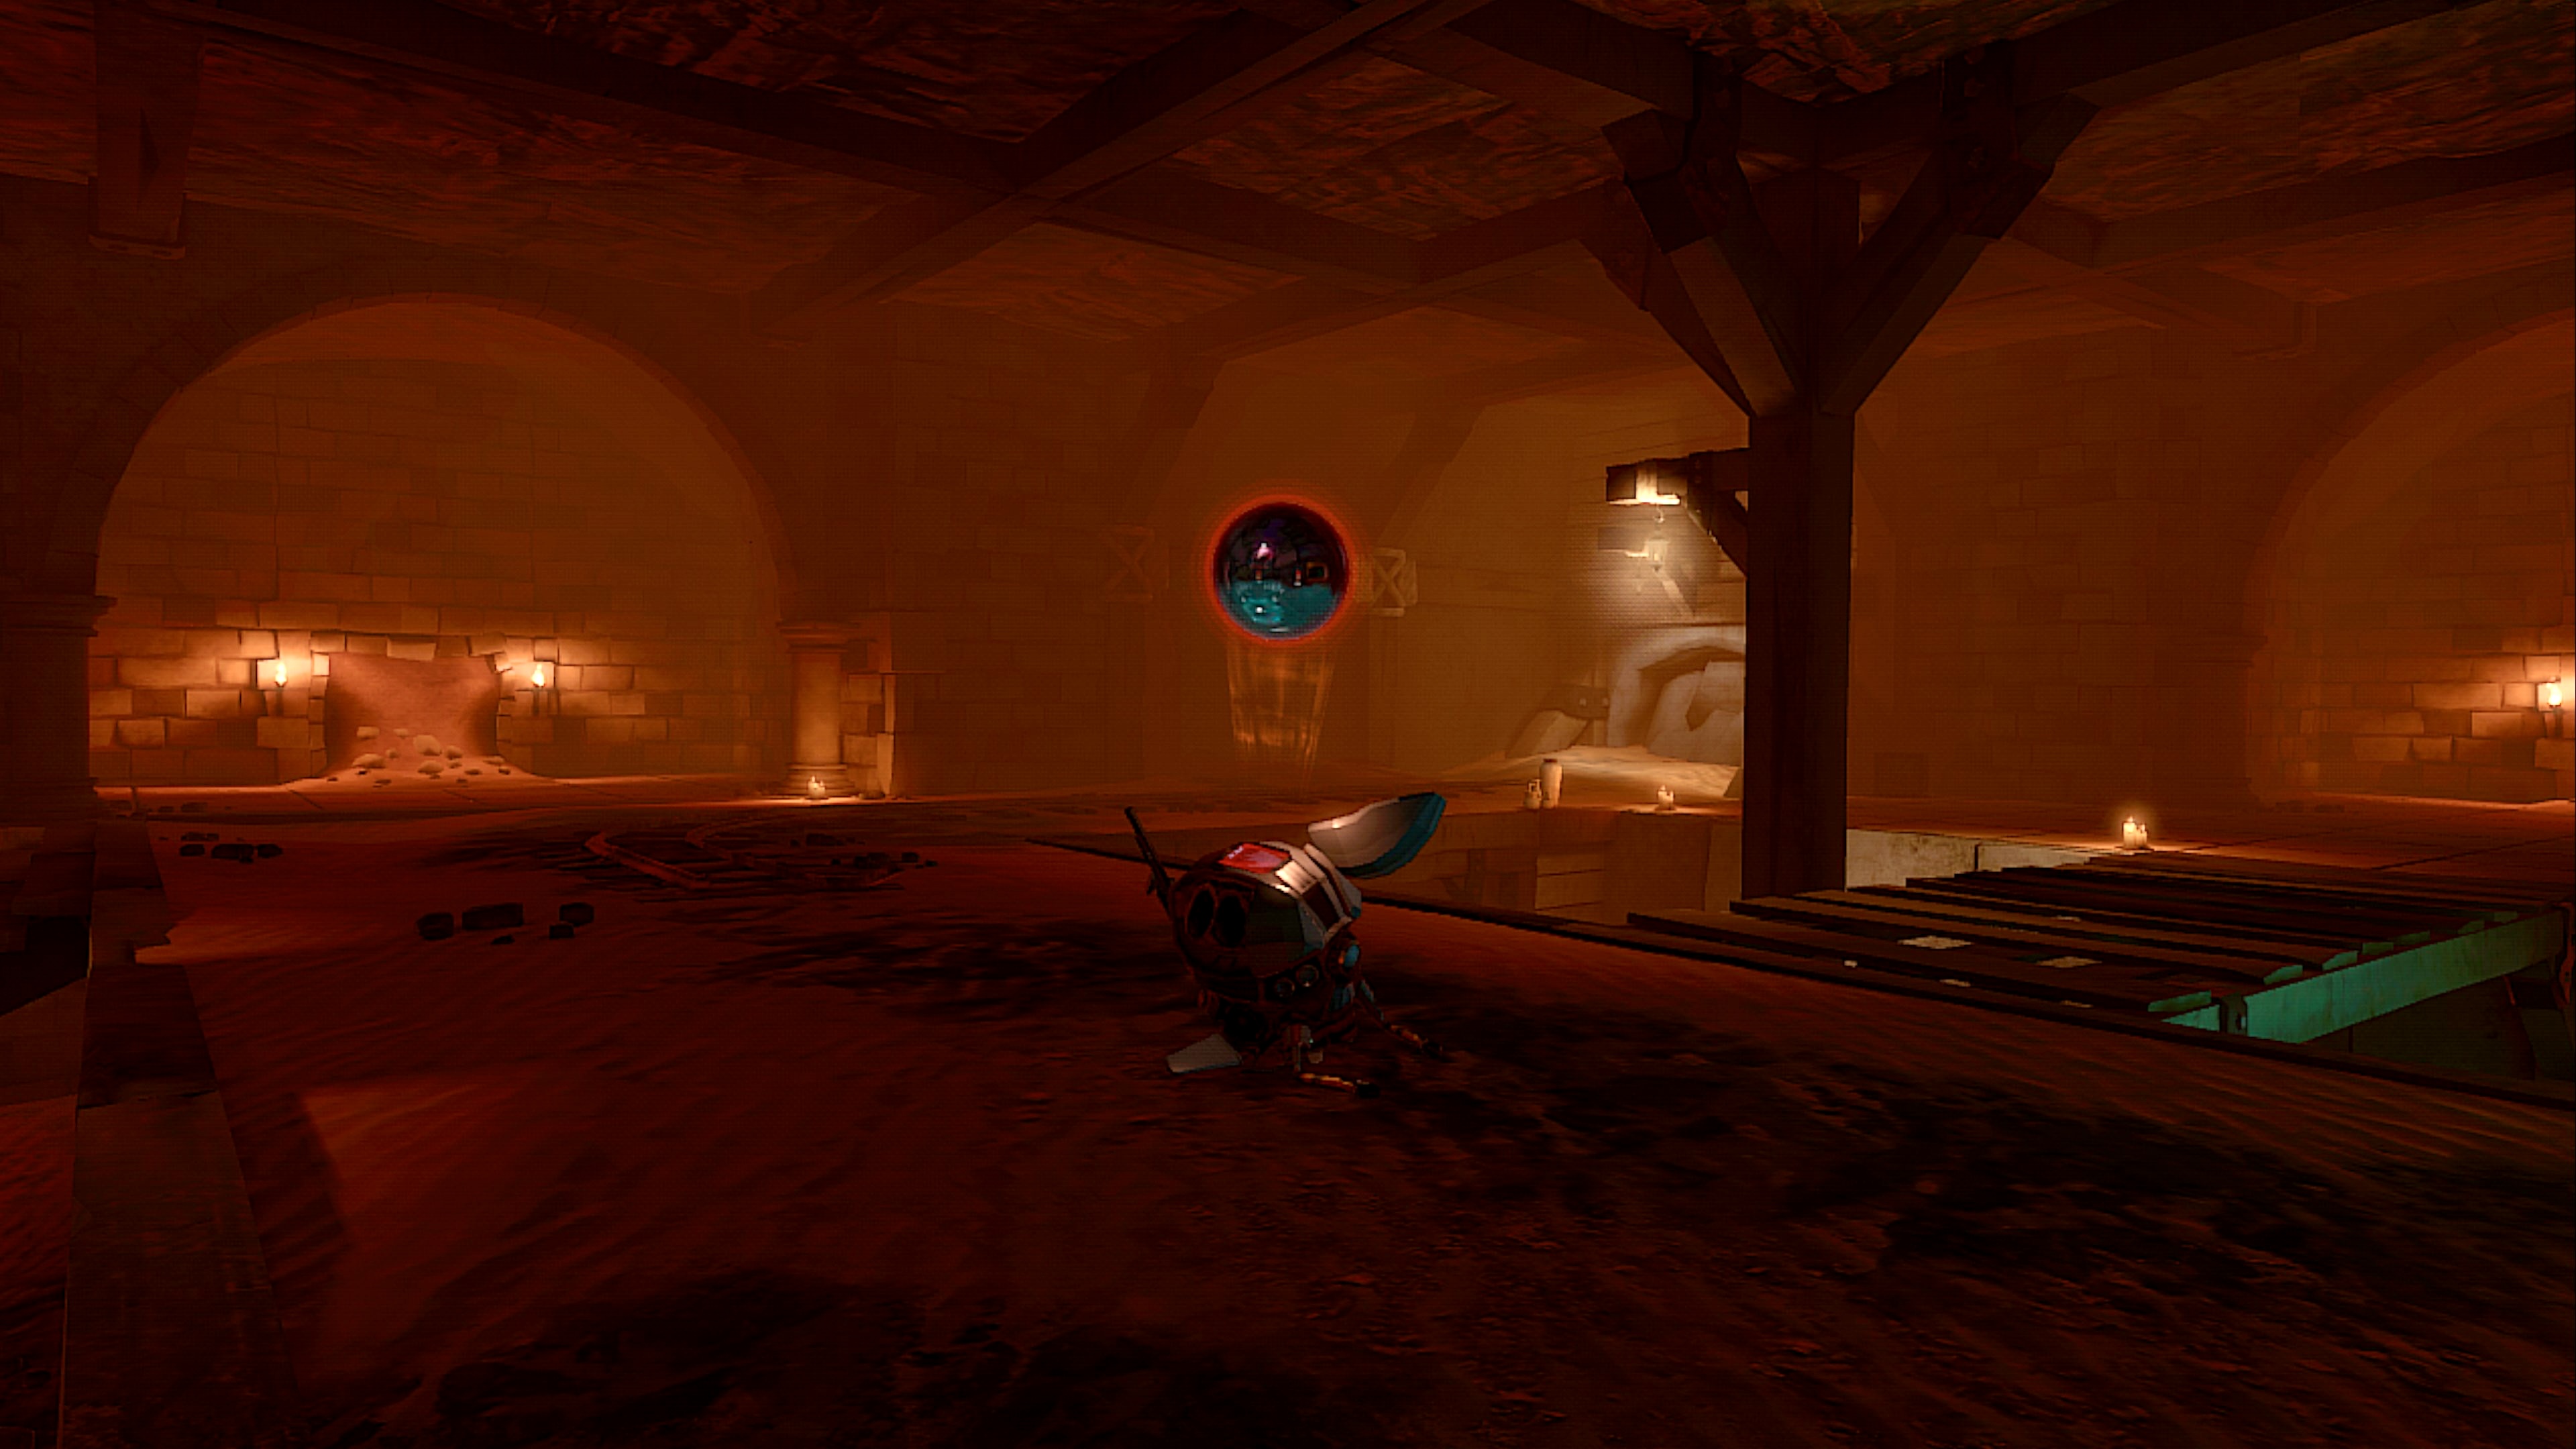
The last chamber in a dungeon will contain the drone you must save to complete your mission. End chambers only have one entrance. never have secret doors.
Skeleton Key Sconce and Gate Chambers
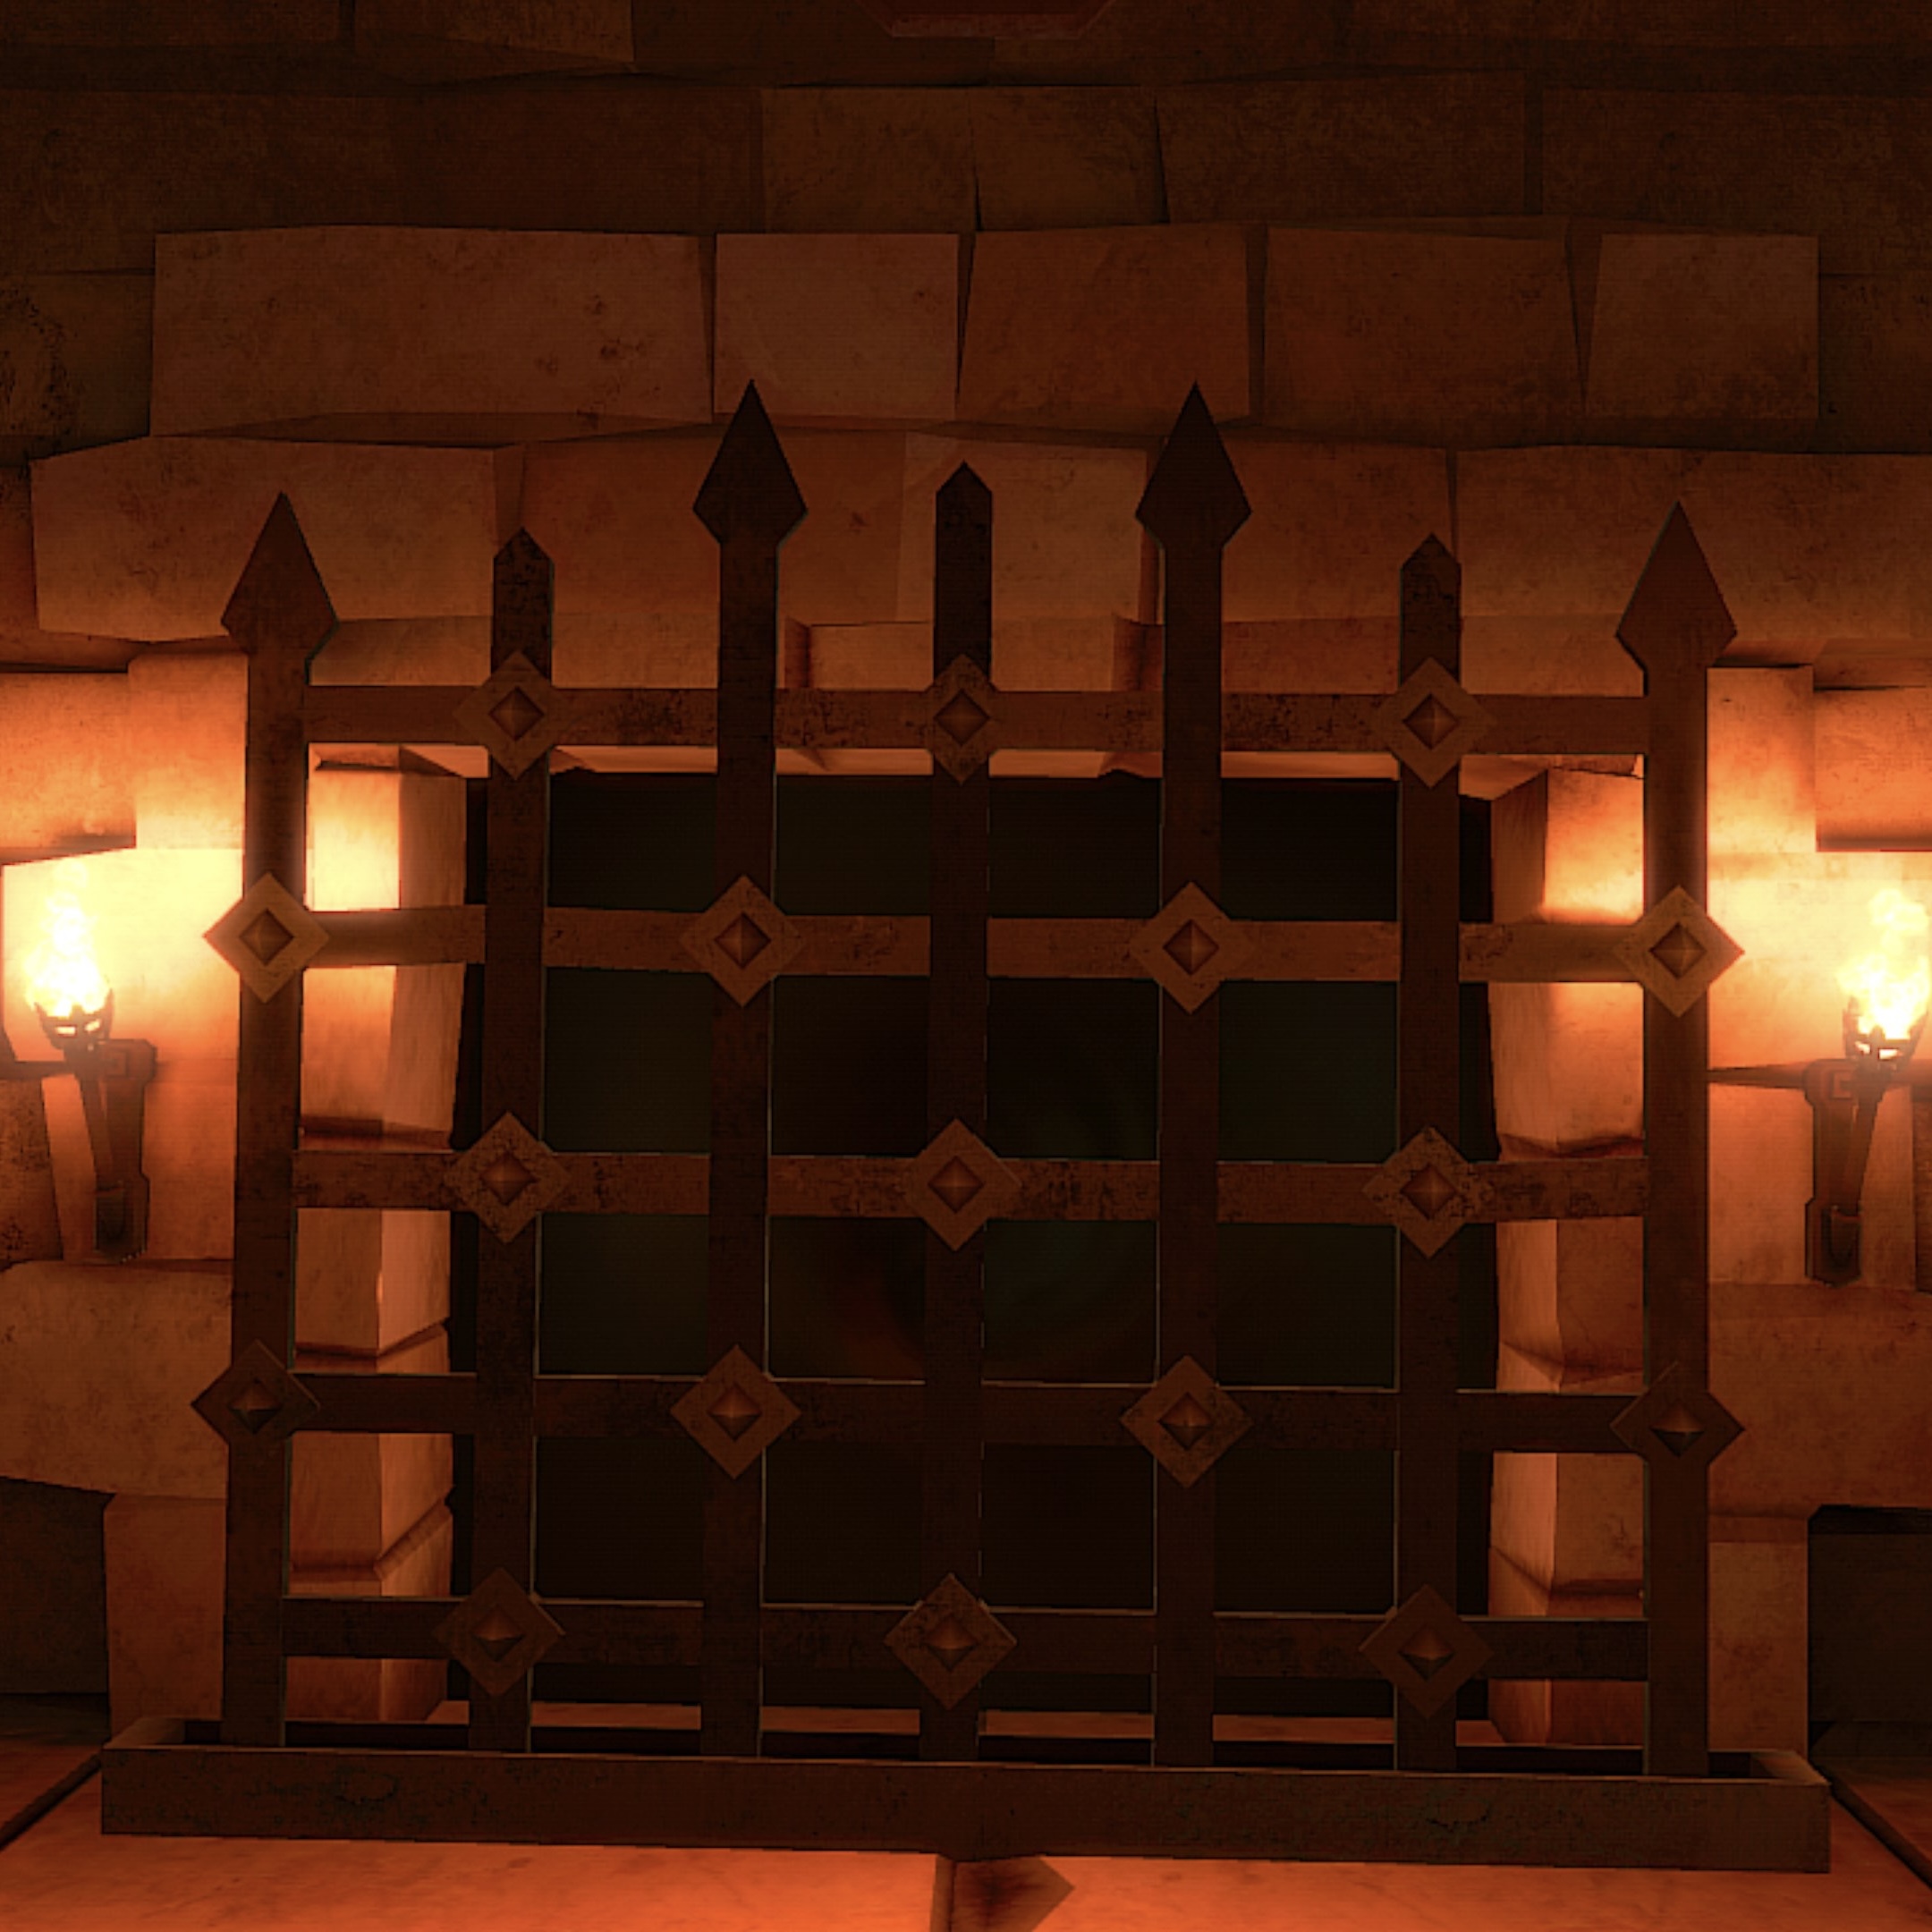
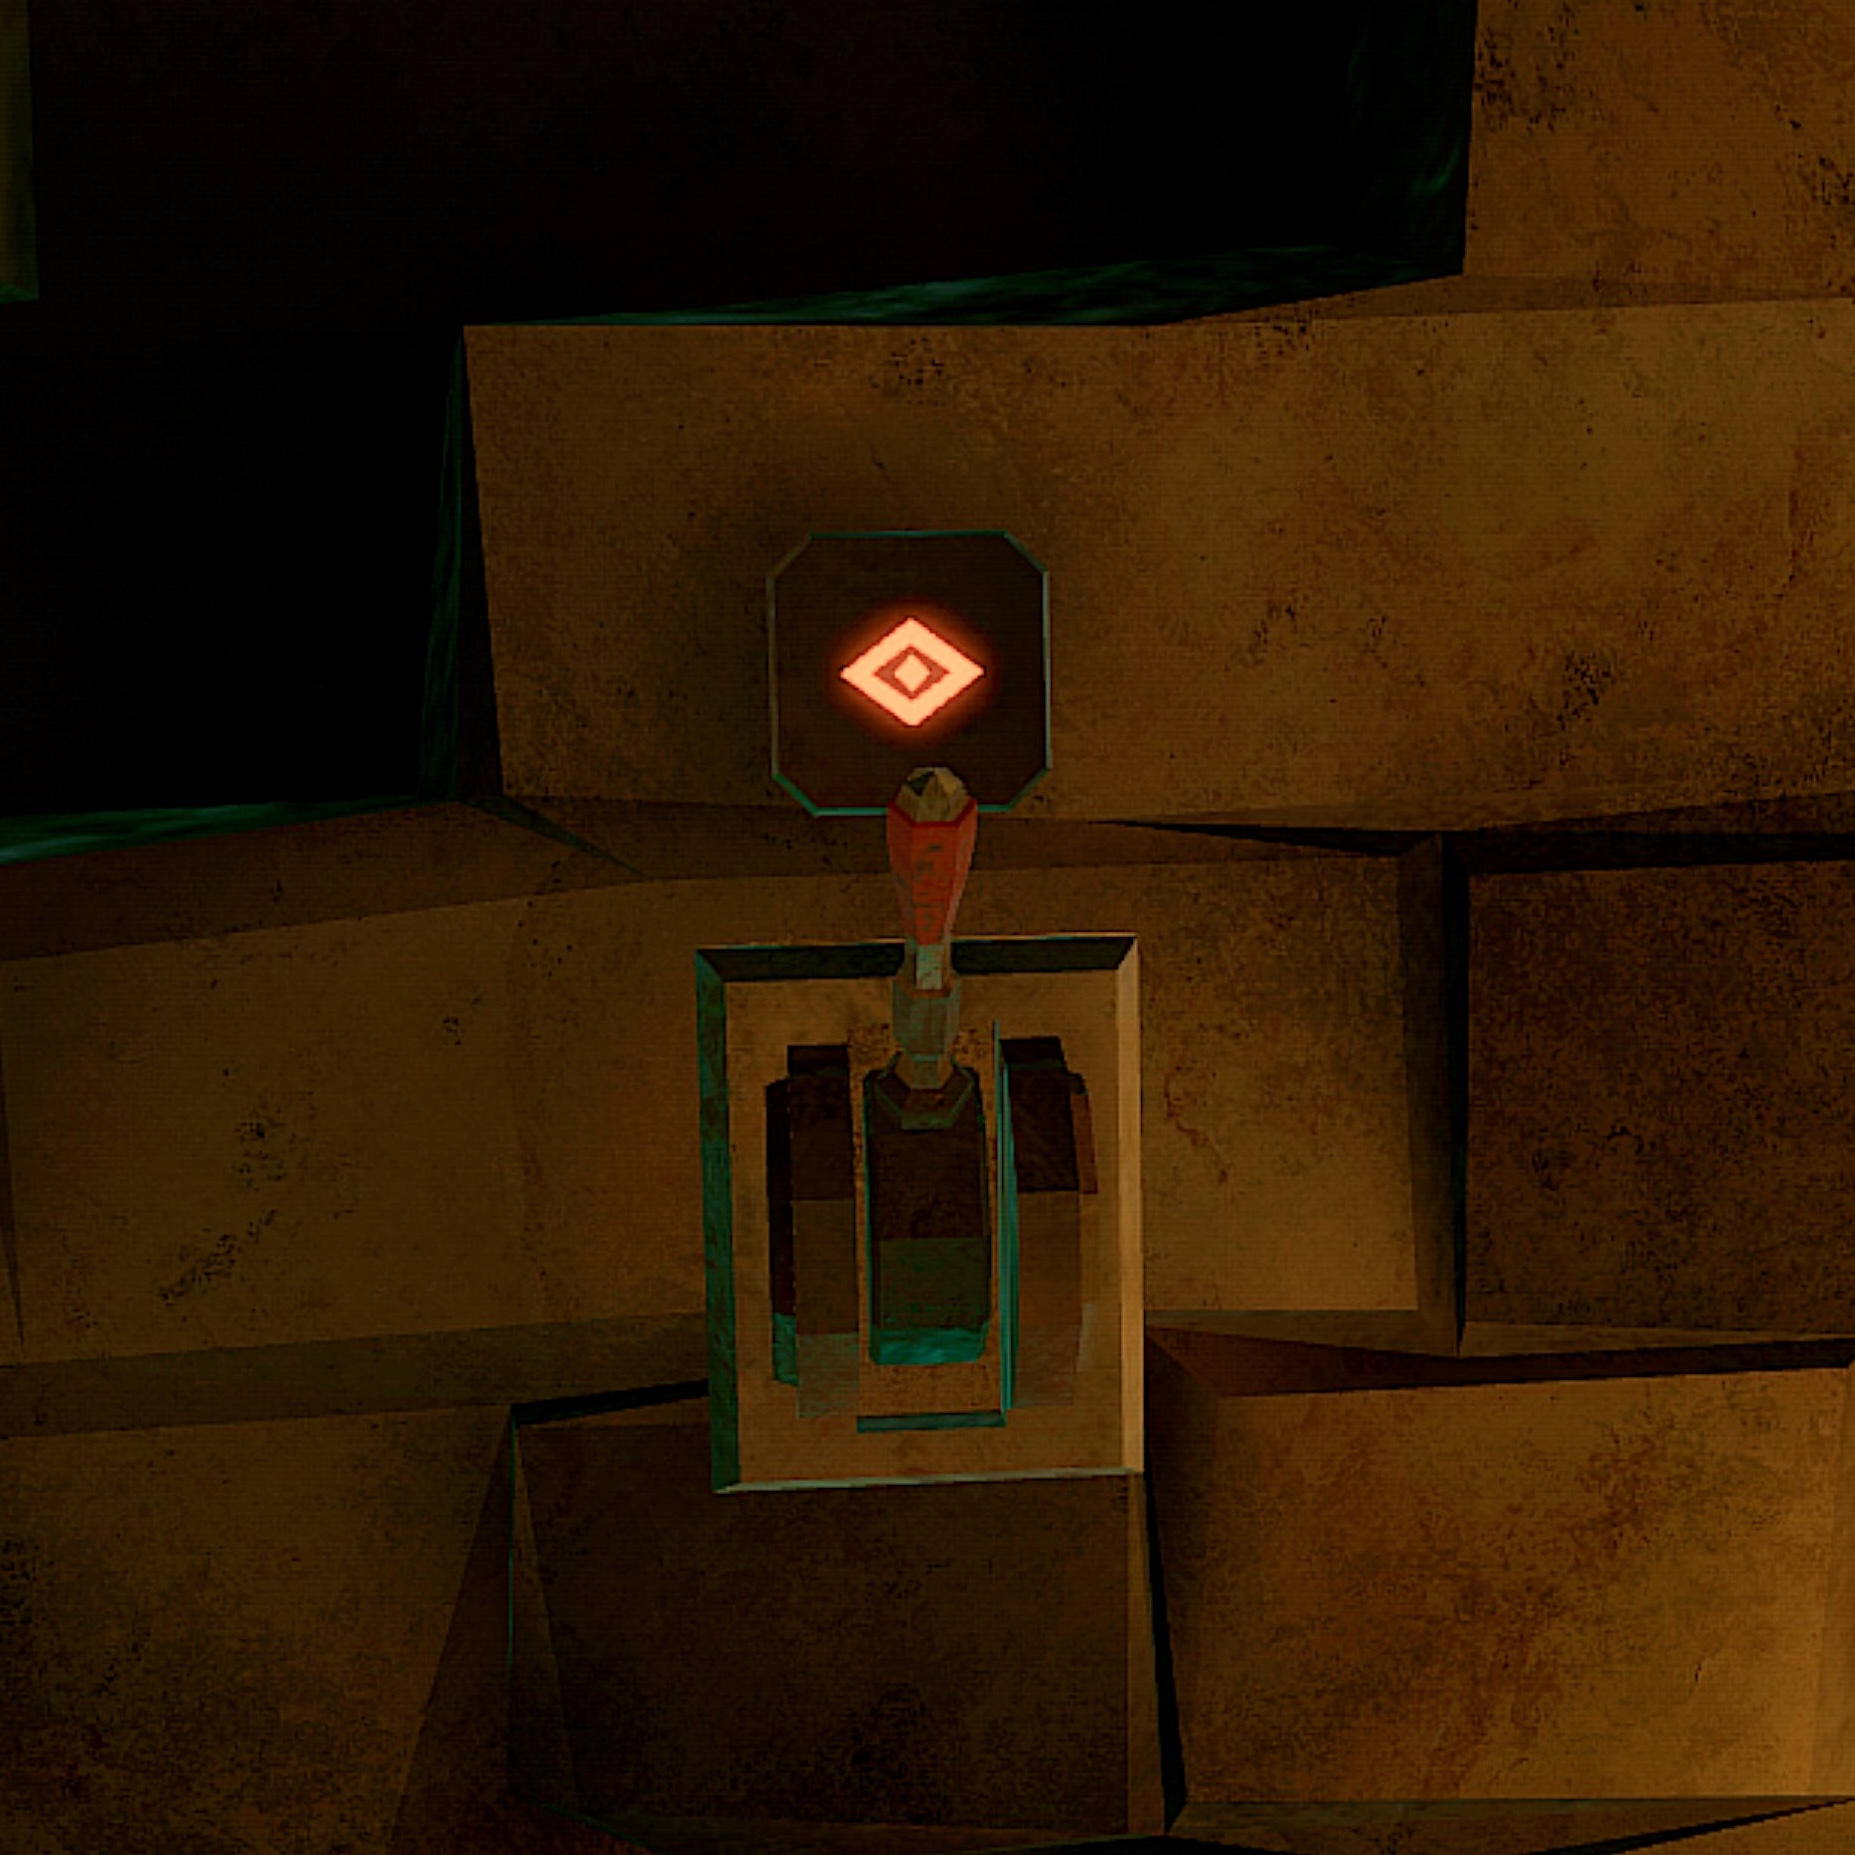
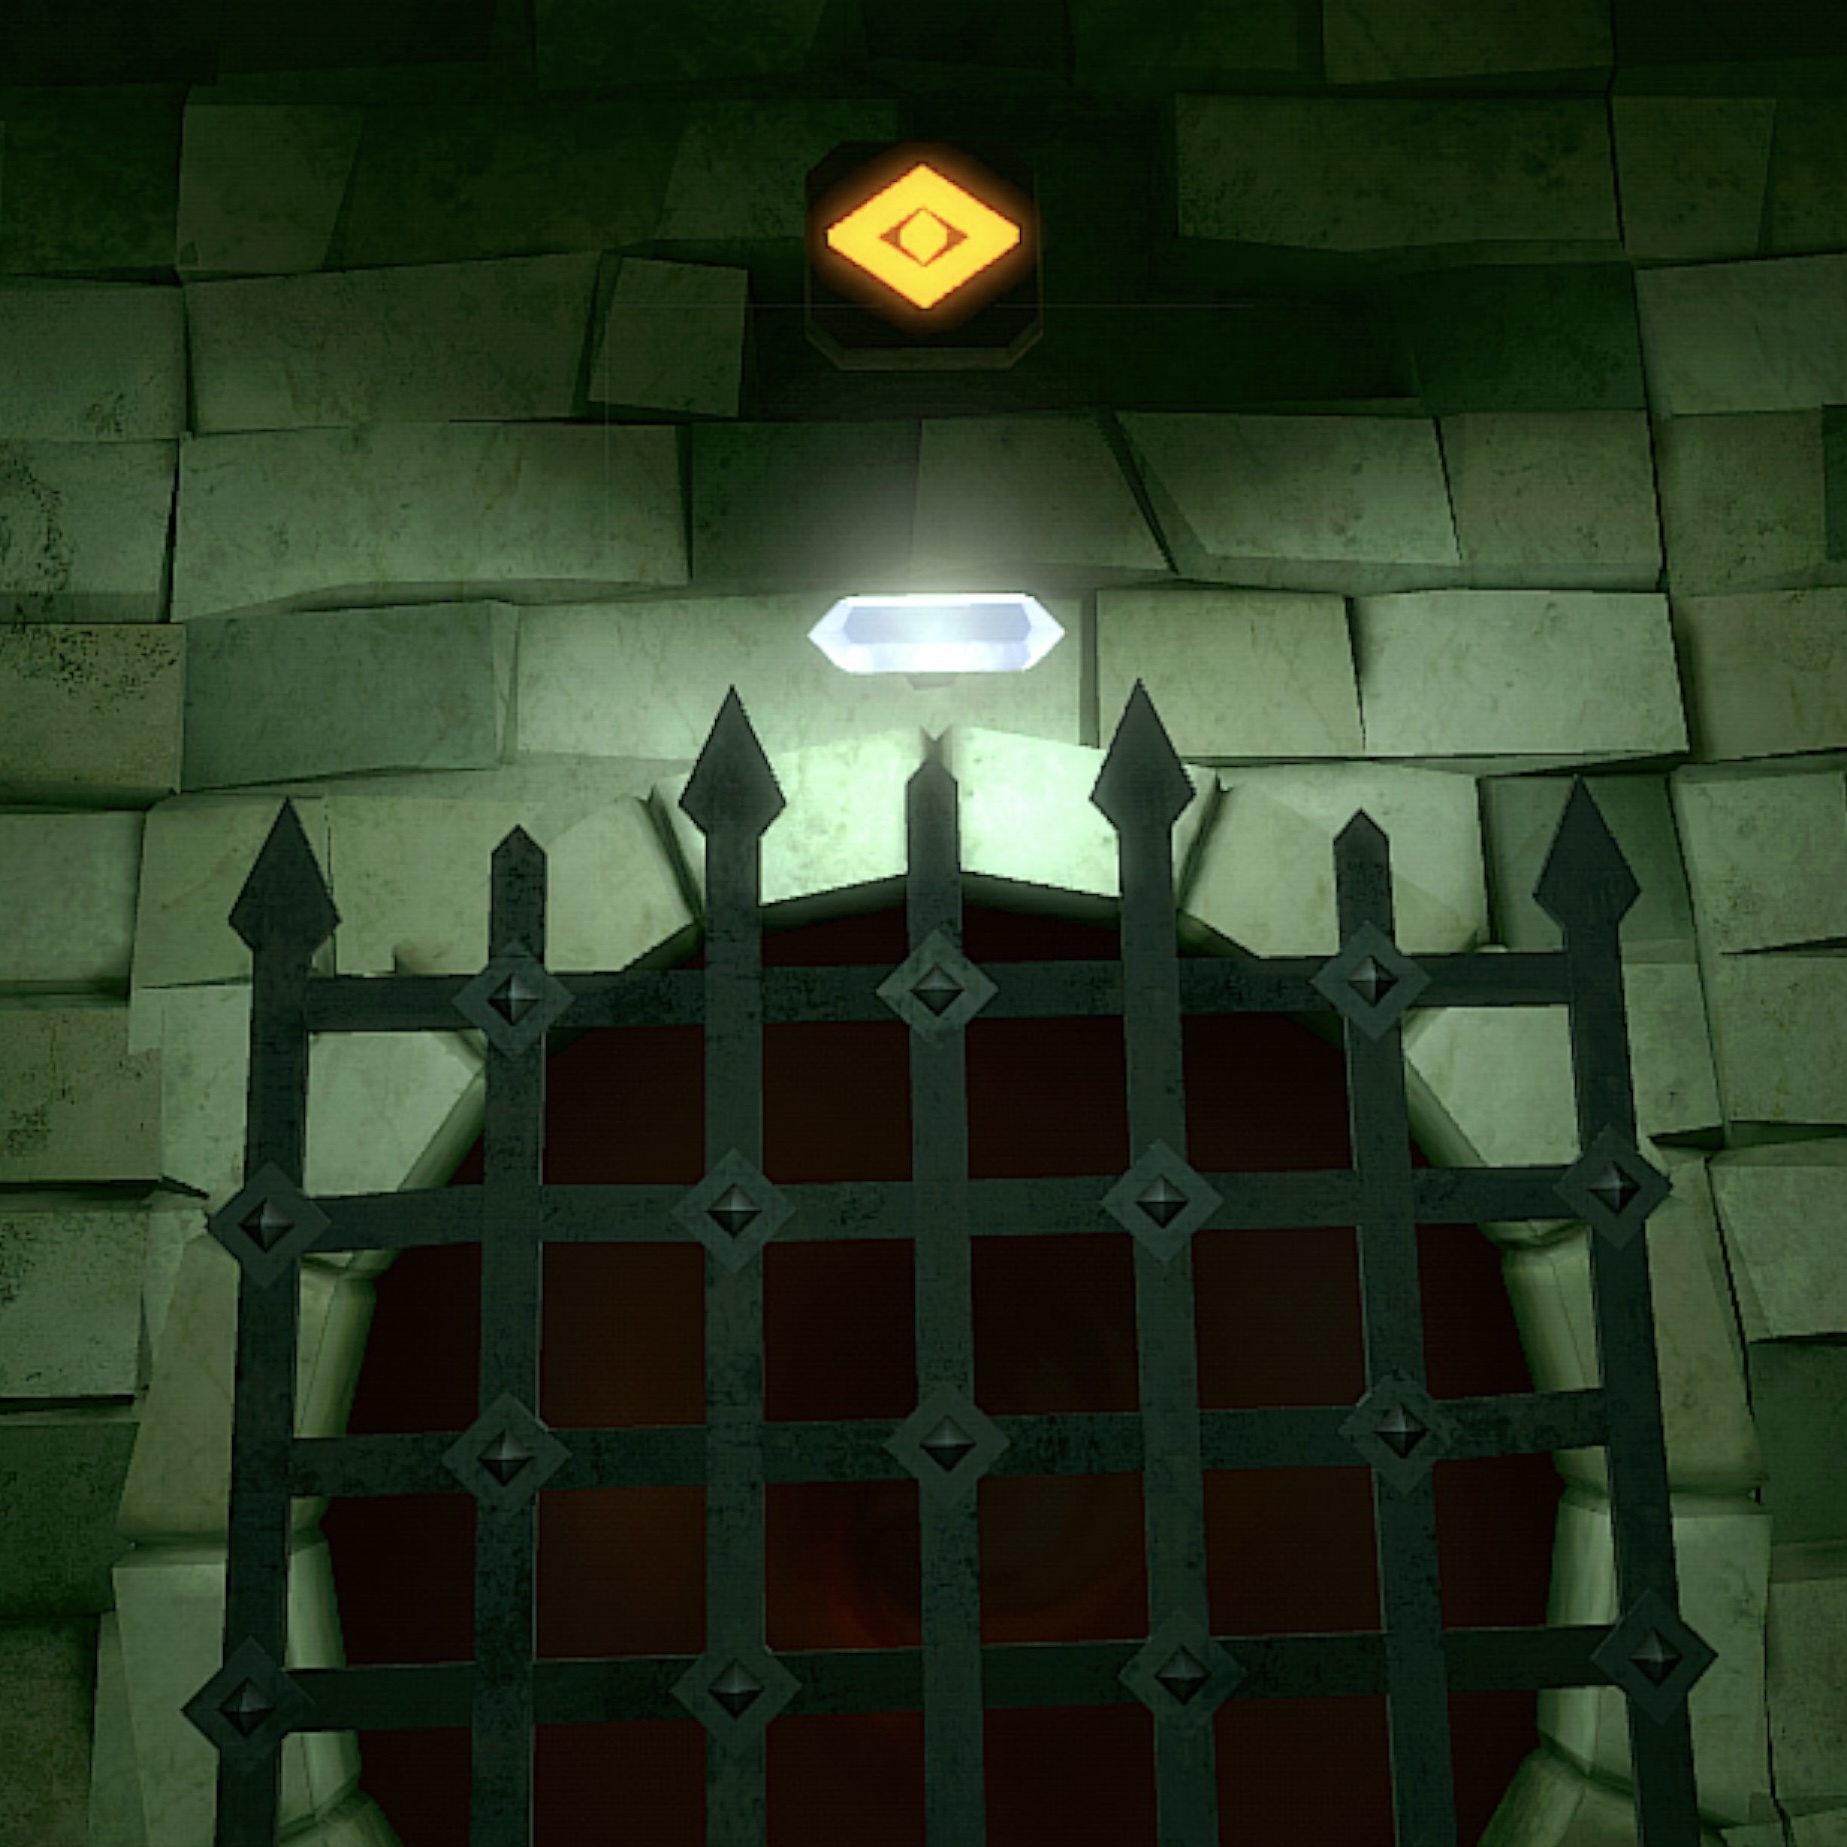
Some dungeons will have the end portion of the dungeon locked away behind a gate that can only be opened with a Skeleton Key. The team must first find the skeleton key located on a sconce in some chamber of the dungeon and unlock the gate using that key.
Boss Event Chamber
Some of the larger chambers can be used for a special event called the Boss Event. If a dungeon instance has one of these chambers it can be designated and the chamber will have five chests with unlimited bomb potions and either a Golem or Octoculus Boss. Your reward for completing this event is a Tier 3 Chest.
Only one boss event will ever appear in a single dungeon layout.
Chamber Gadgets
Switches and Pressure plates
Gates
Lights above switches and doors
Lights above gates, doors and switches don't always seem to be consistently connected.
Hazards and Traps
Dangerous dungeon features abound. These can be biome dependent like lava, in Lavaforge Realm and Sewer Tentacle or universally found across all realms like exploding barrels and Mimics.
Traps can come in many forms: pits, crushing walls and ceilings, fireball and laser machines, as well as large swinging axes that the players must dodge.
Enemy Waves
When a player first steps into a room, Enemies will spawn in groups called waves. The number of waves and types of enemies in each wave are determined at generation time and will be the same across saved dungeon runs.
The numbers of enemies in each wave is determined by the number of players in the dungeon when the wave starts. The toughness of enemies is determined by the dungeon difficulty tier. They specific type of enemies in each wave as well as their element type follow closely to the type of realm the chamber is generated in.
Some waves will always be of specific enemy type. Some waves will be a combination of enemy types. There are also boss waves where one or two bosses will spawn.
The boss event (described above) will always consist of one wave and a single boss and will result in a tier 3 chest reward on success.
Some chambers will have all doors blocked off when the waves start. This gauntlet event prevents players from exiting the chamber until all waves are dispatched.
The start chamber will never have enemy waves. The end chamber will always have three waves of enemies whose final wave will always be a boss wave.
